| | |
LED | Printer status |
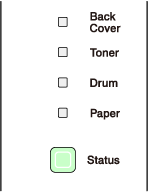
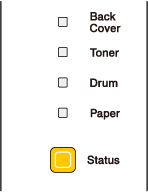
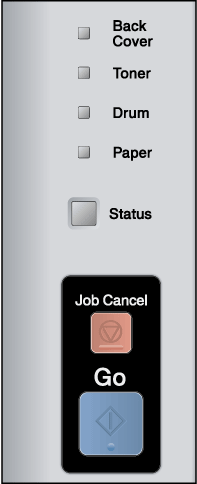
Sleep mode The printer is in sleep mode. Pressing Go wakes up the printer from sleep mode to ready mode. | |
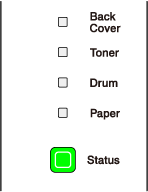
Ready to print The printer is ready to print. | |
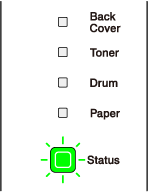
Warming up The printer is warming up. The Status LED will turn on for 1 second and off for 1 second. | |
Receiving data The printer is either receiving data from the computer, processing data in memory or printing the data. The Status LED will turn on for 0.5 seconds and off for 0.5 seconds. | |
Cooling down The printer is cooling down. Wait for a few seconds until inside of the printer has cooled down. The Status LED will turn on for 1 second and off for 1 second. | |
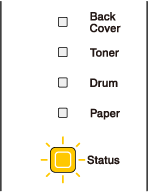
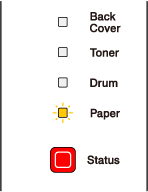
Data remaining in memory There is remaining print data in the printer memory. If the yellow Status LED is on for a long time and nothing has printed, press Go to print the remaining data in memory. | |
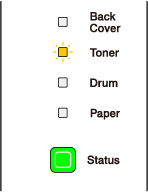
Indicates that the toner cartridge is near the end of its life. Buy a new toner cartridge and have it ready for when Replace Toner is indicated. The Toner LED will turn on for 2 seconds and off for 3 seconds. | |
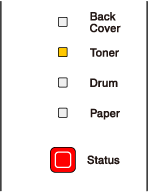
Replace the toner cartridge with a new one. See Replacing the toner cartridge. | |
The drum unit assembly is not installed correctly. Take the drum unit out of the machine and put it back in. | |
No toner Open the front cover, install the toner cartridge. See Toner cartridge. | |
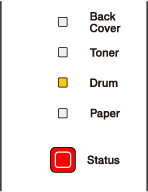
The drum unit is near the end of its life. We recommend that you get a new drum unit to replace the current one. See Replacing the drum unit. The Drum LED will turn on for 2 seconds and off for 3 seconds. | |
Replace drum Replace the drum with a new one. See Replacing the drum unit. | |
|
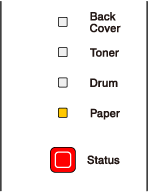
Put paper in the tray. Then press Go. See Printing on plain paper, bond paper and transparencies, Printing on thick paper, labels and envelopes or Cleaning the paper pick-up roller. |
|
The paper tray was not detected, install it, or ensure it is inserted correctly. | |
Clear the paper jam. See Paper jams and how to clear them. If the printer does not start printing, press Go. The Paper LED will turn on for 0.5 seconds and off for 0.5 seconds. | |
Press Go or Job Cancel. Set the correct paper that you want to use, or load the same size paper that you selected in the current driver setting. The paper size you can use for automatic duplex printing is A4, Letter, Legal or Folio.
The Paper LED will turn on for 0.5 seconds and off for 0.5 seconds. | |
Put the same size paper in the paper tray or MP tray that is selected in the printer driver, and then press Go. | |
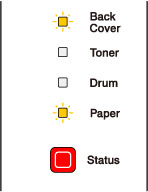
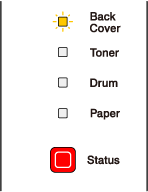
Clear the paper jam. See Paper jams and how to clear them. If the printer does not start printing, press Go. The Back Cover LED will turn on for 0.5 seconds and off for 0.5 seconds. | |
Close the back cover of the printer and put the duplex tray back in. | |
Close the fuser cover which can be found behind the back cover of the printer. The Back Cover LED will turn on for 0.5 seconds and off for 0.5 seconds. | |
Close the front cover of the printer. | |
Maximum number of optional trays is two. Remove additional trays. | |
Check the cable connection between the PC and printer. | |
The printer memory is full and the printer cannot print full pages of a document. See Solving print problems. | |
A print overrun occurred and the printer cannot print full pages of a document. See Solving print problems. | |
The download buffer of the printer is full. Add more memory to the printer. See Installing extra memory. | |
The font memory area is full. Delete fonts or add more memory to the printer. See Installing extra memory. | |
The corona wire needs to be cleaned. See Cleaning the corona wire. If your LED's still shows the same error indication after you have cleaned the corona wire, replace the drum unit with a new one. See Replacing the drum unit. |
| | |


 or
or  or
or 
 or
or  or
or