| 1 | Download the printer driver for Linux from http://solutions.brother.com or a link on the CD-ROM we have supplied. |
| 2 | Depending on Linux distributions, the driver may not be available. |
| • | For more information about Linux printer driver, visit us at http://solutions.brother.com. |
| • | The printer driver for Linux may be released after the initial release of this product. |
Windows® printer driver | BR-Script printer driver (HL-4050CDN/ HL-4070CDW only) | Macintosh® Printer Driver | LPR / CUPS printer driver1 | |
Windows® 2000 Professional | ||||
Windows® XP Home Edition | ||||
Windows® XP Professional | ||||
Windows Vista™ | ||||
Windows Server® 2003 | ||||
Windows® XP Professional x64 Edition | ||||
Windows Server® 2003 x64 Edition | ||||
Mac OS® X 10.2.4 or greater | ||||
Linux (Mandrake, Red Hat, SuSE Linux, Debian)1 |
| 1 | Download the printer driver from http://solutions.brother.com or a link on the supplied CD-ROM. If you download from a link on CD-ROM, click Install Other Drivers or Utilities, then click For Linux users on the screen menu. Access to internet is required. |
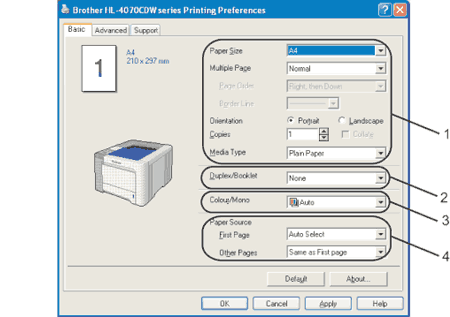
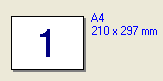
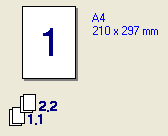
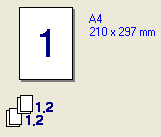
| • | Paper Size |
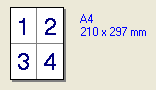
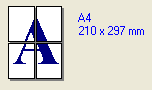
| • | Multiple Page |
| • | Orientation |
| • | Copies |
| • | Media Type |
| • | Paper Source |
| • | Print Quality |
| • | Colour Mode |
| • | |
| • | |
| • | Scaling |
| • | Job Spooling |
| • | Toner Save Mode |
| • | |
| • | Sleep Time |
| • | |
| • | |
| • | Header-Footer Print1 |
| • |
Plain Paper | Thin Paper | Thick Paper | Thicker Paper | Bond Paper | Envelopes |
Env. Thick | Env. Thin | Recycled Paper | Postcard | Label |
| • | Use Duplex Unit (HL-4050CDN / HL-4070CDW only) Check the Duplex box and then choose Use Duplex Unit. In this mode, the printer prints on both sides of the paper automatically. There are six types of duplex binding directions available for each orientation. |
| • | Manual Duplex Check the Duplex box and choose Manual Duplex. In this mode, the printer prints all the even numbered pages first. Then the printer driver will stop and show the instructions required to re-install the paper. When you click OK the odd numbered pages will be printed. There are six types of manual duplex binding directions available for each orientation. |
| • | Booklet Printing When you want to print a booklet, use this function. To make the Booklet, fold the printed pages down the middle. |
| • | Binding Offset If you check the Binding Offset option, you can also specify the offset for binding in inches or millimeters. |
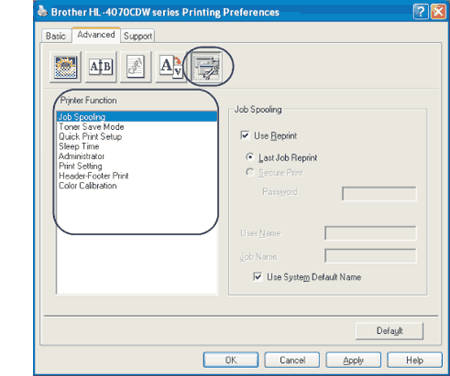
| • | Job Spooling |
| • | Toner Save Mode |
| • | Quick Print Setup |
| • | Sleep Time |
| • | Administrator |
| • | Print Setting |
| • | Header-Footer Print |
| • | Colour Calibration |
| • | Job Spooling You can reprint a document without sending the data again from your computer (except for secure printing):
| ||||||||||||
| • | Toner Save Mode You can conserve toner using this feature. When you set Toner Save Mode to On, print appears lighter. The default setting is Off. | ||||||||||||
| • | Quick Print Setup This feature allows you to quickly choose driver settings by clicking a tasktray icon. You can turn the quick print setting on or off. By placing a check in the selection boxes for the following functions you can choose which will be available in the quick print setting. | ||||||||||||
| • | Sleep Time When the printer does not receive data for a certain period of time, it enters sleep mode. In sleep mode, the printer acts as though it were turned off. When you choose Printer Default the timeout setting will be 5 minutes. Intelligent Sleep Mode automatically adjusts to the most suitable timeout setting depending on the frequency of your printer use. While the printer is in sleep mode, all the LEDs are off, but the printer can still receive data. Receiving a print file or document or pressing Go will automatically wake up the printer to start printing. | ||||||||||||
| • | Administrator Administrators have the authority to limit access to functions such as scaling and watermark.
| ||||||||||||
| • | Print Setting | ||||||||||||
| • | Header-Footer Print When this feature is enabled, it will print the date and time on your document from your computer’s system clock and the PC login user name or the text you entered. By clicking Setting, you can customize the information. | ||||||||||||
| • | Colour Calibration The output density of each colour may vary depending on the temperature and humidity of the environment the machine is in. This setting helps you to improve colour density by letting the printer driver use the colour calibration data stored in your printer.
|
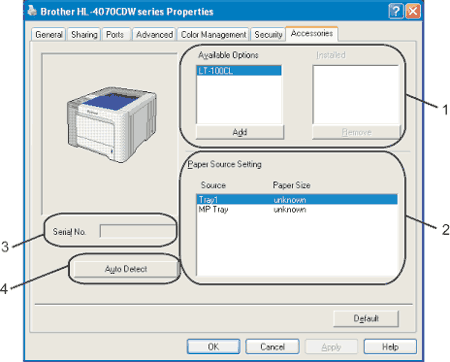
| • | You can manually add and remove the options that are installed on the printer. Tray settings will match the installed options. |
| • | This feature recognizes the paper size set from the control panel menu for each paper tray. |
| • | By clicking Auto Detect, the printer driver will probe the printer and display its serial number. If it fails to receive the information, the screen will display "---------". |
| • | The Auto Detect function finds the currently installed optional devices and serial No. and then shows the available settings in the printer driver. When you click Auto Detect, options that are installed on the printer will be listed in Available Options (1). You can manually add or remove the options by choosing an optional device you want to add or remove, and then clicking Add or Remove. |
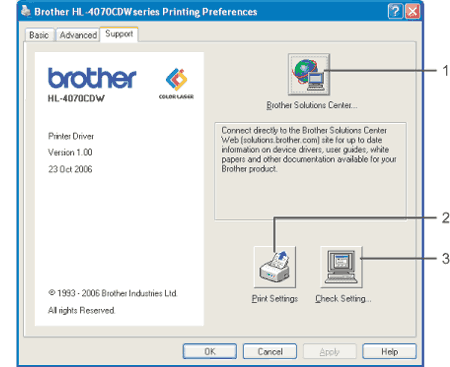
| • | The Brother Solutions Center (http://solutions.brother.com) is a web site offering information about your Brother product including FAQs (Frequently Asked Questions), User's Guides, driver updates and tips for using your printer. |
| • | This will print the pages that show how the internal settings of the printer have been configured. |
| • | You can check the current driver settings. |