- Brother support website
- Brother Support for IT Administrators
- I want to prevent specific users from using certain functions.
I want to prevent specific users from using certain functions.
- Use Secure Function Lock to prevent users from accessing certain machine functions and limit excessive printing.
- Authorized users need a password or an NFC card to use the available machine functions from the device's control panel.
The screens and available settings may differ depending on the Brother model and operating system.
To check if your device supports the Setting Lock feature, see your model's Online User's Guide.
How to configure Secure Function Lock >
How to access the device when Secure Function Lock is enabled >
How to configure Secure Function Lock
NOTE:
We recommend using HTTPS when configuring settings using Web Based Management.
When you use HTTPS to access Web Based Management, your browser may display a security dialog box.
-
Start your web browser.
-
Type "https://machine's IP address" in your browser's address bar (where "machine's IP address" is the device's IP address).
For example:
https://192.168.1.2
NOTE:
If you are using a Domain Name System or enable a NetBIOS name, you can type another name, such as "SharedPrinter" instead of the IP address.
- For example:
http://SharedPrinter
If you enable a NetBIOS name, you can also use the node name.
- For example:
https://brn123456abcdef/
The NetBIOS name can be found in the Network Configuration Report.
For Mac, access Web Based Management by clicking the device's icon on the Status Monitor screen. -
In the Login field, type the password, and then click

NOTE:
The default login password to manage machine settings is either:
- the password located on the back or bottom of the device preceded by "Pwd"
or
- initpass
-
Click the Administrator tab.
If you have not yet set your own password, change the default login password.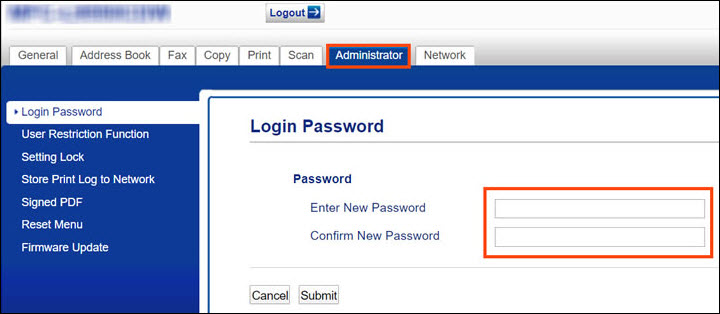
-
Depending on your model, click User Restriction Function or Restriction Management in the left navigation bar.
-
Select Secure Function Lock.
-
Click Submit.
NOTE:
If Secure Function Lock is on, Setting Lock is automatically set to On, and you cannot change any settings even if you log in using a password or an NFC card.
Turn Secure Function Lock off if you need to change your device's settings. -
Click the Restricted Functions menu in the left navigation bar.
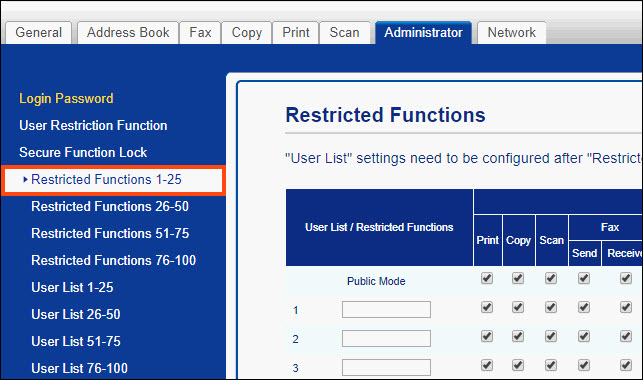
-
In the User List / Restricted Functions field, type a group name or user name.
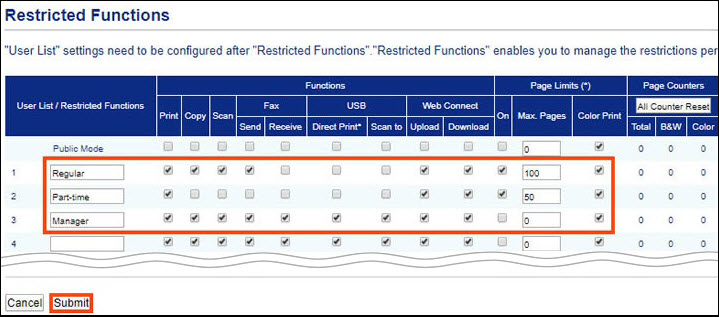
-
In the Functions columns, select a check box to allow or clear a check box to restrict the Functions listed.
-
To configure the maximum page count, select the On check box in the Page Limits column, type the maximum number in the Max. Pages field, and then click Submit.
-
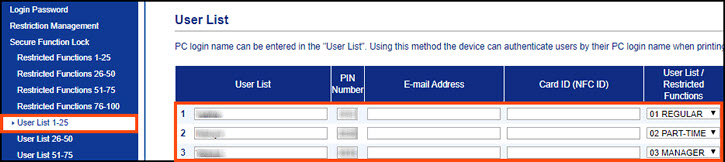
Click the User List menu in the left navigation bar.
-
In the User List field, type the user name.
-
In the PIN Number field, type a four-digit password.
-
In the E-mail Address field, type the user's email address (available only for certain models).
-
To register the user's Card ID, type the card number in the Card ID (NFC ID) field (available only for certain models).
-
Select User List / Restricted Functions from the drop-down list for each user and click Submit.
-
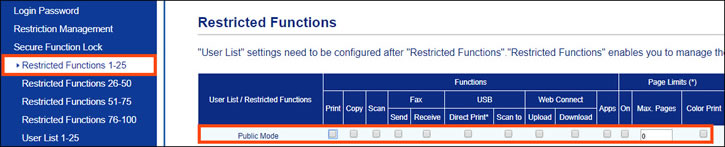
Click the Restricted Functions menu in the left navigation bar.
-
To set the restricted functions for Public Mode in the Public Mode row at the top, select a check box to allow or clear a check box to restrict the functions listed, and then click Submit.
NOTE:
Anyone can use the device in Public Mode, so Brother recommends restricting its most critical functions to prevent unauthorized access.
-
If you set page limit restrictions for this group or user, go to STEP 21.
If not, the setting is now completed. -
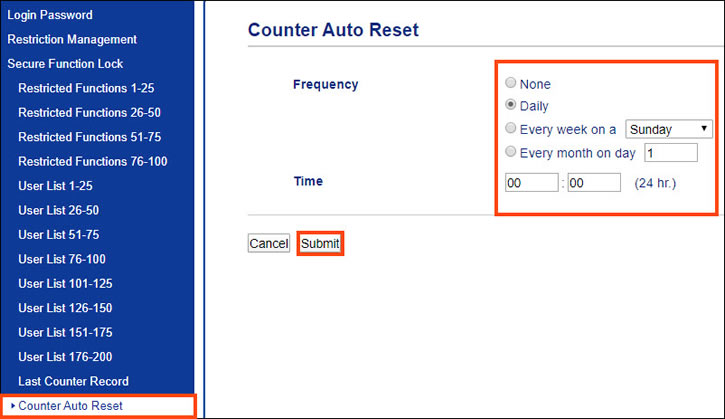
Click the Counter Auto Reset menu in the left navigation bar to specify the page counter reset frequency.
NOTE:
If you cannot find Counter Auto Reset, your device may not support it and you must reset Page Counters manually.
Click Restricted Functions in the left navigation bar (select the appropriate function number range), and then click All Counter Reset.
 -
Specify the Frequency settings and click Submit.
NOTE:
-
Set the date and time of the device correctly in advance.
-
To reset Page Counters manually, go to Restricted Functions
in the left navigation bar (select the appropriate function number range), and then
click All Counter Reset. -
You can check the previous number of prints in Last Counter Record on the left menu bar.
-
Click the video link below for a step-by-step guide on how to configure Secure Function Lock.
*This video is being streamed from YouTube.
Authorized users can now use a password or an NFC card to access the available machine functions from the device's control panel.
How to access the device when Secure Function Lock is enabled
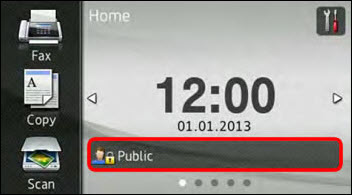
When Secure Function Lock is on, the device stays in Public Mode until a user unlocks it by entering a password or touching an ID card to the NFC symbol.
Access the device using a password >
Access the device using a registered NFC card >
Access the device using a password
-
Press
 or
or  (select the appropriate user's name) on the device's Touchscreen.
 -
Press Change User.
-
Press your user name.
-
Enter your four-digit user password and press OK.
Make sure the Touchscreen displays the user name you want.-
To return to Public Mode, press
, and then press Go to Public. -
After a restricted user has finished, the device waits one minute, and then returns to Public Mode.
-
Access the device using a registered NFC card (not available on all Brother models)
-
Press
 (Home) button on the device's control panel to access the Ready screen.
 -
Touch your NFC card to
 (NFC Reader) on the device's front panel.
-
You can touch your card to the NFC Reader even if the device is in Public mode or if another user is logged in.
-
You may need to remove your NFC card from a case or cover to ensure the device can detect it.
-