| 1 | Pull the drum unit out from the printer and pull all the toner cartridge out from the drum unit. See steps 1 to 4 in Replacing the drum unit. |
| 2 | Turn the drum unit over by holding the green handle. Make sure that the drum unit gears (1) are on the left hand side. 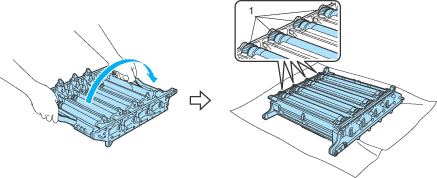 |
| 3 | See the print sample to identify the colour causing the problem. The colour of the spots is the colour of the drum you should clean. For example, if the spots are cyan, you should clean the drum for cyan. Put the print sample in front of the drum, and find the exact position of the poor print. 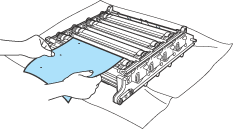 |
| 4 | 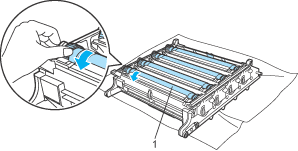 |
| 5 | When you have found the mark on the drum that matches the print sample, wipe the surface of the drum gently with a cotton swab until the dust or paper powder on the surface comes off. 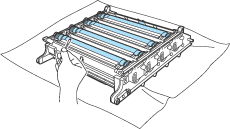 |
| 6 | Turn the drum unit gear toward you by hand to return it to the home position. The home position of each drum can be identified by matching the number on the drum unit gear to the same number on the side of the drum unit as shown in the illustration. Make sure that the number on each of the four drum unit gears matches the corresponding number on the side of the drum unit. 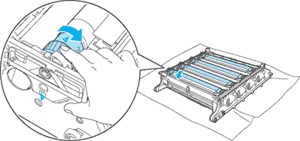 |
| 7 | Using the green handles turn the drum unit back over. |
| 8 |