| | |
| 1 | Make sure that the power cord is plugged in. | ||||||
| 2 | Turn on the machine and wait until the machine is in the Ready state. | ||||||
| 3 | Turn on your Macintosh. | ||||||
| 4 | Put the supplied CD‑ROM into your CD‑ROM drive. Double‑click the HL5300 icon on your desktop. Double‑click the Start Here icon. Choose your printer model and the language. | ||||||
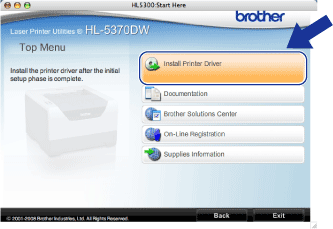
| 5 | Click Install Printer Driver on the menu screen. | ||||||
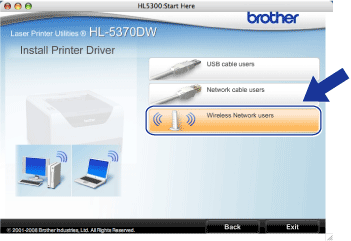
| 6 | Click Wireless Network users. | ||||||
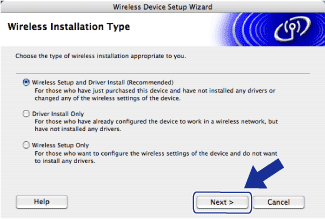
| 7 | Choose Wireless Setup and Driver Install (Recommended) or Wireless Setup Only, and then click Next. | ||||||
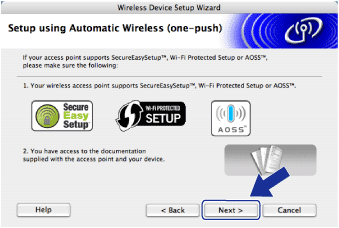
| 8 | Choose Automatic install (Advanced) and click Next. | ||||||
| 9 | Confirm the on‑screen message and click Next. | ||||||
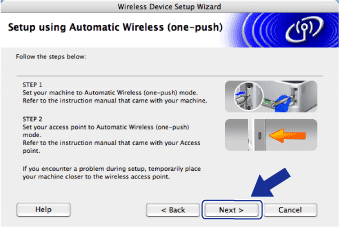
| 10 | Press the wireless setup button located at the back of the machine for less than 2 seconds as shown in the illustration below. This will put the machine in one‑push wireless setting mode. This feature will automatically detect which mode your access point uses for one‑push configuration (SecureEasySetup™, Wi-Fi Protected Setup or AOSS™).
| ||||||
| 11 | The machine starts the one‑push wireless setting mode. The machine will search for an access point that supports SecureEasySetup™, Wi-Fi Protected Setup or AOSS™ for 2 minutes. | ||||||
| 12 | Put your access point in the SecureEasySetup™ mode, Wi‑Fi Protected Setup mode or AOSS™ mode, depending on what is supported by your access point. Please refer to the instruction manual that came with your access point. | ||||||
| 13 | Wait until the Status LED of your machine indicates Connected. The Status LED will turn on for 5 minutes. (See the table below) This indication means the machine has successfully connected to your access point/router. You can now use your machine in a wireless network. If the LED indicates Connection Fail (See the table below), the machine has not successfully connected to your access point/router. Try starting from 10 again. If the same message is indicated again, reset the print server back to its factory default settings and try again. For resetting, see Reset the network settings to the factory default. If the LED indicates No Access Point (See the table below), the machine has detected no access point/router on your network. Make sure you place the Brother machine as close to the network access point/router as possible with minimal obstructions, and try starting from 10 again. If the same message is indicated again, reset the print server back to its factory default settings and try again. For resetting, see Reset the network settings to the factory default. If the LED indicates Connection Error (See the table below), the machine has detected more than 2 access points/routers on your network that have the SecureEasySetup™, the Wi-Fi Protected Setup mode or the AOSS™ mode enabled. Make sure that only one access point/router has the SecureEasySetup™ mode, Wi-Fi Protected Setup mode or the AOSS™ mode enabled and try starting from 10 again. | ||||||
| 14 | Click Next or Finish.
| ||||||
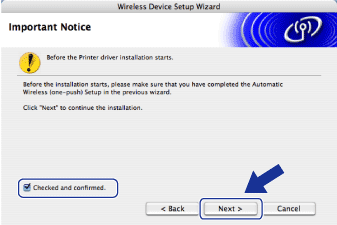
| 15 | Check the box after you confirm that you have completed the wireless settings, and then click Next. Go to Installing the printer driver. |
| | |