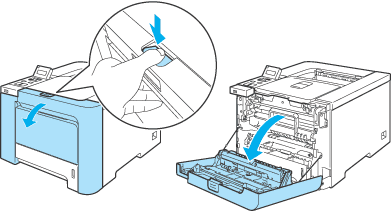
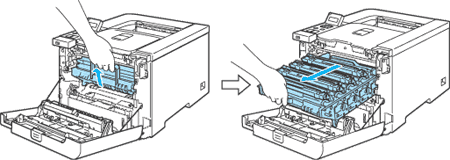
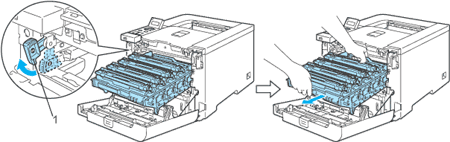
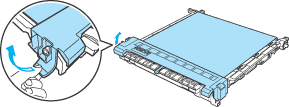
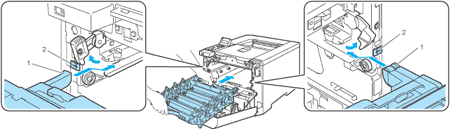
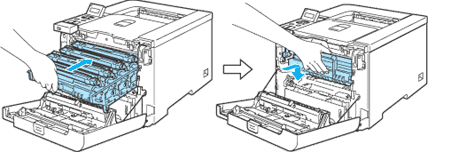
When the belt unit runs out, the following message appears on the LCD. When you see this message, you must replace the belt unit:
Change Belt Unit  |


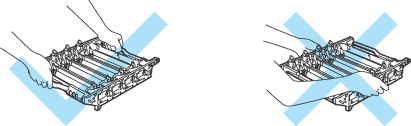
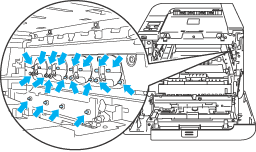
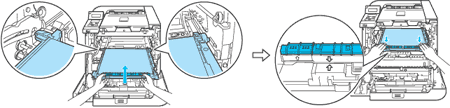
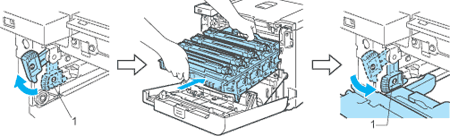
CAUTION
| | DO NOT touch the surface of the belt unit. If you touch it, it could degrade print quality. |
| | Damage caused by incorrect handling of the belt unit may void your warranty. |