| 1 | Turn off the printer power switch, and then unplug the printer. Disconnect the interface cable from the printer. | ||
| 2 | 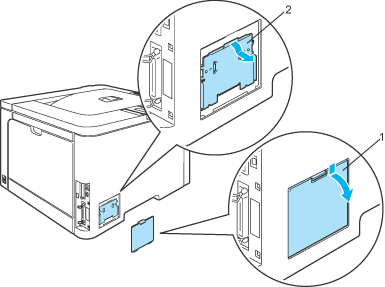 | ||
| 3 | Unpack the SO-DIMM and hold it by its edges. | ||
| 4 | Hold the SO-DIMM by the edges and align the notches in the SO-DIMM with the protrusions in the slot. Insert the SO-DIMM diagonally (1), then tilt it toward the interface board until it clicks into place (2). 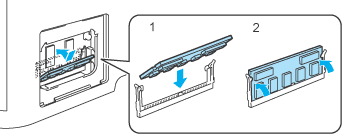 | ||
| 5 | 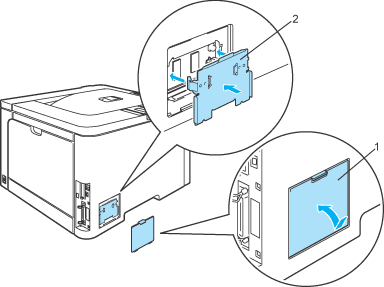 | ||
| 6 | Reconnect the interface cable to your printer. Plug the printer back in, and then turn on the power switch.
|