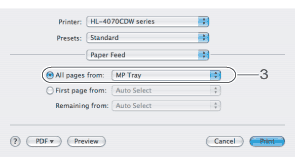
| 1 | Choose the following from the printer driver: 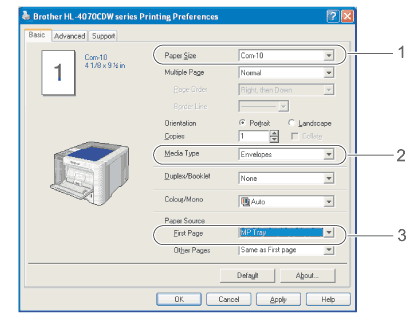 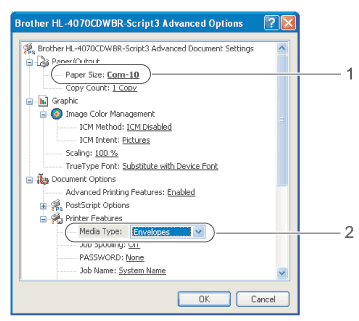 
| ||||||||||
| 2 | Open the MP tray and lower it gently. 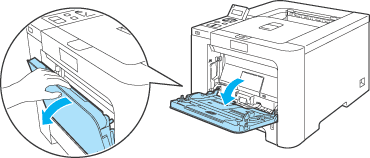 | ||||||||||
| 3 | 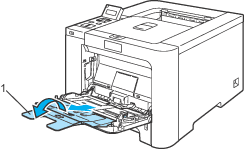 | ||||||||||
| 4 | Lift up the support flap to prevent paper from sliding off the face-down output tray, or remove each page as soon as it comes out of the printer. 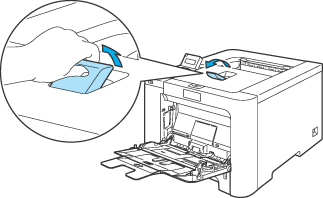 | ||||||||||
| 5 | 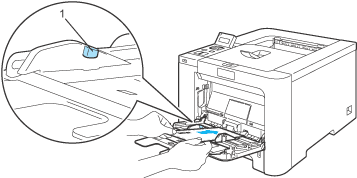 | ||||||||||
| 6 | While pressing the paper-guide release lever, slide the paper guide to fit the paper size. 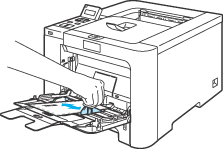 | ||||||||||
| 7 | Send the print data to the printer. |
| • | Remove each sheet or envelope at once after printing. Stacking the sheets or envelopes may cause the paper to jam or curl. |
| • | If envelopes get smudged during printing set the Media Type to Thick Paper or Thicker Paper to increase the fixing temperature. |
| • | If the envelope is creased after they are printed, see Improving the print quality. |
| • | (For Windows® users) If DL size double flap envelopes are creased after printing, choose DL Long Edge in Paper Size, from the Basic tab. Put a new DL size double-flap envelope in the MP tray with the longest edge of the envelope in first, then print again. 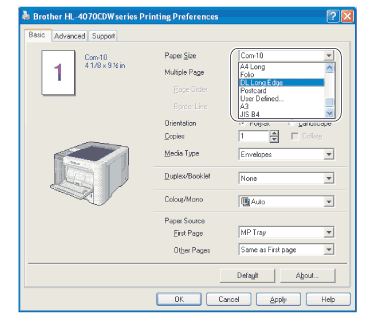 |
| • | When you put paper in the MP tray, remember the following: |