To use the BR-Script printer driver you must install the driver using the Custom Install from the CD-ROM.
•
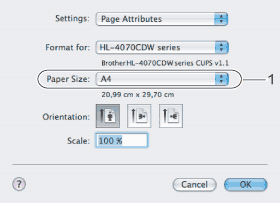
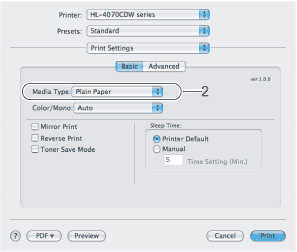
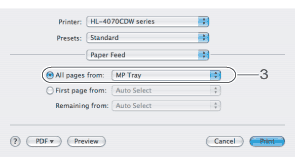
Macintosh® printer driver
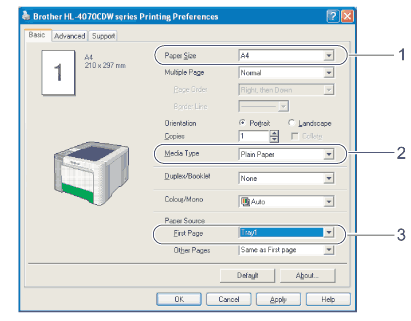
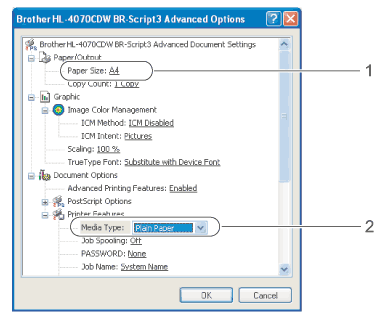
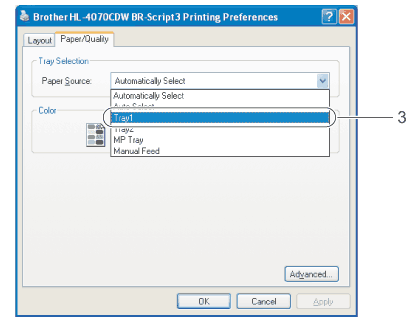
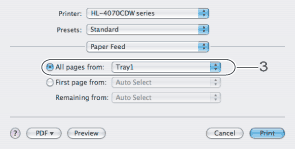
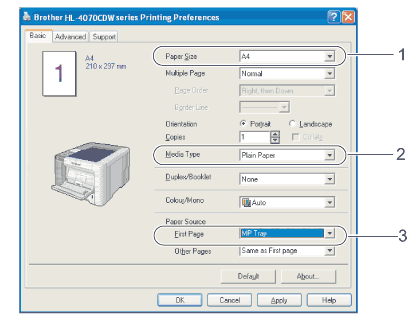
Paper Size (1)Media Type (2)Paper Source (3)
2
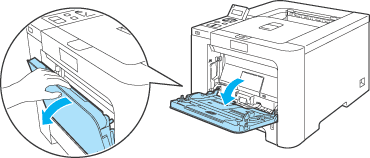
Open the MP tray and lower it gently.
3
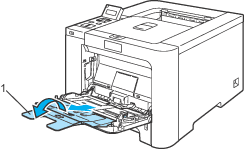
Pull out the MP tray support and unfold the flap (1).
4
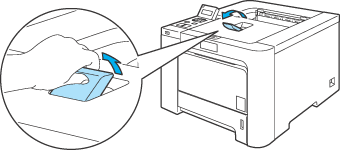
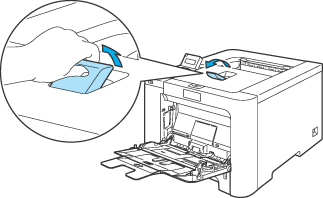
Lift up the support flap to prevent paper from sliding off the face-down output tray, or remove each page as soon as it comes out of the printer.
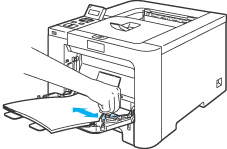
5
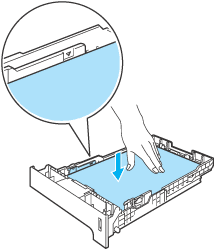
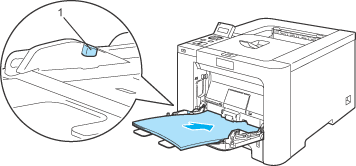
Put paper in the MP tray. Make sure that the paper stays under the maximum paper mark (1). The side to be printed on must be face up with the leading edge (top of the paper) in first.
6
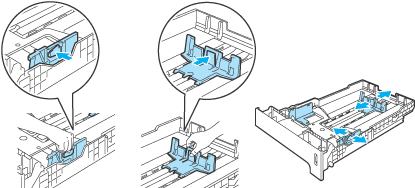
While pressing the paper-guide release lever, slide the paper guide to fit the paper size.