| | |
| 1 | Lift up the support flap 1 (1) to prevent paper from sliding off the face-down output tray, or remove each page as soon as it comes out of the printer. 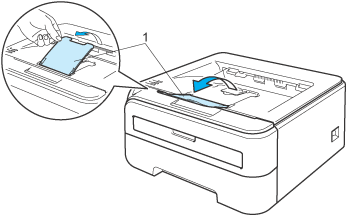 | ||||||||
| 2 | Open the manual feed slot cover. 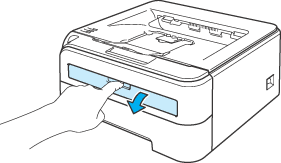 | ||||||||
| 3 | Using both hands, slide the manual feed slot paper guides to the width of the paper that you are going to use. 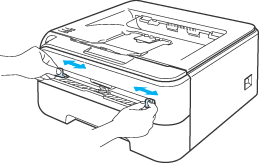 | ||||||||
| 4 | Using both hands, put one piece of paper or one transparency in the manual feed slot until the front edge of the paper or transparency touches the paper feed roller. When you feel the machine pull in the paper, let go. 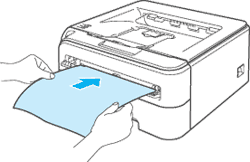
| ||||||||
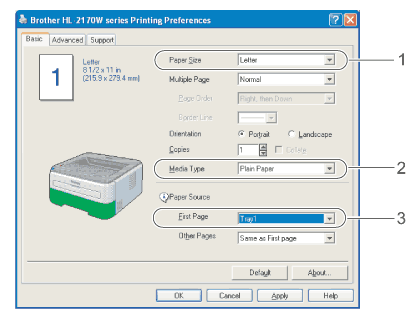
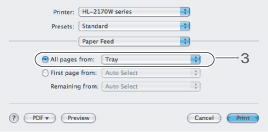
| 5 | Choose the following from the printer driver: 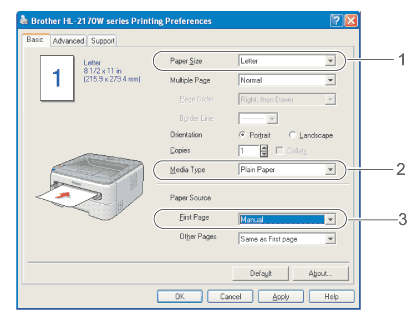 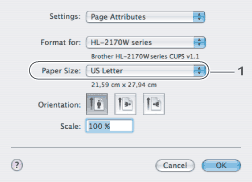 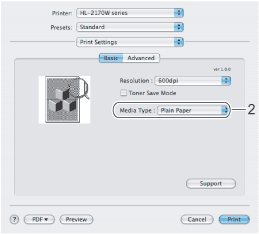 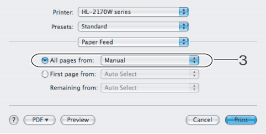 | ||||||||
| 6 | Send the print data to the printer. | ||||||||
| 7 | After the printed page comes out of the printer, put in the next sheet of paper or transparency as in Step 4 above. Repeat for each page that you want to print.
|
| | |