


  |   |
| 1 | Press the wireless setup button located at the back of the machine for less than 2 seconds as show in the illustration below. This will put the printer in one-push wireless setting mode. This feature will automatically detect which mode your access point uses for one-push configuration (SecureEasySetup™, Wi-Fi Protected Setup™ or AOSS™) of your printer. 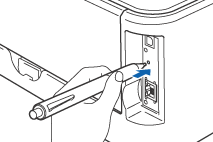
| |||||||||||||||||||||||||||||||||||||||||
| 2 | The printer starts the one-push wireless setting mode. The printer searches for an access point that supports SecureEasySetup™, Wi-Fi Protected Setup™ or AOSS™ for 2 minutes. | |||||||||||||||||||||||||||||||||||||||||
| 3 | Put your access point in the SecureEasySetup™ mode, the Wi-Fi Protected Setup™ mode or the AOSS™ mode, depending on what is supported by your access point. Please refer to the instruction manual that came with your access point. | |||||||||||||||||||||||||||||||||||||||||
| 4 |
Wait for the Ready LED (Go button) of your printer to indicate connection succeeded. The Ready LED will turn on for 5 minutes. (See the table below) This indication means the machine has successfully connected to your router or access point. You can now use your printer on the wireless network. If the LED indicates connection failed (See the table below), the machine has not successfully connected to your router or access point. Try starting from 1 again. If the same message is indicated again, reset the machine back to the default factory settings and try again. For resetting, see Restoring the network settings to factory default. If the LED indicates session overlap (See the table below), the machine has detected more than 2 routers or access points on your network that have the Wi-Fi Protected Setup™ mode or the AOSS™ mode enabled. Make sure that only one router or access point has the Wi-Fi Protected Setup™ mode or the AOSS™ mode enabled and try starting from 1 again. LED indications when using the one-push wireless setting mode
| |||||||||||||||||||||||||||||||||||||||||
| 1 | Turn on your computer. (You must be logged on with Administrator rights.) Close any applications running before configuration. | ||
| 2 | Put the supplied CD-ROM into your CD-ROM drive. The opening screen will appear automatically. Choose your printer model and the language. | ||
| 3 | Click Install Printer Driver on the menu screen. 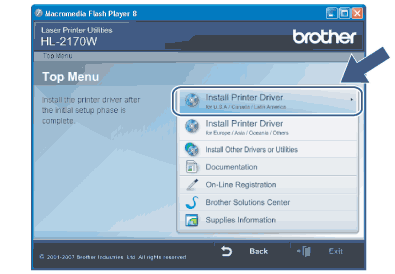 | ||
| 4 | Click Wireless Network users. 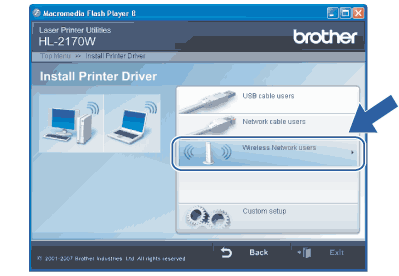 | ||
| 5 | Choose Driver Install Only, and then click Next. 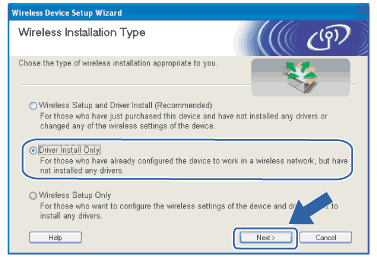 | ||
| 6 | When the License Agreement window appears, click Yes if you agree to the License Agreement. 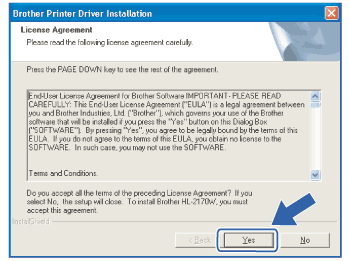 | ||
| 7 | Choose Standard Installation, and then click Next. 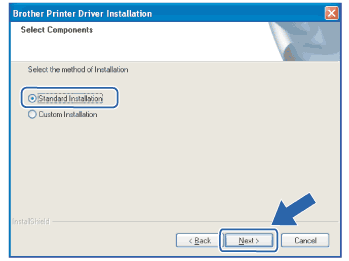 | ||
| 8 | Choose Search the network for devices and choose from a list of discovered devices (Recommended). Or enter your printer's IP address or its node name. Click Next. 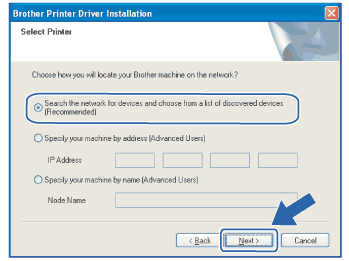
| ||
| 9 | Choose your printer, and then click Next. 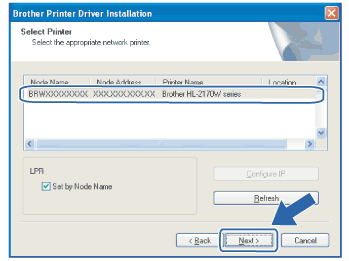 | ||
| 10 | Click Finish. 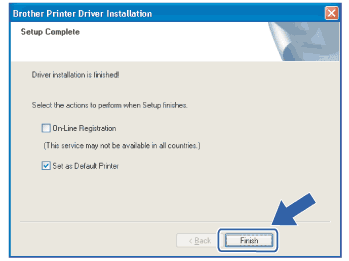 |
  |   |