| 1 | Put the document face up in the ADF, or face down on the scanner glass. | ||||||||||||
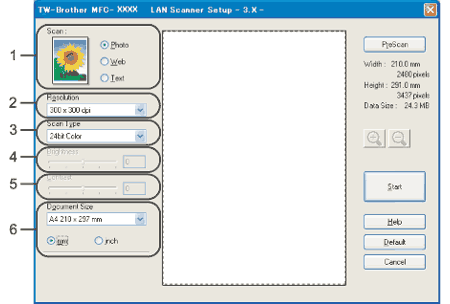
| 2 | Adjust the following settings, if needed, in the Scanner Setup dialog box:
 | ||||||||||||
| 3 | Click Start. When scanning is finished, click Cancel to return to the Presto!® PageManager® window.
|
| 1 | Put the document face up in the ADF, or face down on the scanner glass.  | ||
| 2 | Choose the settings for Scan (Image Type), Resolution, Scan Type, Brightness, Contrast and Document Size, as needed. | ||
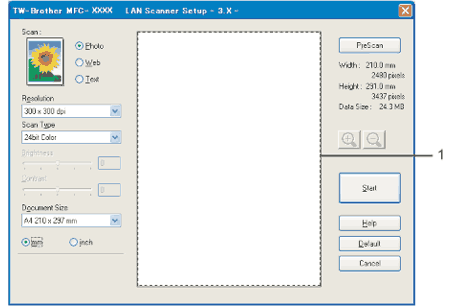
| 3 | Click PreScan. The whole image is scanned into the PC and appears in the Scanning Area of the Scanner Setup dialog box. | ||
| 4 | Press and hold down the left mouse button and drag it over the portion you want to scan.  | ||
| 5 | Load your document again.
| ||
| 6 | Click Start. This time only the chosen area of the document appears in the Presto!® PageManager® window (or your application window). | ||
| 7 | In the Presto!® PageManager® window, use the options available to refine the image. |