| | |
| 1 | Turn on the machine by plugging in the power cord. |
| 2 | From the Go menu, choose Applications. |
| 3 | Open the Utilities folder. |
| 4 | Double-click the Printer Setup Utility icon. (Mac OS X 10.2.x users, click the Print Center icon.) |
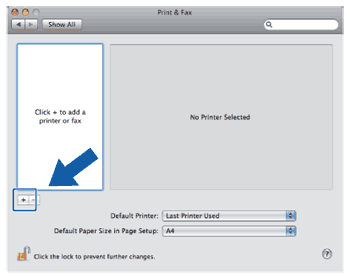
| 5 | Click Add. (For Mac OS X 10.2.4 to 10.3.x) Go to 6. (For Mac OS X 10.4.x or greater) Go to 7. |
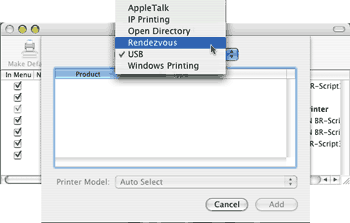
| 6 | (For Mac OS X 10.2.4 to 10.3.x) Make the following selection. |
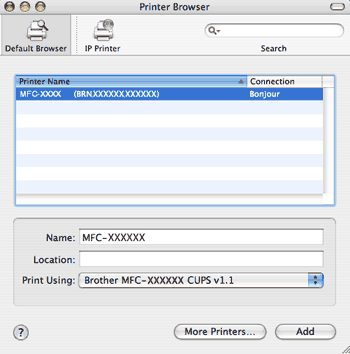
| 7 | Choose Brother MFC-XXXX (XXXX is your model name), and then click Add. |
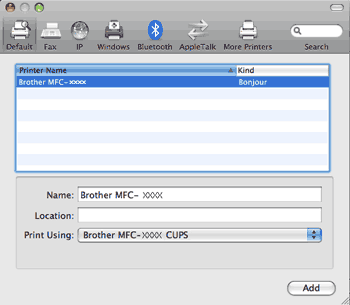
| 8 | Click the printer, then click Make Default to set the printer as the default printer. The printer is now ready. |
| | |