| | |
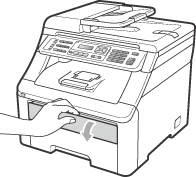
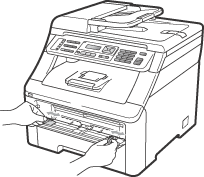
| 1 | Turn off the machine. Unplug the telephone line cord first, disconnect all cables, and then unplug the power cord from the electrical socket. | ||||
| 2 | 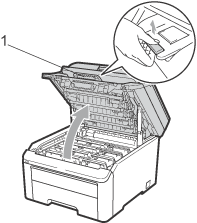   | ||||
| 3 | See the print sample to identify the color causing the problem. The color of the spots is the color of the drum you should clean. For example, if the spots are cyan, you should clean the drum for cyan. Take out the drum unit and toner cartridge assembly of the color causing the problem. 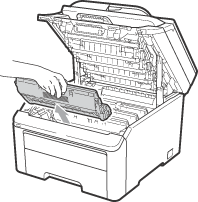
| ||||
| 4 | 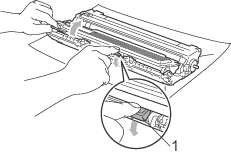 | ||||
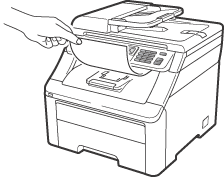
| 5 | Put the print sample in front of the drum unit, and find the exact position of the poor print. 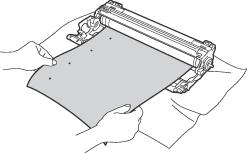 | ||||
| 6 | 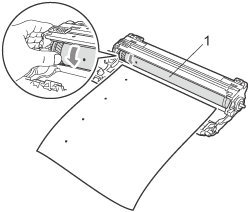 | ||||
| 7 | When you have found the mark on the drum that matches the print sample, wipe the surface of the OPC drum with a dry cotton swab until the dust or glue on the surface comes off. 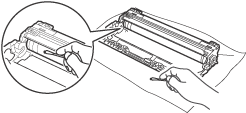 | ||||
| 8 | Put the toner cartridge back firmly into the drum unit until you hear it lock into place. | ||||
| 9 | Slide each drum unit and toner cartridge assembly into the machine. Make sure that you match the toner cartridge color to the same color label on the machine. 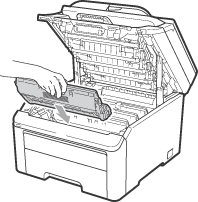 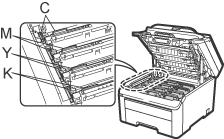 C-Cyan M-Magenta Y-Yellow K-Black | ||||
| 10 | Close the top cover of the machine. | ||||
| 11 | Plug the machine’s power cord back into the electrical socket first, and then reconnect all cables and telephone line cord. Turn on the machine. |
| | |