


  |   |
| 1 | Plug the machine’s power cord into the AC power outlet. Turn on the machine’s power switch. | ||||||||||||||||||||||||||||
| 2 | Press Menu, 7, 2, 7. Using
| ||||||||||||||||||||||||||||
| 3 | Turn on your Macintosh. | ||||||||||||||||||||||||||||
| 4 | Put the supplied CD-ROM into your CD-ROM drive. Double-click the MFL-Pro Suite icon on your desktop. | ||||||||||||||||||||||||||||
| 5 | Double-click the Utilities icon. 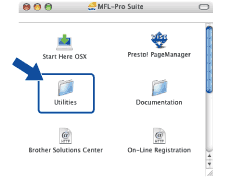 | ||||||||||||||||||||||||||||
| 6 | Double-click the Wireless Device Setup Wizard. 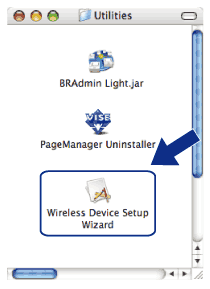 | ||||||||||||||||||||||||||||
| 7 | Choose Automatic install (Advanced) and click Next. 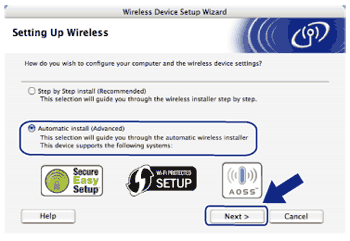 | ||||||||||||||||||||||||||||
| 8 | Confirm the on-screen message and click Next. 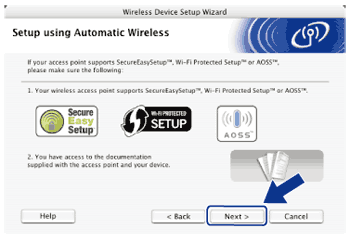 | ||||||||||||||||||||||||||||
| 9 | Press Menu, 7, 2, 3 for SES/WPS/AOSS. This feature will automatically detect which mode (SecureEasySetup™, Wi-Fi Protected Setup or AOSS™) your access point uses to configure your machine.
| ||||||||||||||||||||||||||||
| 10 | The machine searches for an access point that supports SecureEasySetup™, Wi-Fi Protected Setup or AOSS™ for 2 minutes.
| ||||||||||||||||||||||||||||
| 11 | Put your access point in the SecureEasySetup™ mode, Wi-Fi Protected Setup mode or AOSS™ mode, depending on what is supported by your access point. Please refer to the instruction manual that came with your access point. You will see Connecting AOSS, Connecting SES or Connecting WPS on the LCD while the machine searches your access point. | ||||||||||||||||||||||||||||
| 12 | If the LCD shows Connected, the machine has successfully connected to your access point/router. You can now use your machine in a wireless network. If the LCD shows Connection Error, a session overlap has been detected. The machine has detected more than one access point/router on your network with the SecureEasySetup™ mode, the Wi-Fi Protected Setup mode or AOSS™ mode enabled. Make sure that only one access point/router has the SecureEasySetup™ mode, the Wi-Fi Protected Setup mode or the AOSS™ mode enabled and try starting from step 9 again. If the LCD shows No Access Point, the machine has not detected your access point/router on your network with the SecureEasySetup™ mode, the Wi-Fi Protected Setup mode or AOSS™ mode enabled. Move the machine closer to your access point/router and try starting from step 9 again. If the LCD shows Connection Fail, the machine has not successfully connected to your access point/router. Try starting from step 9 again. If the same message is indicated again, reset the machine back to the default factory settings and try again. (For resetting, see Restoring the network settings to factory default.) LCD messages when using the SES/WPS/AOSS™ control panel menu
| ||||||||||||||||||||||||||||
| 13 | Click Next. 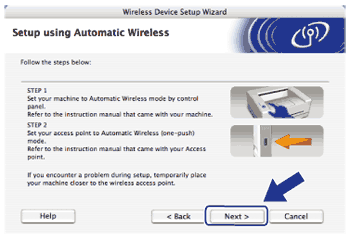 | ||||||||||||||||||||||||||||
| 14 | Check the box after you confirm that you have completed the wireless settings, and then click Finish. 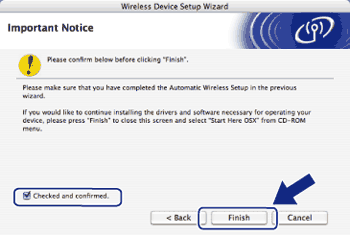 | ||||||||||||||||||||||||||||
  |   |