| 1 | Load your document. | ||
| 2 | Click PreScan. The whole image is scanned into your Macintosh® and appears in the Scanning Area. 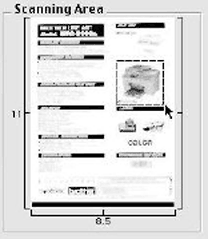 | ||
| 3 | Drag the mouse pointer over the portion you want to scan. | ||
| 4 | Put the document in the ADF again.
| ||
| 5 | Adjust the settings for Resolution, Scan Type (Greyscale), Brightness, Contrast, and Size in the Scanner Setup dialog box as needed. | ||
| 6 | Click Start. This time only the chosen area of the document appears in the application window. | ||
| 7 | You can refine the image in your editing software. |