Home > Routine Maintenance > Maintenance


Maintenance
- PT-N10
Always remove the batteries before performing routine maintenance of the Label Maker.
- PT-N20/PT-N25BT
Always remove the batteries and disconnect the AC Adapter before performing routine maintenance of the Label Maker.
Clean the Unit
- Wipe any dust and marks from the Label Maker using a soft, dry cloth.
- Use a slightly dampened cloth on difficult to remove marks.
 Do not use paint thinner, benzene, alcohol or any other organic solvent. These may deform or damage the case of your Label Maker.
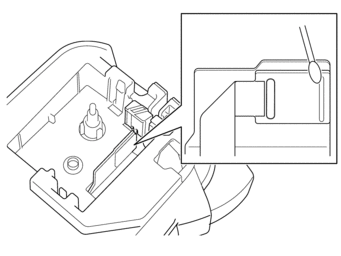
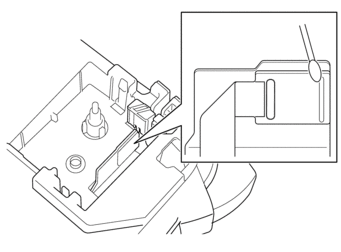
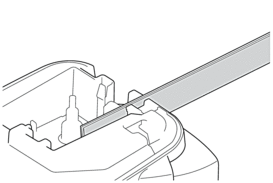
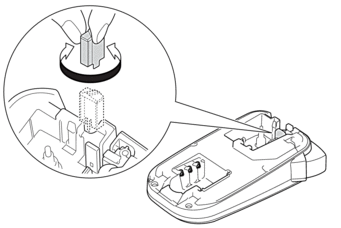
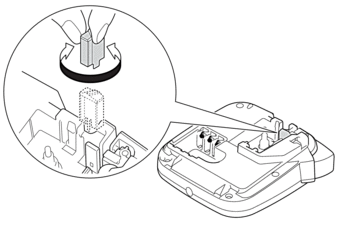
Clean the Print Head and Tape Exit Slot
Streaks or poor quality printed labels, or tape does not feed correctly generally indicate that the Print Head and Tape Exit Slot are dirty.
- Clean them using a cotton swab.
- PT-N10
- PT-N20/PT-N25BT
Do not touch the Print Head directly with your bare hands.
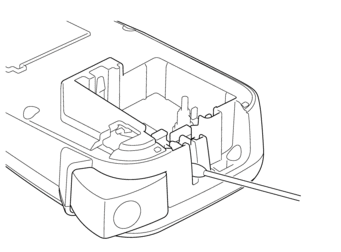
Clean the Cutter Blade
Tape adhesive can build up on the Cutter Blade after repeated use, which may result in poor cut quality. If the Cutter Blade does not cut the tape cleanly, remove the residue with a piece of Letter or A4 paper:
- Fold a piece of paper three times, as illustrated.

- Open the Tape Cassette Compartment Cover and place the folded paper between the Cutter Board and the Tape Cutter.
- Close the Tape Cassette Compartment Cover and press the Tape Cutter Lever three times.This cleans the blade and cuts the paper.
- Open the Tape Cassette Compartment Cover and remove the paper.
If the cut quality remains poor, repeat these steps.
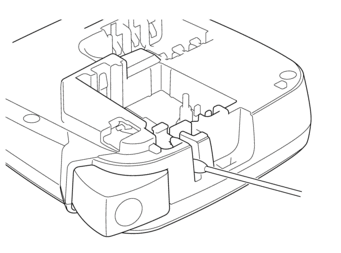
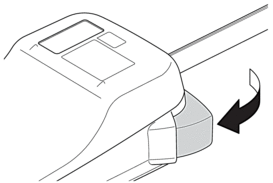
Turn the Cutter Board Around
The Cutter Blade becomes blunt after repetitive use and cannot cut the tape cleanly.
- Turning the Cutter Board around allows you to continue cutting using the other side.The Cutter Board can be turned only once to improve cutting.
- PT-N10
- PT-N20/PT-N25BT
If the problem continues, contact Brother Customer Service or your local Brother dealer.