Innov-is XV
Întrebări frecvente şi depanare |
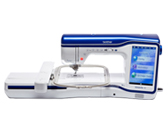
Innov-is XV
Dată: 27/08/2014 ID: faqh00000678_001
How do I specify the embroidering location with the sensor pen?
(Specifying the embroidery pattern location by selecting the pattern edge with the sensor pen.)
By using the sensor pen, the embroidering position can be adjusted to the desired location.
Normally, you will take the easy way to select the pattern center for specifying the embroidery location.
If you want to specify the embroidery location at the pattern center, refer to the procedure specifying the location by selecting the pattern center with the sensor pen. >>> Click here
Procedure for specifying the embroidery pattern location by selecting the Embroidering Position by the Pattern Edge
-
Turn the main power to ON.
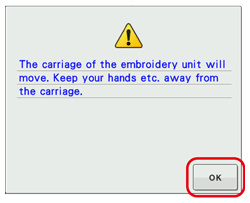
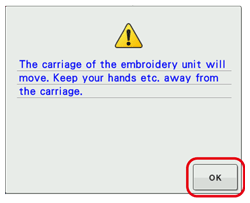
If the message “The carriage of the embroidery unit will move. Keep your hands etc. away from the carriage.” appears during the operation, ensure safety, and then press " OK ".
-
Press OK key.
The carriage will move to the initialization position.
-
Press EMBROIDERY key.
* Refer to "SELECTING PATTERNS" on the operation manual.
-
Hoop the fabric and attach the embroidery frame to the machine.
* Refer to "PREPARING THE FABRIC" and "ATTACHING THE EMBROIDERY FRAME" on the operation manual.
-
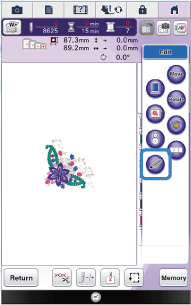
Press Edit key, and then
 (Sensor function key).
-
Press OK key.
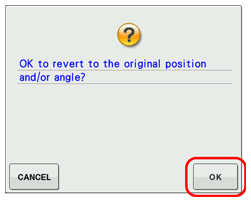
* The message in the screen may vary depending on the embroidery pattern.
-
The embroidering position selection screen appears.

-
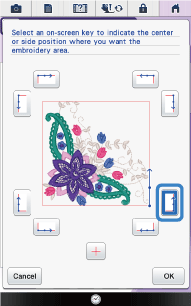
Select the reference point for positioning the embroidery pattern.
To align the edge of the embroidery with a pattern or mark on the fabric, select the edge of design. If the center of the pattern to be embroidered is determined, select the center position.
-
From the keys on the screen, press the edge to be the reference for positioning.
-
Press OK key.
-
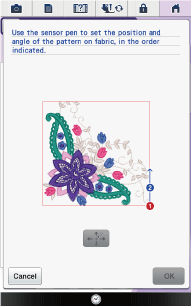
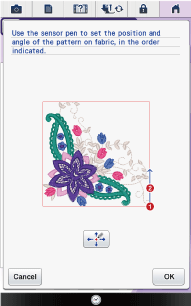
With the sensor pen, touch the point on the fabric corresponding to corner
 in the screen to set the left bottom corner of the character pattern.
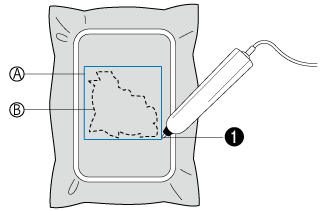
( A ) Square of pattern edge
( B ) Pattern position
 Left bottom corner of the pattern
→ Specified point number turns into red.
If you touch the invalid sewing area with the sensor pen, the following message appears.
Press CLOSE key and touch the point again within the sewing area with the sensor pen.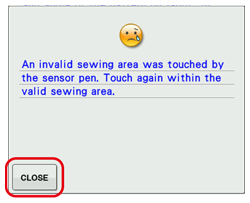
-
With the sensor pen, touch the point on the fabric corresponding to the number
 in the screen to set the angle of the pattern.
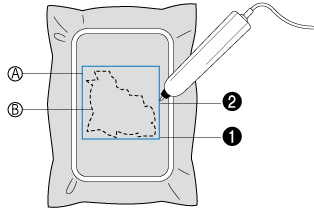
( A ) Square of pattern edge
( B ) Pattern position
 The point on the line which you want to place the pattern along
→ Specified point number turns into red.
-
Press
 (Position adjustment key) to adjust the positions.
If you don't need to adjust the positions, press OK key and continue to step 18.
-
Press OK key.
-
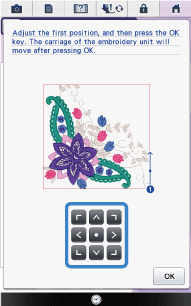
Press
 to move the LED pointer on the fabric for adjusting the first position.
-
Press OK key to apply the setting.
-
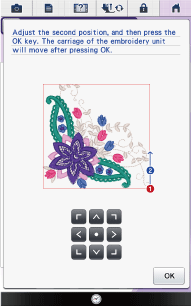
Press
 to move the LED pointer on the fabric for adjusting the second position.
-
Press OK key to apply the setting.
-
Press OK key.
If the specified pattern position extends out of the pattern area, the following message appears instead of above message.
Press CLOSE key and specify the pattern position again within the embroidery field.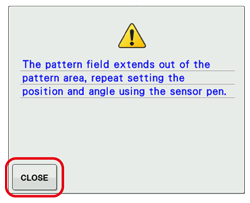
-
The preview in the sewing screen is updated according to the specified embroidering position.
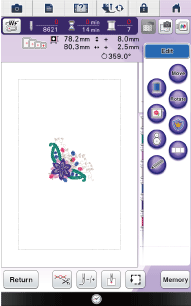
- Press the "Start/Stop" button to start embroidering.
Dacă aveţi nevoie de asistenţă suplimentară, vă rugăm să contactaţi serviciul de asistenţă clienţi Brother:
Spuneţi-vă părerea despre conţinutul furnizat
Vă rugăm să ţineţi cont de faptul că acest formular este folosit numai pentru feedback.
