HL-6180DW
Întrebări frecvente şi depanare |
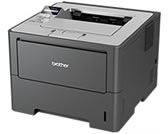
HL-6180DW
Dată: 26/04/2012 ID: faq00000309_016
Jam Rear
Please follow the steps below to clear the message "Jam Rear".
NOTE: Illustrations shown below are from a representative product and may differ from your Brother machine.
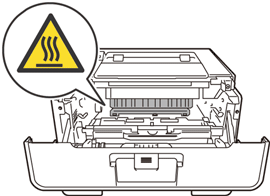
After you have just used the machine, some internal parts of the machine will be extremely hot. Wait for the machine to cool down before you touch the internal parts of the machine.
-
Leave the machine turned on for 10 minutes for the internal fan to cool the extremely hot parts inside the machine.
-
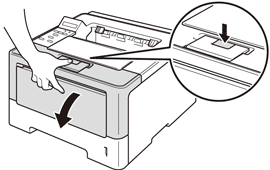
Press the cover release button and then open the front cover.
-
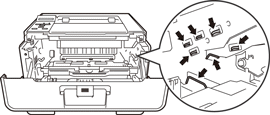
Slowly take out the drum unit and toner cartridge assembly. The jammed paper may be pulled out with the drum unit and toner cartridge assembly, or this may release the paper so you can pull it out from inside of the machine.

- We recommend that you put the drum unit and toner cartridge assembly on a piece of disposable paper or cloth in case you accidentally spill or scatter toner.
- Handle the drum unit and toner cartridge assembly carefully. If toner scatters on your hands or clothes, immediately wipe or wash it off with cold water.
- To prevent damage to the machine from static electricity, DO NOT touch the electrodes shown in the illustration.
- Open the back cover.
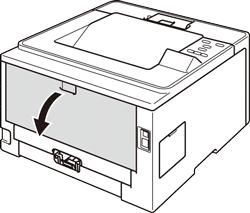
After you have just used the machine, some internal parts of the machine will be extremely hot. Wait for the machine to cool down before you touch the internal parts of the machine.
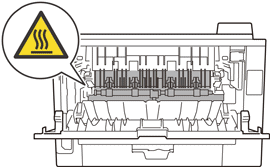
-
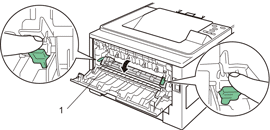
Pull the green tabs at the left and right hand sides toward you to open the fuser cover (1).
-
Using both hands, gently pull the jammed paper out of the fuser unit.
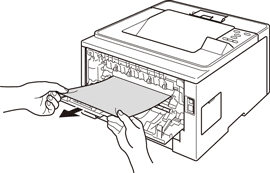
Close the fuser cover.
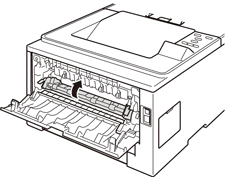
Close the back cover.
Put the drum unit and toner cartridge assembly back into the machine.
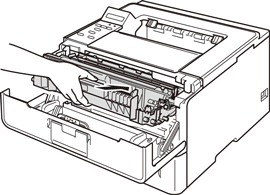
Close the front cover of the machine.
For models without LCD:
Make sure that the Back Cover, Paper and Error LEDs are off and that the Ready LED is green.
Întrebări frecvente asociate
HL-5440D, HL-5450DN, HL-5470DW, HL-6180DW
Dacă aveţi nevoie de asistenţă suplimentară, vă rugăm să contactaţi serviciul de asistenţă clienţi Brother:
Spuneţi-vă părerea despre conţinutul furnizat
Vă rugăm să ţineţi cont de faptul că acest formular este folosit numai pentru feedback.