DCP-385C
Vanliga frågor & felsökning |
Install PaperPort™ 12SE / 14SE onto Windows 10.
You can install PaperPort™ 12SE / 14SE from the CD-ROM supplied with your Brother machine.
Check the OS written on the CD-ROM label and follow the steps applicable for your case.
- If you find Windows 10 on your CD-ROM label, go to Case A: Windows 10 is written on the CD-ROM label.
- If do not, go to Case B: Windows 10 is NOT written on the CD-ROM label.
Case A: Windows 10 is written on the CD-ROM label.
- Insert the CD-ROM supplied with your Brother machine into the CD/ DVD drive.
-
Click File Explorer.

- Open the CD/ DVD drive and then double-click the start.exe to run the opening screen.
-
Choose your model (if needed) and language and then click Install MFL-Pro suite. Follow the onscreen instructions to install PaperPort™ 12SE / 14SE.
- If the User Account Control screen appears during installation, click Yes.
-
If the Scan button is grayed out when you open the PaperPort™ 12SE / 14SE application after installation, you need to get a patch software to fix it.
Follow the steps below to download and run the patch software:
- Close PaperPort™ 12SE / 14SE.
- > Click here to download the Scanner Connection Tool.(Jump to the Kofax® website. Opening new window.)
- Once the file has downloaded, double-click the "PPScnConnTool.exe" file.
- When the PaperPort Scanner Connection Tool appears, click the "Enable" button.
- Launch PaperPort™ 12SE / 14SE and confirm the "Scan" button is now accessible.
Case B: Windows 10 is NOT written on the CD-ROM label.
- Insert the CD-ROM supplied with your Brother machine into the CD/ DVD drive.
-
Click File Explorer.

- Open the CD/ DVD drive.
- Open the paperport folder and then the program folder. Double-click setup.exe.
- The installation will start. Follow the installation screen directions.
Step2: Installing Microsoft Visual C++ 2005 Redistributable Package
Installation steps vary depending on the version of your Windows 10. Follow the steps below for your Windows 10 version.
[For 32bit users]
- Open the Utilities folder. Double-click vcredist_x86.exe.
-
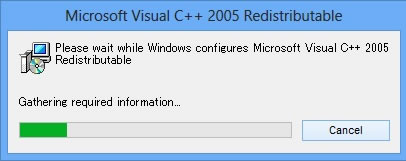
A window will appear. After finishing installation, the window will close.

[For 64bit users]
- Open the Utilities folder. Double-click vcredist_x86.exe.
-
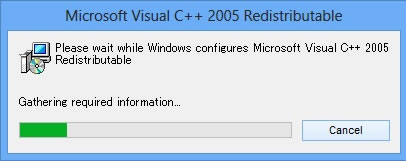
A window will appear. After finishing installation, the window will close.

- Open the System64 folder. Double-click vcredist_x64.exe.
-
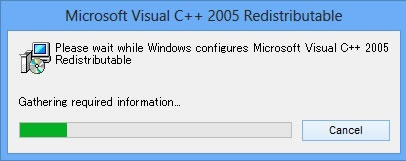
A window will appear. After finishing installation, the window will close.

Step3: Installing PaperPort Image Printer
Installation steps vary depending on the version of your Windows 10. Follow the steps below for your Windows 10 version.
[For 32bit users]
- Go back to the paperport folder. Open the printer folder, and then the sytem32 folder.
- Double-click setup.exe.
- The installation will start. Follow the installation screen directions.
[For 64bit users]
- Go back to the paperport folder. Open the printer folder, and then the system64 folder.
- Double-click setup.exe.
- The installation will start. Follow the installation screen directions.
