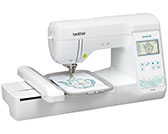
Innov-is F540E
Întrebări frecvente şi depanare |
How do I remove or attach the Embroidery foot ?
Only use embroidery feet designed specifically for this machine. Use of any other embroidery foot may result in injuries or damage to the machine.
-
Press
 (Needle position button) once or twice to raise the needle.
 -
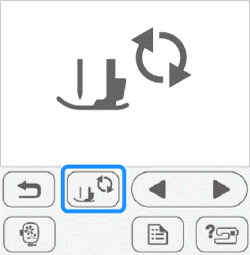
Press
 .
.
The screen changes, and all keys and operation buttons are locked (except ).
).
-
Raise the presser foot lever.
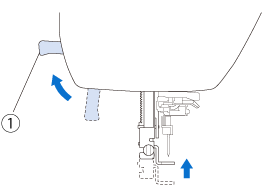
(1) Presser foot lever -
Use the included screwdriver to loosen the embroidery foot screw, and then remove the embroidery foot.
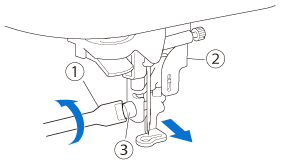
(1) Screwdriver
(2) Embroidery foot
(3) Embroidery foot screw
-
Hold the embroidery foot with your right hand, as shown.
Hold the embroidery foot with your index finger wrapped around the lever at the back of the foot.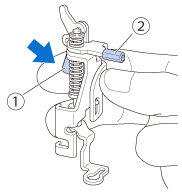
(1) Lever
(2) Embroidery foot
-
While pressing in the lever with your finger fit the embroidery foot bar over the needle clamp screw and then fit the presser foot holder screw into the presser foot mounting notch to attach the embroidery foot to the presser foot bar.
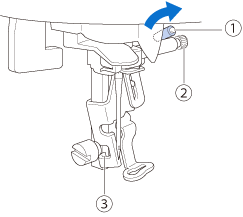
(1) Embroidery foot bar
(2) Needle clamp screw
(3) Mounting notch
-
Secure the embroidery foot with the presser foot holder screw.
Set the embroidery foot perpendicular.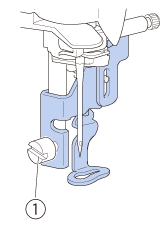
(1) Presser foot holder screw
- Slowly lower the presser foot lever.
-
Raise the presser foot lever to check that the embroidery foot is securely attached.
-
Press
 to unlock all keys and buttons.

Dacă nu aţi primit răspuns la întrebarea dumneavoastră, aţi verificat celelalte întrebări frecvente?
Dacă aveţi nevoie de asistenţă suplimentară, vă rugăm să contactaţi serviciul de asistenţă clienţi Brother:
Spuneţi-vă părerea despre conţinutul furnizat
Pentru a ne ajuta să îmbunătăţim serviciile de asistenţă, vă rugăm să vă spuneţi părerea.
