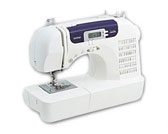
BC-2500
SSS ve Sorun Giderme |
How do I remove or attach the presser foot ?
- Before replacing the presser foot, be sure to turn off the sewing machine, otherwise injuries may occur if the foot controller or the start/stop button is accidentally pressed and the machine starts sewing.
-
Use the presser foot appropriate for the type of stitch that you wish to sew, otherwise the needle may hit the presser foot, causing the needle to bend or break.
- Only use presser feet designed specifically for this machine. Use of any other presser foot may result in injuries or damage to the machine.
-
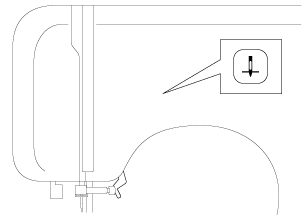
Press
 (needle position button) once or twice to raise the needle.
-
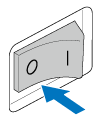
Turn off the sewing machine.
-
Raise the presser foot lever.
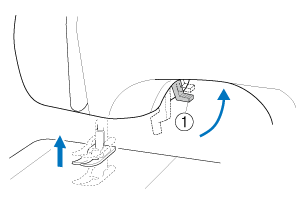
(1) Presser foot lever -
Press the black button at the back of the presser foot holder in order to remove the presser foot.
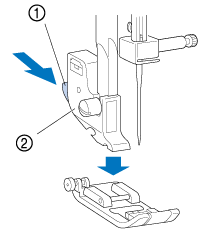
(1) Black button (2) Presser foot holder
-
Place a different presser foot below the holder so that the presser foot pin is aligned with the shank in the holder.
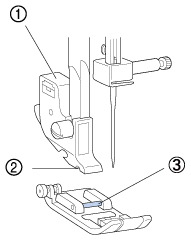
(1) Presser foot holder (2) Shank
(3) Pin
-
Slowly lower the presser foot lever so that the presser foot pin snaps into the shank in the presser foot holder.
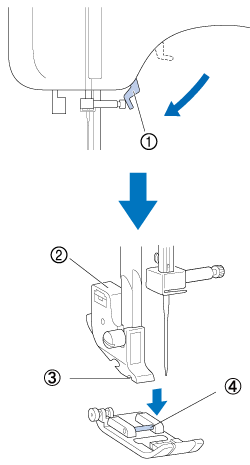
(1) Presser foot lever (2) Presser foot holder
(3) Shank
(4) Pin
-
Raise the presser foot lever to check that the presser foot is securely attached.
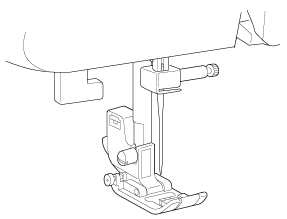
İçerik Geri Bildirimi
Desteğimizi iyileştirmek için bize yardımcı olmak üzere lütfen aşağıya geri bildiriminizi girin.
