MFC-J4620DW
Veelgestelde vragen en probleemoplossing |
Paper Jam (With Video Instructions)
Follow the steps below to clear the error message Paper Jam.
-
Video Instructions
-Case1: Paper Jam [Front]
-Case2: Paper Jam [Rear]
-Case3: Paper Jam [Front, Rear]
- Text Instructions (Paper Jam [Front], [Rear])
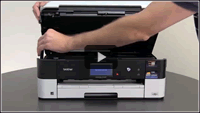 |
You can see the steps with video clips.
|
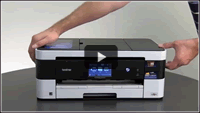 |
You can see the steps with video clips.
|
Case3: Paper Jam [Front, Rear]
 |
You can see the steps with video clips.
|
For the models with FAX functions:
Before you unplug the machine from the power source, you can transfer your faxes that are stored in the memory to your PC or another fax machine so you will not lose any important message. Click here to see how to forward a fax to another fax machine.
- Unplug your Brother machine from the AC power outlet (electrical socket).
-
If the paper support flap is open, close it, and then close the paper support. Pull the paper tray (1) completely out of the machine.
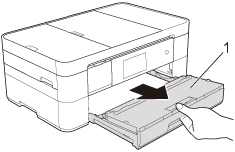
- If the machine's display (hereinafter called Touchscreen) shows Paper Jam [Rear], go to STEP 8.
-
Pull out the jammed paper (1).
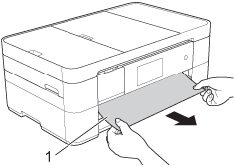
-
Lift the Jam Clear flap, and remove the jammed paper.
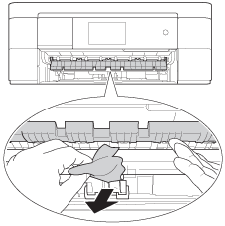
-
Make sure you look carefully inside the machine above and below the Jam Clear Flap for any pieces of paper.
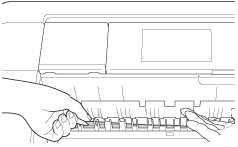
-
Put the paper tray firmly back in the machine.
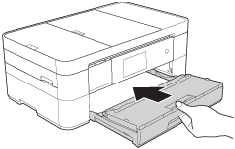
-
With the tray removed, do one of the following:
- If the Touchscreen shows Paper Jam [Front], go to STEP 12.
- If the Touchscreen shows Paper Jam [Front, Rear], go to STEP 8.
-
Open the Jam Clear Cover (1) at the back of the machine.
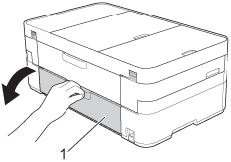
-
Open the inside cover (1).
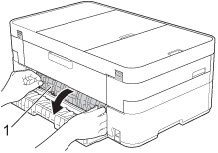
-
Pull the jammed paper out of the machine.
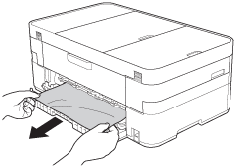
-
Close the inside cover and Jam Clear Cover. Make sure the covers are closed completely.
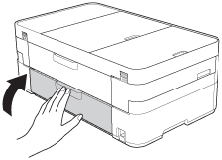
-
Check inside the machine.
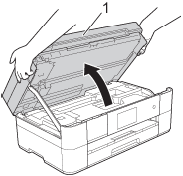
- Using both hands, use the finger holds on each side of the machine to lift the scanner cover (1) into the open position.
-
Move the print head (if necessary) to take out any paper remaining in this area. Make sure pieces of paper are not left in the corners of the machine (1) and (2).
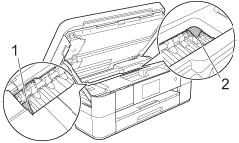
Unplug the machine from the power source before you move the print head using your hand.
-
If the print head is in the right corner as shown in the illustration, you cannot move the print head. Reconnect the power cord. Hold down
 (Cancel) until the print head moves to the center. Then unplug the machine from the power source and take out the paper.
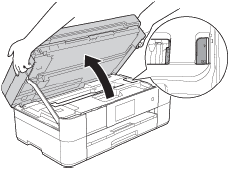
- If ink gets on your skin or clothing, immediately wash it off with soap or detergent.
-
Gently close the scanner cover using the finger holds on each side.

-
While holding the paper tray in the machine, pull out the paper support (1) until it locks into place, and then unfold the paper support flap (2).
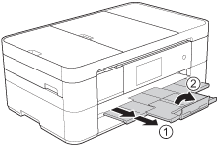
DO NOT use the paper support flap for Legal size paper. (Only available for some countries.)
- Plug the power cord back into the AC power outlet (electrical socket).
- Verify the error message is cleared.
If the error message continues to appear, click here to see information for the error message "Paper Jam" after removing the jammed paper.
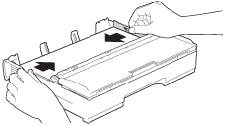
To avoid future paper jams, adjust the paper guides.
