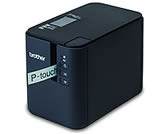
PT-P950NW
 |
FAQ et Diagnostic |
How to create serialized labels (Pro Label Tool)
The screens may differ depending on your device.
Make sure you select the item from the [Field] drop-down list for each of the lines that you want to include on your printed label.
-
Tap [Connect database/serialize] in the edit screen, and then select [New Data to serialize].

-
Select [Enter data...serialize] and type the number you like, and then tap [Serialize].

-
Tap the [Range] box and specify the range you want.
-
Set the values you want in the [Incremented by] and [Count] fields, and then select "↓" in [Output direction].
Incremented by: increase per count
Count: number of entries per series
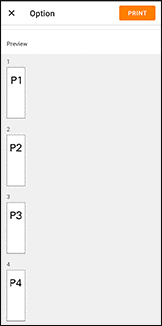
For example, when setting [Incremented by] to "1" and [Count] to "4", the labels will be serialized as follows: P1 P2 P3 P4.

To serialize multiple selected ranges, select the [Advanced serialize] check box, and then specify the necessary items.
-
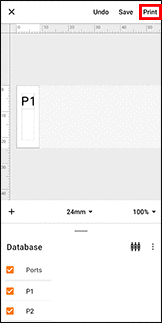
Tap [DONE]. The contents set in step 4 appear in the [Database] list.

-
Pull down the [Database] area, and then tap [Print].

-
Swipe up and check the preview.

-
Tap [PRINT].
Si vous n'avez pas obtenu de réponse satisfaisante à votre question, avez-vous vérifié d'autres FAQ?
Avez-vous consulté les manuels?
Pour toute assistance supplémentaire, contactez le service clientèle de Brother:
Modèles apparentés
PT-E550W, PT-P750W, PT-P900W/P900Wc, PT-P950NW
Commentaires sur le contenu
Merci d'indiquer vos commentaires ci-dessous. Ils nous aideront à améliorer notre support.


