HL-8050N
FAQ & Fehlerbehebung |
How do I install the Offset Catch Tray?
Follow the procedure below to install the Offset Catch Tray.
-
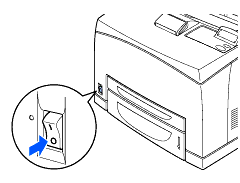
Turn off the printer power switch.
-
Pull out the power cord from the AC power outlet/socket and then the printer.

-
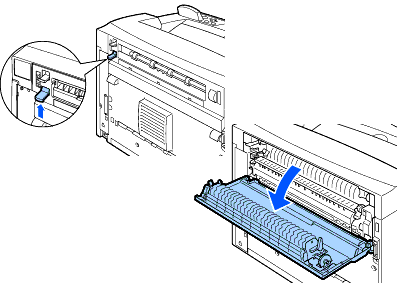
Open the back cover by lifting the lower gray lever at the top left corner of the back of the printer.
Do not touch any parts inside the printer.
-
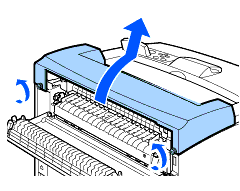
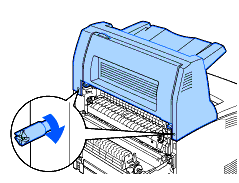
Loosen the right and left screws as shown in the illustration to uninstall the top cover of the paper exit.
-
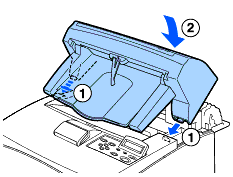
Insert the right and left tabs of the offset catch tray into the holes at the top of the printer (1), and then slowly lower it down on the top of the printer (2).
-
Secure the screws at both ends of the bottom of the offset catch tray.
-
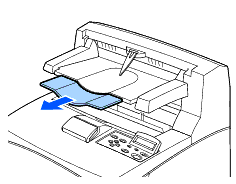
Pull out the tray's extension.
-
Close the back cover.
Reconnect the AC power cord to the printer. and then the AC power outlet/socket. Turn the printer switch back on.