Follow the procedure below to install additional memory.
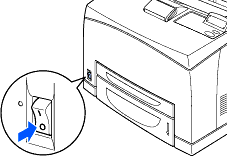
Turn off the printer power switch.
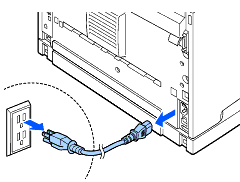
Pull out the AC power cord from the AC power outlet/socket and then the printer.
Make sure you turn the power to the printer off before you install or remove the DIMM.
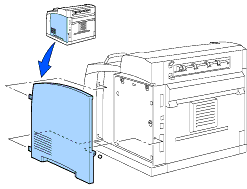
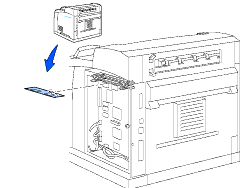
Loosen the screw on left side of the back of the printer, and then remove the side cover.
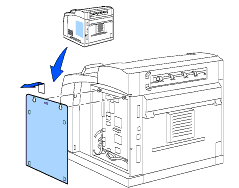
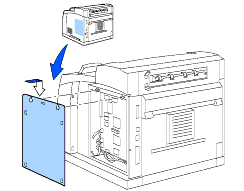
Loosen the two screws, and then remove the metal plate by lifting it up slightly.
Unpack the DIMM and hold it by its edges.
Hold the DIMM with your fingers on the side edges and your thumb on the back edge. Line up the notches on the DIMM with the DIMM slot. (Check that the locks on each side of the DIMM slot are open or facing outwards.)
Press the DIMM straight into the slot (press firmly). Make sure the locks on each side of the DIMM click into place. (To remove a DIMM, you must release the locks.)
Secure the metal plate with the two screws.
Put the side cover back on.
Reconnect the interface cable to your printer.
Plug the printer back in, and then turn on the printer power switch.
To check whether the DIMM has been installed properly, you can print the Print Settings listing that shows the current memory size.
Wenn Ihre Frage nicht beantwortet werden konnte, haben Sie andere FAQ geprüft?