PJ-523
FAQ & Fehlerbehebung |
How to install the Battery (Optional)
-
Open the printer's battery cover by pressing the cover latch.
Push the cover away from the AC adapter receptacle.
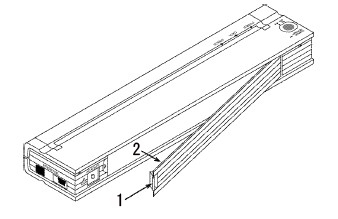
- Swing the cover open and remove it.
-
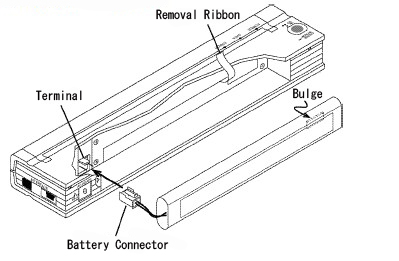
Gently push the battery connector into the terminal on the inside of the printer's battery compartment.
-
Grasp the battery removal ribbon, which is attached to the inside of the battery compartment.
If you forget to hold on to the ribbon, you may accidentally insert the battery on top of it. Then you won't be able to remove the battery by pulling the ribbon.
-
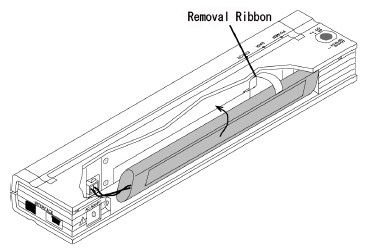
While holding onto the ribbon, tilt the battery and place it inside the battery compartment.
Once the battery clears the outer edges of the compartment, press it securely into position.
Make sure the side of the battery with Ni-HM marked face the outside of the battery compartment.
Otherwise, the battery cover will not close properly.The side of the battery opposite the warning label contains a heat sensor that stops the flow of electricity if the battery overheats.
-
Attach the battery cover to the end of the battery compartment opposite the AC adapter receptacle.
Close and latch the cover. If necessary, gently push the cover latch towards the AC adapter receptacle until it latches.