Home > Routine Maintenance > Replace Supplies > Replace the Waste Toner Box
Replace the Waste Toner Box
Before starting the replacement procedure, see Related Information: Replace Supplies.
- Make sure the machine is turned on.
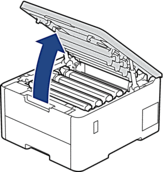
- Open the top cover until it locks in the open position.
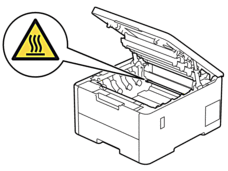
- WARNING
- HOT SURFACE
The machine's internal parts will be extremely hot. Wait for the machine to cool down before touching them.
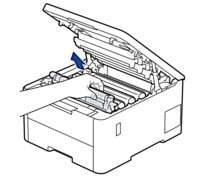
- Remove all of the toner cartridge and drum unit assemblies.
- CAUTION
-
We recommend placing the toner cartridge and drum unit assembly on a clean, flat surface with disposable paper underneath it in case you accidentally spill or scatter toner.
- IMPORTANT
-
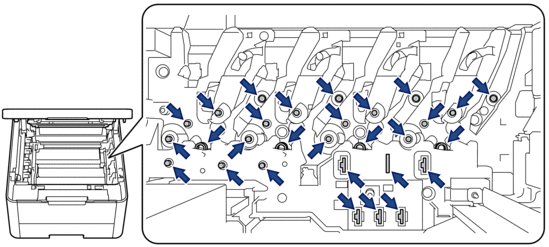
To prevent damage to the machine from static electricity, DO NOT touch the electrodes shown in the illustration.
- Hold the green handle of the belt unit and lift the belt unit up, and then pull it out without letting it touch the machine.

- NOTE
- To avoid print quality problems, DO NOT touch the shaded parts shown in the illustrations.

- Remove the orange packing material and discard it.
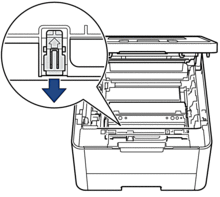
 This step is only necessary when you are replacing the waste toner box for the first time, and is not required for the replacement waste toner box. The orange packing pieces are installed at the factory to protect your machine during shipment.
 - Hold the green handle of the waste toner box and remove the waste toner box from the machine.
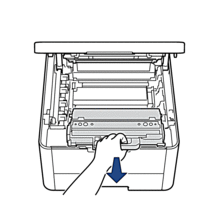
 DO NOT reuse the waste toner box.
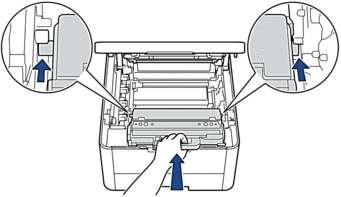
 - Unpack the new waste toner box and install the new waste toner box in the machine. Make sure the waste toner box is level and fits firmly into place.
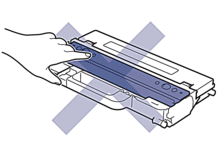
- NOTE
- To avoid print quality problems, DO NOT touch the shaded parts shown in the illustrations.
- Reinsert the belt unit into the machine.
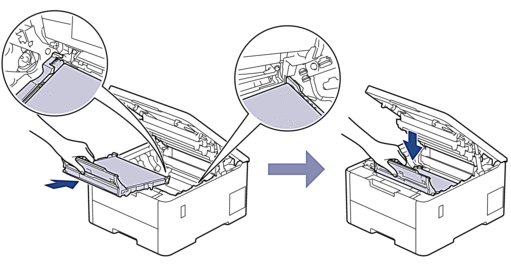
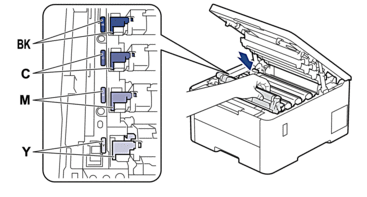
- Reinsert each toner cartridge and drum unit assembly into the machine. Make sure that you match the toner cartridge colour to the same colour label on the machine for all four toner cartridge and drum unit assemblies.
- Close the machine's top cover.
Did you find the information you needed?


