


  |   |
| 1 | Turn on your Macintosh®. | ||||
| 2 | Put the supplied CD-ROM into your CD-ROM drive. Double-click the HL4040_4050_4070 icon on your desktop. Double-click the Start Here icon. Select your printer and the language. 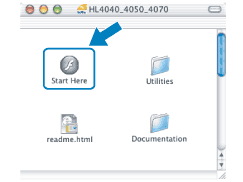 | ||||
| 3 | Click Install Printer Driver. 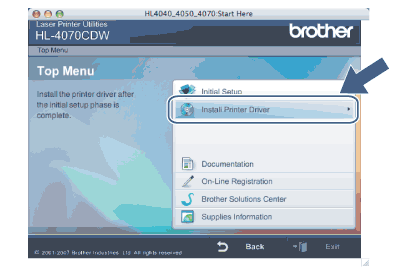 | ||||
| 4 | Click Wireless Network users. 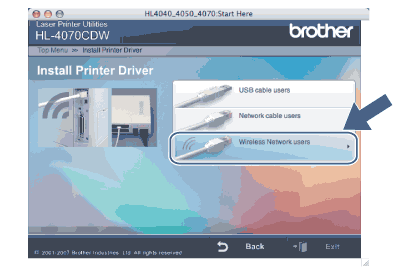 | ||||
| 5 | Choose Wireless Setup and Driver Install or Wireless Setup Only, and then click Next. 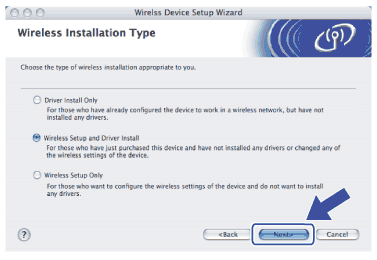 | ||||
| 6 | Read the Important Notice and check the box after you confirm this setting, and then click Next. 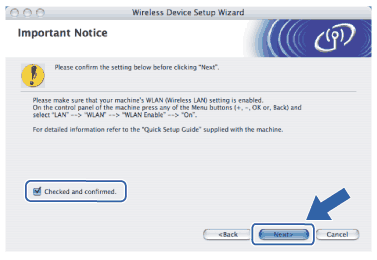 | ||||
| 7 | Choose Manual and then click Next. 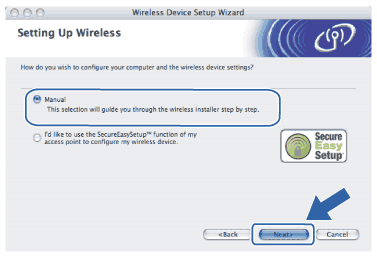 | ||||
| 8 | Choose I’m not able to connect my device to my access point with a network cable and then click Next. 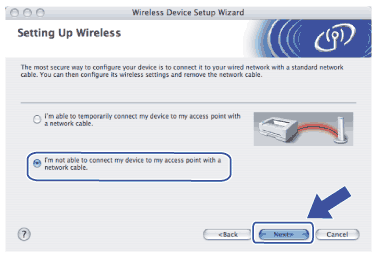 | ||||
| 9 | Choose This computer has wireless capability., and make sure I am using an access point in infrastructure mode is not checked. Click Next. 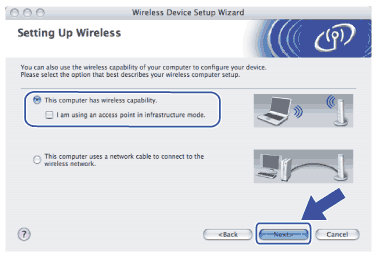 | ||||
| 10 | You need to temporarily change your computer’s wireless settings. Follow the on-screen instructions. Make sure you take notes on all the settings such as SSID or channel of your computer. You will need them to return your computer back to its original wireless settings, and then click Next. 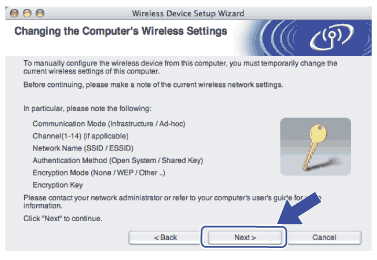 | ||||
| 11 | To communicate with the un-configured wireless printer, temporarily change the wireless settings on your computer to match printer’s default settings shown on this screen. Check the box after these settings, and then click Next. 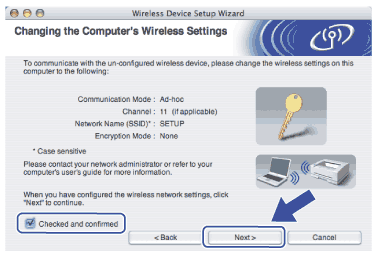 | ||||
| 12 | Choose the printer you wish to configure, and click Next. If the list is blank, check if the printer is powered on, and then click Refresh. 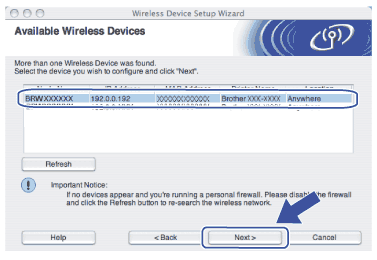 | ||||
| 13 | The wizard will search for wireless networks available from your printer. Choose the Ad-hoc network you wish to associate the printer with, and then click Next. 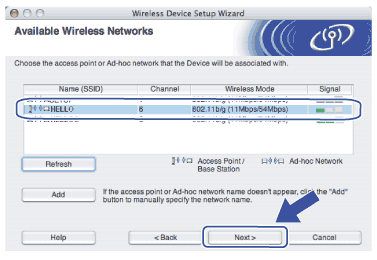
| ||||
| 14 | If your network is not configured for Authentication and Encryption, the following screen will appear. To continue configuration, click OK and go to 17. 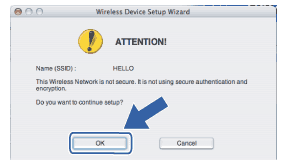 | ||||
| 15 | If your network is configured for Authentication and Encryption, the following screen will appear. When configuring your Brother wireless printer, you must ensure that it is configured to match the Authentication and Encryption settings of your existing wireless network. Choose the Authentication Method and Encryption Mode from the pull-downs in each setting box. Then enter the Network key and click Next. Go to 17. 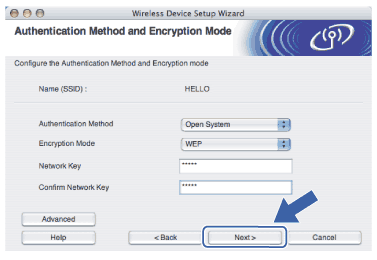 | ||||
| 16 | Enter a new SSID and choose the Authentication Method and Encryption Mode from the pull-downs in each setting box. Then enter the Network key and click Next. 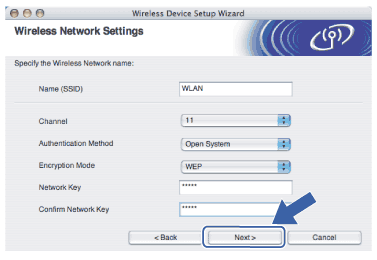 | ||||
| 17 | Click Next. The settings will be sent to your printer. The settings will remain unchanged if you click Cancel. 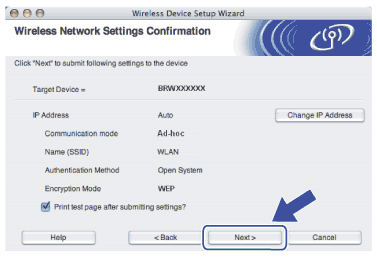 | ||||
| 18 | To communicate with the configured wireless device, you must configure your computer to use same wireless settings. Manually change the wireless settings on your computer to match the printer’s wireless settings shown on this screen. Check the box after these settings, and then click Next or Finish. (The settings shown on this screen are for example only. Your settings will not be the same.) 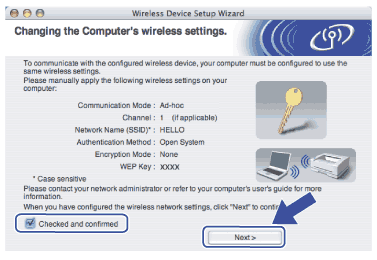 |
|
  |   |