

  |   |
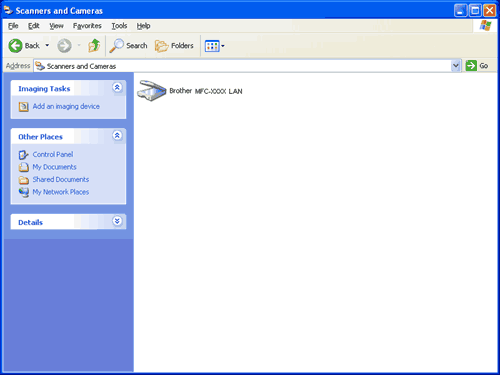
| 1 | For Windows®2000, click the Start button, Control Panel, then Scanners and Cameras. For Windows® XP, click the Start button, Control Panel, Printers and Other Hardware, then Scanners and Cameras (or Control Panel, Scanners and Cameras). For Windows Vista™, click the Start button, Control Panel, Hardware and Sound, then Scanner and Camera.  | ||||
| 2 | Do one of the following: | ||||
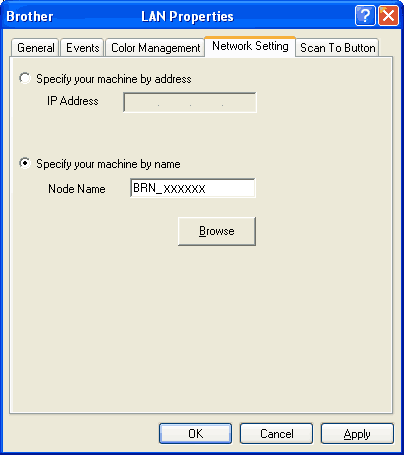
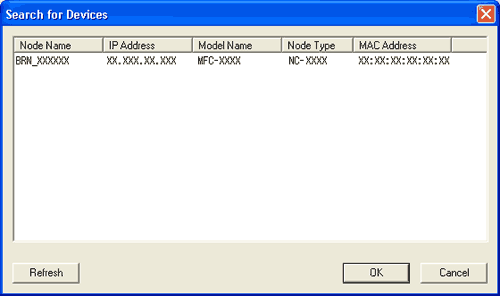
| 3 | Click the Network Setting tab and choose the appropriate connection method. 
 | ||||
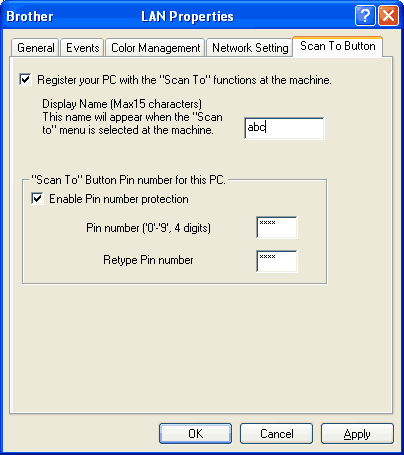
| 4 | Click the Scan To Button tab and enter your PC name in the Display Name field. The machine’s LCD displays the name you enter. The default setting is your PC name. You can enter any name that you like (Max. 15 characters).  | ||||
| 5 | If you want to avoid receiving unwanted documents, enter a 4-digit PIN number in the Pin number and Retype Pin number field. To send data to a PC protected by a PIN number, the LCD prompts you to enter the PIN number before the document can be scanned and sent to the PC. (See Using the Scan key.) |
  |   |