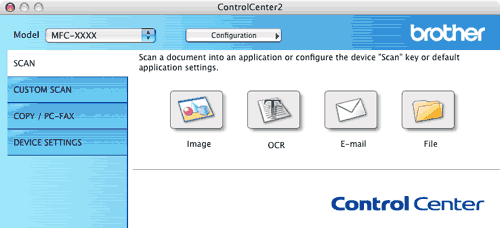
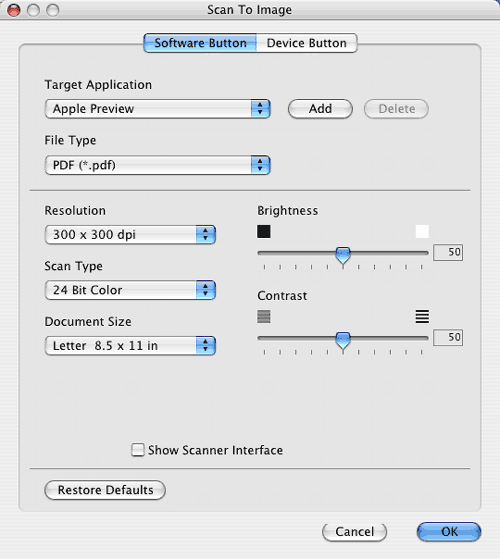
The Scan to Image feature lets you scan an image directly into your graphics application for image editing. To change the default settings, click the button while holding down the Ctrl key and choose Software Button.
If you want to scan and then crop a portion of a page after pre-scanning the document, check the Show Scanner Interface box.
Change the other settings, if needed.
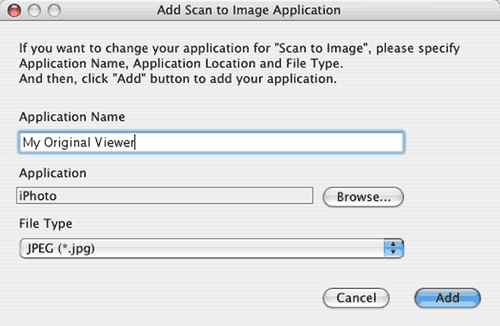
To change the destination application, choose the destination application from the Target Application pop-up menu. You can add an application to the lists by clicking the Add button.
Enter the Application Name (up to 30 characters) and choose your preferred application by clicking the Browse button. Also choose the File Type from the pop-up menu.
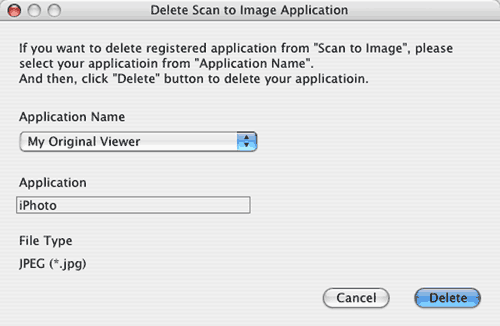
You can delete an application that you have added. Just choose the Application Name and click the Delete button.

Note
| | This function is also available for Scan to E-mail and Scan to OCR. The window may vary depending on the function. |


