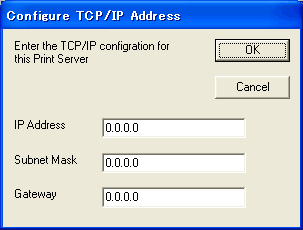
If the printer does not have an IP address, the Wizard will allow you to change the IP address by selecting the printer from the list and by selecting the Configure IP option. A dialogue box then appears which allows you to specify information such as the IP address, subnet mask and also the gateway address.
| 1 |
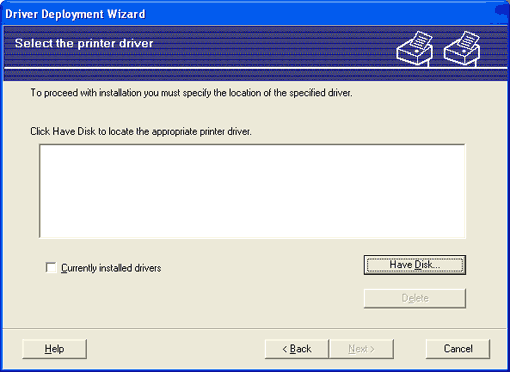
Choose the printer driver you want to use.
|
| 2 |
If the driver you want to use is not installed on your PC, click the Have Disk button and then specify the path of the printer driver.
|
| 3 |
Click Next after you choose the correct driver.
|
| 4 |
After you choose the appropriate driver a summary screen appears. Confirm the settings of the driver.
|
| 5 |
Click Finish. The driver is automatically installed to your computer.
|


