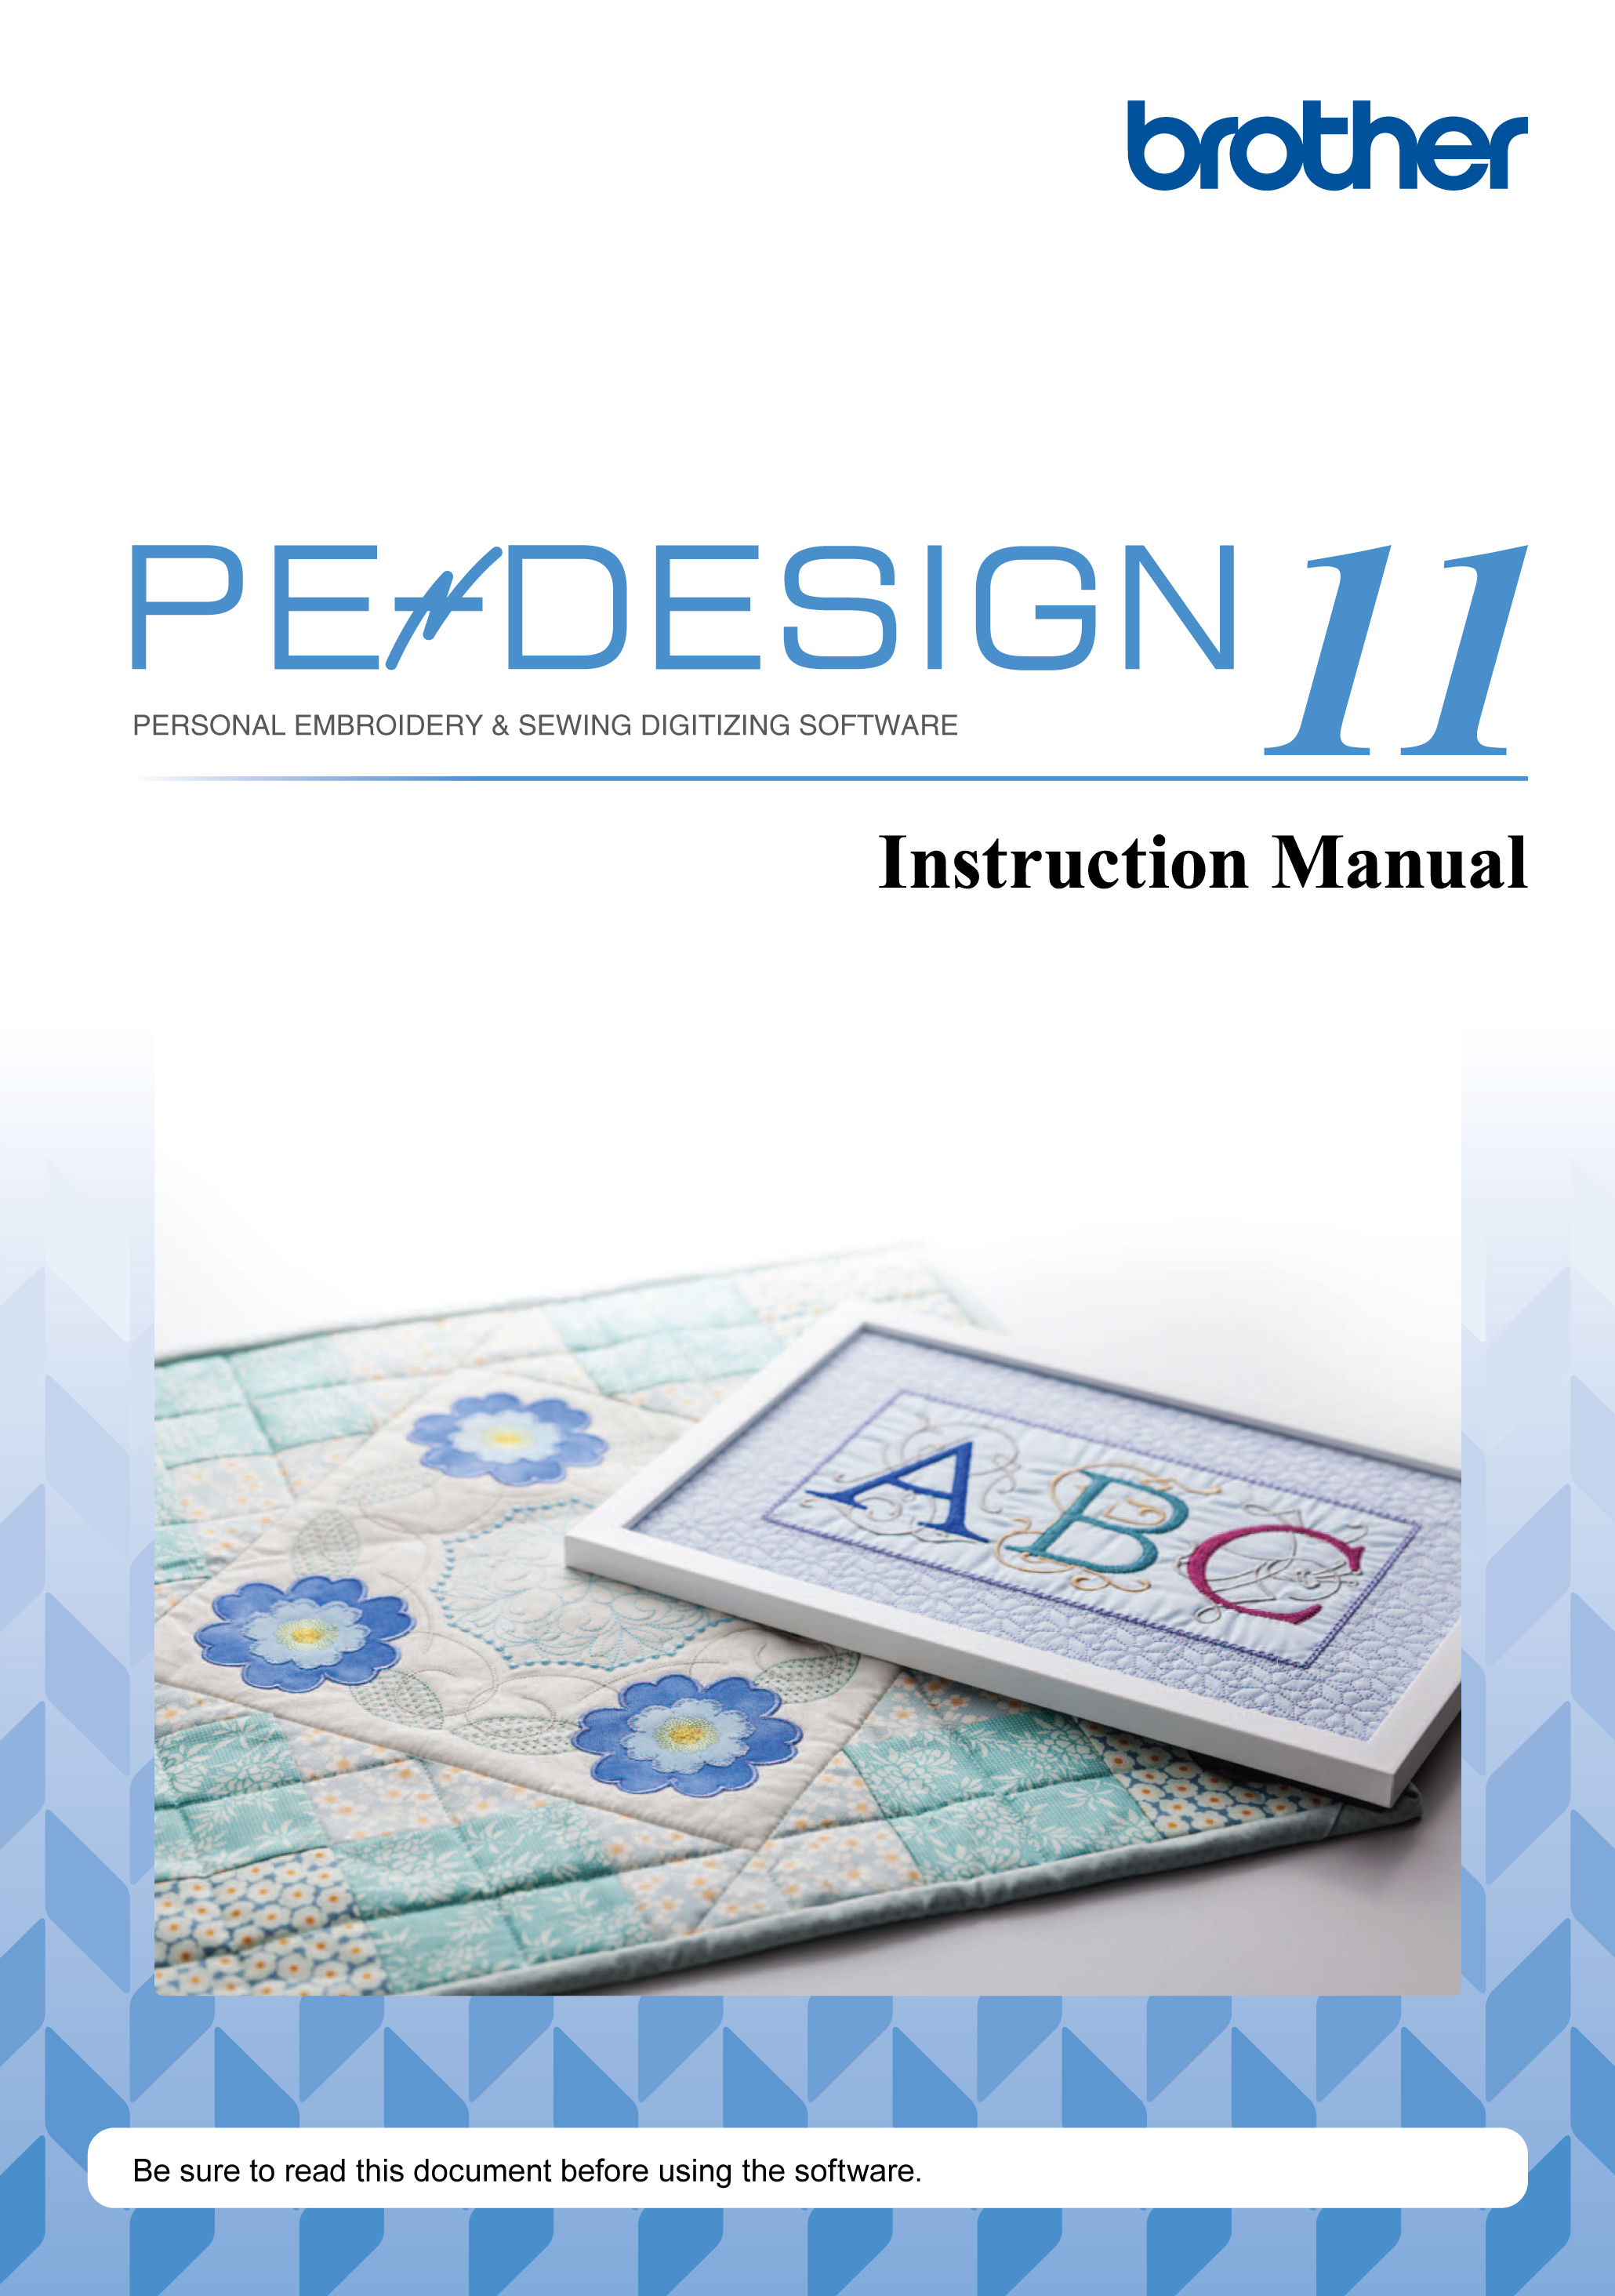
PE-DESIGN 11

  • Congratulations on choosing our product!
  • Introduction
    • How To Use Manuals
      • Reference Guide
      • Instruction Manual
    • Support/Service
      • Technical Support
      • Online Registration (Except for European region countries)
      • Checking for the Latest Version of the Program
    • PE-DESIGN Software Key
    • Comparison of Types of Data Created With PE-DESIGN 11
    • Starting Up/Exiting Applications
      • Starting Up the Application
      • Exiting the Application
      • About the Startup Wizard
    • Understanding Windows
      • Layout & Editing Window
      • Example of Importing Embroidery Data
    • Basic Software Settings
      • Specifying the Design Page Settings
      • Using Fabric Selector
      • Specifying Basic Display Settings
  • Basic Layout & Editing Operations
    • Layout & Editing
      • Application button menu
      • Ribbon menu tabs
    • Tutorial 1: Drawing shapes to create an embroidery design
      • Step 1 Drawing, importing and moving shapes
      • Step 2 Duplicating, flipping and moving shapes
      • Step 3 Specifying hole sewing
      • Step 4 Applying a pattern to stitching
      • Step 5 Editing points and modifying shapes
    • Editing Embroidery Designs
      • Selecting patterns
      • Moving patterns
      • Scaling patterns
      • Rotating patterns
      • Flipping patterns horizontally or vertically
      • Arrange Copies
      • Adding a decorative pattern
      • Grouping/Ungrouping embroidery patterns
      • Hole sewing
      • Changing shapes of overlapped patterns
      • Splitting Shape pattern
      • Creating a floral pattern
      • Creating an offset line pattern
      • Converting region stitching to line stitching
    • Specifying Thread Colors and Sew Types for Lines and Regions
      • Setting the thread color
      • Setting the sew type
      • Moving entry/exit points, the center point and stitch pattern reference point
      • Specifying the straight sewing direction
      • Specifying the curved sewing direction (round fill)
      • Specifying sewing attributes
      • Copying sewing attributes
      • Embossing/Engraving
      • Applying and editing stamps
    • Drawing Shapes
      • Drawing rectangle, circle or arc shape
      • Drawing various shape
      • Drawing outlines (straight lines and curves)
      • Changing the attributes of line ends
      • Embroidery attributes of shapes
    • Reshaping Embroidery Patterns
      • Selecting points
      • Moving points
      • Inserting points
      • Deleting points
      • Connecting points/splitting outlines (shape patterns)
      • Transforming straight lines into curves or curves into straight lines
      • Changing the curve type
    • Editing a Stitch Pattern
      • Converting shape pattern or text pattern to a stitch pattern
      • Selecting stitch patterns by thread color
      • Selecting stitch points of stitch pattern
      • Connecting points/splitting stitches (stitch patterns)
      • Splitting off parts of a stitch pattern
      • Dividing stitch pattern by color
      • Converting stitch patterns
    • Checking Embroidery Patterns
      • Zooming
      • Using the Pan tool
      • Using the Measure tool
      • Changing the display of the embroidery design
      • Checking the stitching with the Stitch Simulator
      • Viewing design in the Reference Window
      • Checking and Editing the Sewing Order
      • Jump Stitch Trimming
      • Checking embroidery design information
    • Opening/Importing Embroidery Designs
      • Creating a new embroidery design
      • Opening a Layout & Editing file
      • Importing embroidery designs
      • Importing vector images (WMF/EMF/SVG)
      • Importing embroidery design from Design Center
    • Saving and Printing
      • Saving
      • Printing
  • Creating Embroidery Patterns Containing Text
    • Tutorial 2: Using Templates
      • Step 1 Starting the Template Wizard
      • Step 2 Selecting the type of template to be used
      • Step 3 Editing the text
      • Step 4 Outputting the edited template
    • Template Feature
      • Saving your design as a new template
    • Tutorial 3: Entering text
      • Step 1 Importing a transformed text pattern
      • Step 2 Editing entered text
    • Advanced Operations for Entering Text
      • Entering text
      • Editing entered text
      • Setting text attributes
      • Fitting text to an outline
      • Editing individual characters
      • Changing a character size and character's attributes
      • Converting text patterns
      • Selecting connection point positions in a text pattern
      • Embroidery attributes for text
      • Small Text
    • Tutorial 4: Monograms
      • Step 1 Entering monograms
      • Step 2 Adding a decorative pattern
      • Step 3 Changing character size of the monogram
      • Step 4 Changing the thread color and sew type of the monogram
    • Advanced Operations for Entering Monograms
      • Editing monograms
    • User-Mapped Text
    • Tutorial 5: Creating Name Drop
      • Step 1 Designing the embroidery pattern
      • Step 2 Creating the list
      • Step 3 Outputting patterns using text from the text list
    • Name Drop Feature (Replacing Text)
      • Text attributes with Name Drop attribute applied
      • Functions in the Name Drop List dialog box
  • Creating Embroidery Patterns Using Images
    • Stitch Wizard: Automatically Converting an Image to an Embroidery Design
    • Tutorial 6-1: Auto Punch
      • Step 1 Importing image data into Layout & Editing
      • Step 2 Starting the Auto Punch wizard
      • Step 3 Applying an image mask and adjusting its size and position
      • Step 4 Creating a border from the mask outline and converting to an embroidery pattern
    • Auto Punch Features
      • Auto Punch Parameters dialog box
    • Tutorial 6-2: Cross Stitch
      • Step 1 Importing image data into Layout & Editing
      • Step 2 Starting the Cross Stitch wizard
    • Cross Stitch Features
      • Cross Stitch Parameters dialog box
    • Tutorial 6-3: Photo Stitch 1
      • Step 1 Importing photo data into Layout & Editing
      • Step 2 Starting the Photo Stitch 1 wizard
      • Step 3 Applying an image mask and adjusting its size and position
      • Step 4 Selecting appropriate thread colors and creating an embroidery pattern
      • Tips for improved results
    • Photo Stitch 1 Features
      • Photo Stitch 1 Parameters dialog box
    • Tutorial 6-4: Photo Stitch 2
      • Step 1 Importing photo data into Layout & Editing
      • Step 2 Starting the Photo Stitch 2 wizard
      • Step 3 Applying an image mask and adjusting its size and position
      • Step 4 Changing the sewing angle
    • Photo Stitch 2 Features
      • Photo Stitch 2 Parameters dialog box
    • Advanced Stitch Wizard Operations
      • Image To Stitch Wizard
      • Adjusting the Mask and Image
      • Importing to Design Center
    • Importing Image Data
      • Importing image from a file
      • Importing image from the clipboard
      • Importing image from a scanner (TWAIN Device)
    • Changing the Image Settings
      • Adjusting the density of the background image
      • Changing the size, angle and position of the image
      • Saving the image data
    • Tutorial 7: Print and Stitch
      • Step 1 Creating a design combined with a background image
      • Step 2 Printing the background image
      • Step 3 Printing the positioning sheet
      • Step 4 Embroidering
  • Operations for Specific Applications
    • Tutorial 8: Filling a specified area around a pattern with embroidery
      • Step 1 Creating a pattern
      • Step 2 Adding a pattern to the background fill
    • Specify Settings for Background Fill
      • Specify settings for background fill pattern
    • Tutorial 9-1: Creating Appliqués
      • Step 1 Creating an appliqué pattern
      • Step 2 Using the Applique Wizard
    • Tutorial 9-2: Creating Embroidered Patches
      • Step 1 Creating the patch pattern
      • Step 2 Using the Embroidered Patch Wizard
      • Practical use of Satin Stitch and Cutting Line
    • Tutorial 9-3: Creating a Cutwork Pattern Filled with Net Stitching
      • Step 1 Creating an outline shape for cutwork
      • Step 2 Using the Cutwork Wizard
    • On Using the Cutwork Functions
      • Basic requirements for Cutwork functions
      • Layout & Editing window for cutwork patterns
      • Transferring/saving/exporting the cutwork patterns
    • Tutorial 10-1: Creating Split Embroidery Designs
      • Step 1 Specifying the Design Page size in Layout & Editing
      • Step 2 Creating the embroidery design
      • Step 3 Checking the embroidering order
      • Step 4 Attaching stabilizer to the fabric
      • Step 5 Using the Positioning Sheet to mark the embroidering position on the fabric
      • Step 6 Hooping the fabric
      • Step 7 Embroidering
    • Specifying Settings for Split Embroidery Designs
      • Changing the size of sections
      • Adjusting the split positions in split embroidery designs
    • Tutorial 10-2: Creating Design for Multi-Position Hoops
      • Step 1 Selecting the Design Page size
      • Step 2 Creating the design
      • Step 3 Optimizing hoop changes
      • Step 4 Checking the pattern
    • Tutorial 10-3: Embroidering With the Jumbo Frame
      • Step 1 Selecting the Design Page size
      • Step 2 Creating the embroidery design
      • Step 3 Checking a divided pattern
      • Step 4 Attaching stabilizer to the fabric
      • Step 5 Embroidering
    • Specifying/Saving Custom Sewing Attributes
      • Saving frequently used sewing attributes
      • Editing user thread color lists
    • Using Manual Punch Tool
      • Creating an original logo
  • Transferring Data
    • Transferring Embroidery Designs to Machines
      • Transferring to a machine by using USB media
      • Transferring directly to a machine's memory
      • Transferring to a machine via wireless network
      • Transferring to a machine by using an original card
    • Using the Link Function to Embroider From the Computer
      • USB Link
      • Wireless Link
  • Compatibility with ScanNCut (Brother cutting machine)
    • Compatibility with ScanNCut (Brother cutting machine)
      • About the [ScanNCut] tab (Layout & Editing)
    • Tutorial 11:Sending an FCM File to CanvasWorkspace
      • Step 1 Logging in to CanvasWorkspace
      • Step 2 Selecting a pattern
      • Step 3 Sending a pattern to CanvasWorkspace
    • Exporting/Importing an FCM File
      • Exporting an FCM File
      • Importing an FCM File
  • Design Center
    • Design Center
      • Application button menu
      • Ribbon menu tabs
    • Basic Design Center Operations
      • Step 1 Original Image Stage
      • Step 2 Line Image Stage
      • Step 3 Figure Handle Stage
      • Step 4 Sew Setting Stage
      • Step 5 Importing into Layout & Editing
    • Design Center Window
    • Original Image Stage
      • Using the wizard
      • Opening a file
    • Line Image Stage
      • Extracting the outlines of an image
      • Drawing a new line image freehand
    • Figure Handle Stage
      • Changing settings for converting to outlines
      • Drawing a new figure handle image freehand
      • Specifying the Design Page size
      • Editing outlines
      • Viewing outlines in the Reference Window
      • Changing the background image
      • Changing application settings
    • Sew Setting Stage
      • Setting region/line sewing
      • Sewing attributes
      • Applying effects to concentric circle and radial stitches
      • Preventing overlapping stitching of regions (hole sewing)
      • Applying stamps
      • Checking and editing the sewing order
      • Checking the stitching in the Stitch Simulator
      • Viewing embroidery patterns in the Reference Window
      • Saving embroidery patterns
  • Design Database
    • Design Database
      • List of menus
    • Design Database Window
    • Starting Up Design Database
    • Organizing Embroidery Designs
      • Creating new folders
      • Moving/copying files to a different folder
      • Changing file names
      • Deleting files
      • Changing how files are displayed
    • Opening Embroidery Designs
      • Opening files with Layout & Editing
      • Importing files into Layout & Editing
    • Transferring Embroidery Designs to Machines
      • Transferring to a machine by using USB media/wireless network/USB cable/original card
    • Searching for an Embroidery Design
    • Converting Embroidery Design Files to Different Formats
    • Checking Embroidery Designs
      • Previewing files
      • Checking file information
    • Outputting a Catalog of Embroidery Designs
      • Printing
      • Outputting as Image and HTML Files
      • Outputting as a CSV file
  • Programmable Stitch Creator
    • Programmable Stitch Creator
      • Application button menu
      • Ribbon menu tabs
    • Basic Programmable Stitch Creator Operations
    • Creating Fill/Stamp Stitch Pattern
      • Step 1 Opening a fill/stamp stitch pattern
      • Step 2 Drawing lines to edit the fill/stamp stitch pattern
      • Step 3 Applying embossing/engraving effects to the fill/stamp stitch pattern
      • Step 4 Saving the edited fill/stamp stitch pattern
      • Step 5 Using the edited fill/stamp stitch patterns in Layout & Editing
    • Editing a Pattern in Fill/Stamp Mode
    • Creating Motif Stitch Pattern
      • Step 1 Enter motif mode
      • Step 2 Shaping a single line to create motif stitch pattern
      • Step 3 Saving the created motif stitch pattern
      • Step 4 Using the edited motif stitch pattern in Layout & Editing
    • Editing a Pattern in Motif Mode
    • Creating a Decorative Fill Pattern
      • Step 1 Entering Decorative fill mode
      • Step 2 Creating a decorative fill pattern
      • Step 3 Saving an edited decorative fill pattern
      • Step 4 Using an edited decorative fill pattern in Layout & Editing
    • Programmable Stitch Creator Window
    • Opening a Template
      • Opening an image in the background
      • Editing the Template
      • Changing the density background image
    • Preview Window
    • Saving Patterns
      • Overwriting
      • Saving with a new name
    • Changing the Display Settings
      • Changing the grid settings
      • Changing the guideline settings
  • Font Creator
    • Font Creator
      • Application button menu
      • Ribbon menu tabs
    • Creating New Font Characters From Background Images
      • Step 1 Selecting a character to be created
      • Step 2 Opening a background image
      • Step 3 Creating a font character pattern
      • Step 4 Creating other font character patterns
      • Step 5 Save the font character pattern
      • Step 6 Creating an embroidery pattern using the created font characters
    • Registering Embroidery Data as a Font
      • Registering embroidery data (individual registration)
      • Saving registered characters
      • Registering embroidery data (batch registration)
    • Font Creator Window
      • About the Design Page guidelines
    • Opening a File
      • Creating a new font
      • Opening a font file
    • Selecting a Character and Preparing the Template
      • Selecting the character to be created
      • Opening a template (TrueType font)
    • Creating a Font Character Pattern
      • Automatically converting TrueType fonts
      • Editing Font Character Patterns
    • Editing the Points of a Font Character Pattern
      • Editing points and reshaping patterns
      • To Straight/To Curve
    • Checking the Created Font Patterns
      • Checking and editing the sewing order
      • Previewing the embroidery pattern
      • Checking and selecting from the list of created characters
    • Saving Font Character Patterns
      • Overwriting
      • Saving with a new name
    • Changing the Settings
      • Changing the drawing mode
      • Scaling/Moving the background image
      • Changing the grid settings
  • Stitch Design Factory
    • Stitch Design Factory
      • Application button menu
      • Ribbon menu tabs
    • Basic Stitch Design Factory Operations
      • Creating sewing stitch patterns
      • Saving sewing stitch patterns
      • Exporting sewing stitch patterns
    • Editing Sewing Stitch Patterns
    • Changing the Format of Files to be Exported
    • Stitch Design Factory Window
    • Using a Template
      • Opening a template
      • Changing the template display density
      • Editing the template
    • Other Settings
      • Displaying needle drop points
      • Orienting the Design Page Horizontally
      • Display/hiding
      • Changing the grid settings
      • Checking stitching with the Stitch Simulator
  • Supplement
    • For Basic Operations
      • Enlarging/Reducing Stitch Patterns
      • Sewing Direction
      • Sewing Order
      • Sewing Wide Areas
      • Sewing Stitch Patterns
    • On Settings
      • Jump Stitch and Jump Stitch Trimming
    • Changing Various Settings
      • Customizing the window
      • Changing options settings
    • For Making an Effective Use of This Application
      • Converting Characters (Japanese, Chinese, Korean, etc) to Embroidery Patterns
      • Fonts Suitable for Embroidering
      • Displaying the embroidery designs in PES format as thumbnails
  • Reference
    • Sewing Attributes
      • Line sew types
      • Region sew types
      • Motif Stitch Pattern
      • Prog. Fill Stitch Pattern
      • Decorative Fill Stitch Pattern
      • Line sewing attributes
      • If the entry/exit points of sewing have been changed
      • Region sewing attributes
    • Font List
      • Text
      • Small Text
      • Monogram
    • Sewing Stitch Patterns for Stitch Design Factory
      • Decorative Stitch
      • Decorative Satin Stitch
      • Satin Stitch
      • Cross Stitch
    • Troubleshooting
  • Index

Version B

USA/UK

Global Site | Terms and Conditions | General Privacy Policy

2018-2020 Brother Industries, Ltd. All rights reserved.

Error

Print

  • foo
  • bar

This website is using cookies. By continuing to browse, you are accepting our Terms and Conditions.

Find out more Accept