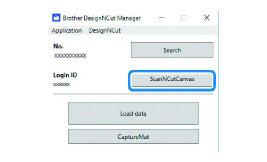
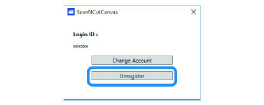
After the machine is registered with ScanNCutCanvas (http://ScanNCutCanvas.Brother.com/), various editing operations can be performed and data can be transferred.
This section describes the procedure for linking a machine with a specific number to a login ID.
If setup is not completed correctly or an error message appears, see ERROR MESSAGES.

•A computer or mobile device that can run ScanNCutCanvas and connect to the network is required.
•Before continuing with this procedure, the machine must be connected to the wireless network. If not, see Wireless Connection, and perform the setup.
 : Operation performed in DesignNCut Manager
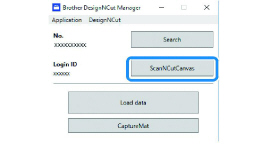
1.Click [ScanNCutCanvas] to access to
http://ScanNCutCanvas.Brother.com to register a new account.

•If you have a ScanNCutCanvas account for your ScanNCut we recommend creating a new account for DesignNCut.
2.After registering, click [Next].
*For mobile version, tap  .
.
3.Click [Connect].
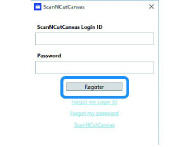
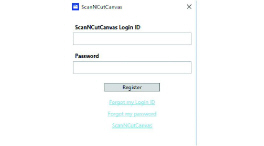
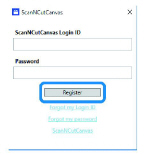
4.Register dialog box will appear.
Type in the login ID and password registered with ScanNCutCanvas, and then click [Register].
5.When the [ScanNCut Online Settings has been completed.] dialog box appears, click [OK].
6.Click [Next].
*For mobile version, tap  .
.
>Click [How to Use] on the DesignNCut Manager to see tutorial for the basic usage.
7.Click [Close].

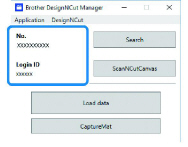
•After the settings have been completed, your machine number and your ScanNCutCanvas login ID will be shown in the DesignNCut Manager's main window.
•First-time users must create a ScanNCutCanvas account.
•If an error occurs while sending or receiving data, see ERROR MESSAGES.

•If you registered a new ScanNCutCanvas account for DesignNCut, you can also click [ScanNCutCanvas] in the main window of DesignNCut Manager to display the register dialog box.

Changing to a Different ScanNCutCanvas Login ID
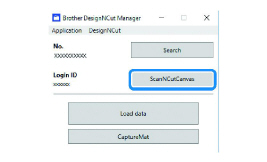
1.Click [

•With the mobile device version:
Main Window→[

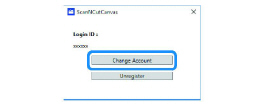
2.Type in the login ID and password registered with ScanNCutCanvas, and then click [
Deleting a Registered ScanNCutCanvas Login ID
1.Click [

•With the mobile device version:
Main Window→[
