


Transferring a PDZ Firmware File via USB: Example
- Specify the printer with the LabelCLT.exe /printer command, and specify the file to be transferred with the /send_pdz command, and then press Enter.
c:\LabelCLT>LabelCLT.exe /printer:"Brother TD-2350D (300 dpi)" /send_pdz:"c:\test\a.pdz"
- The transfer will start, and the transfer progress will be displayed.
- When the transfer is complete, LabelCLT will wait until the printer finishes writing the firmware.
- When the printer has finished writing the firmware, it will restart and LabelCLT will reconnect.
- After reconnection, compare the transferred firmware version with the current printer firmware version.
- If the update has been successfully completed, Succeeded is displayed.
Integration with the Windows Task Scheduler allows to implement instructions at specified times or on a regular basis.
- Prepare a batch file with the command you want to implement - for example, check the firmware version.
cd/d %~dp0
LabelCLT.exe /printer."Brother TD-2350D (203 dpi)" /get_firmwarever
pause
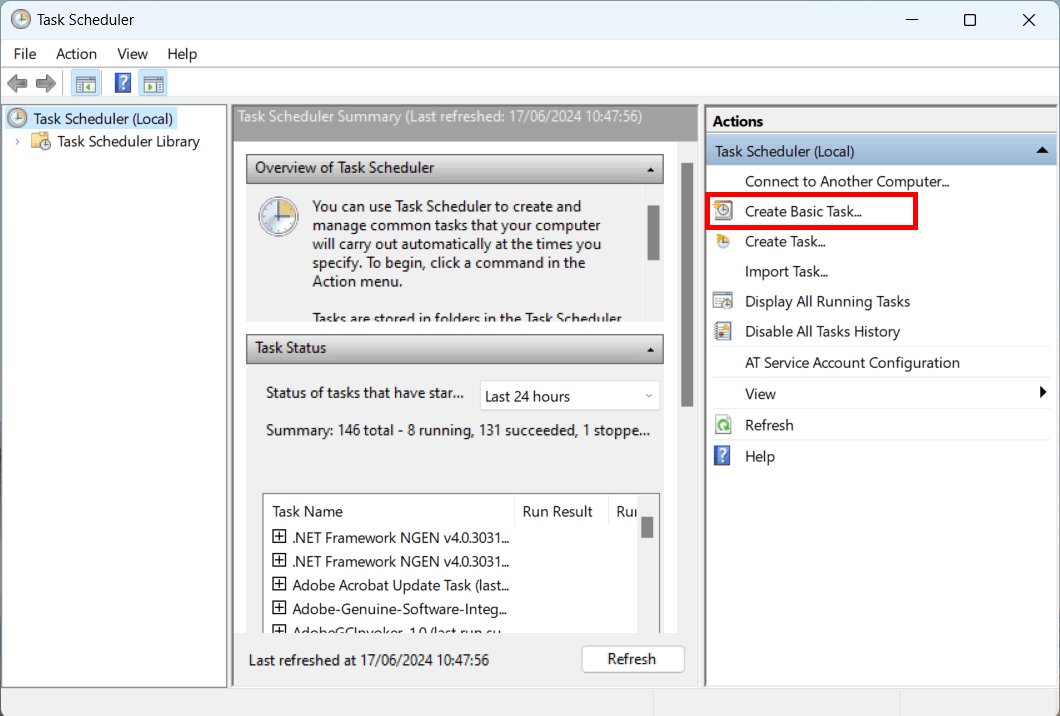
- Start the Windows Task Scheduler.
- Click Create Basic Task.
- Type the task name in the Name field, and then click Next.

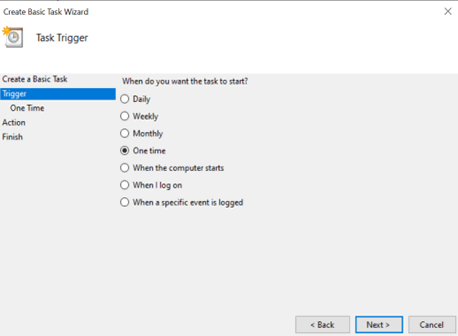
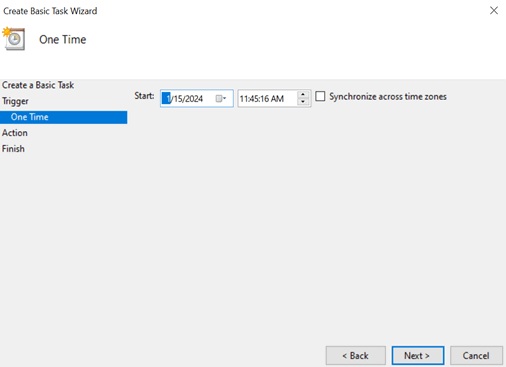
- Select the trigger for the task.
- Select what you want to perform in the task (in this example, we have selected to Start a program), and then click Next.

- Specify the prepared batch file in the Program/script field, and then click Next.

- Click Finish to complete creating the task.

- The task of checking the target printer's firmware will be completed at the specified time and using the specified batch file.
Did you find the information you needed?