HL-8050N
FAQs & Troubleshooting |
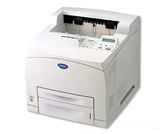
HL-8050N
Date: 22/11/2005 ID: faq00000095_001
How do I install the Optional Tray Unit?
Up to two 550 sheet lower paper trays can be added to this printer.
- Be sure to switch off the power and unplug the power cord from the outlet before carrying out the operations.
- If not, you might get an electric shock.
- When lifting the machine, get a firm footing and bend your knees to avoid possible injuries to your back.
-
The weight of this printer, without the optional accessories, paper trays, consumable and paper, is 18.0 kg (39.7 lbs.). Before moving the printer, you must uninstall the optional accessories.
-
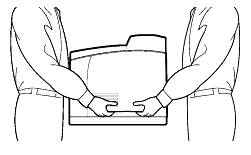
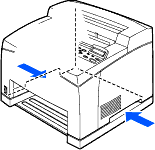
When lifting the printer, there should be two people, one in front and one behind the printer, to firmly grip the recessed areas provided on both sides of the printer. Never try to lift the printer by gripping any other areas. Lifting the printer by gripping any other areas can cause the printer to fall and result in injuries.
-
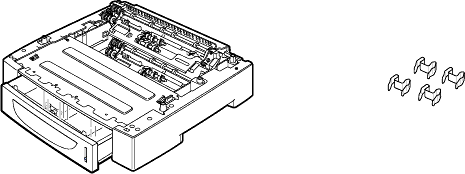
Before installing the lower tray unit to the printer, make sure that you have all of the following items.
Follow the procedure below to install the Optional Lower Tray Unit.
Place the lower tray to be installed at the lowest level on a flat location.
Lift up the lower tray to be installed at the top level by holding the parts as shown in the illustration.
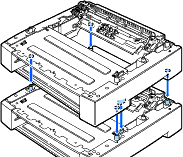
Align the front and back corners of the top and bottom lower trays, and slowly lower the top module so that the guide pins at the 4 corners of the bottom module fit into the holes at the base plate of the top module.
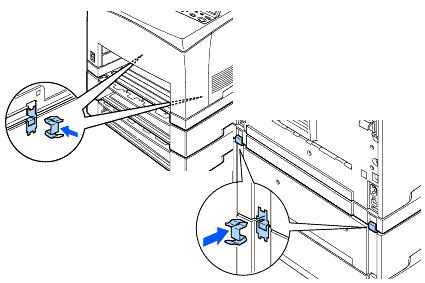
Insert the fasteners provided into the 2 locations inside of the lower tray and 2 locations at the back of the lower tray. Insert the fasteners securely.
Turn off the printer power switch.
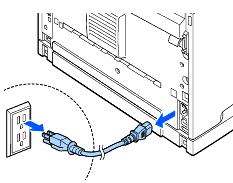
Pull out the power cord from the power outlet and then the printer.
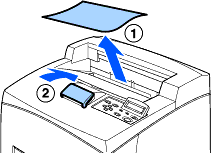
Remove any paper from the center output tray (1) and return the paper stopper to its original position if it is raised (2).
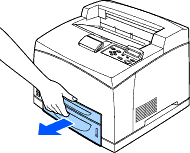
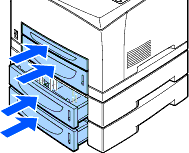
Pull the paper trays out of the printer.
Lift up the printer by holding the recessed areas as shown in the illustration.
Align the corners of the printer and the lower trays, and lower the printer gently so that the guide pins at the 4 corners of the lower trays fit into the holes at the base plate of the printer.
Insert the fasteners provided into the 2 locations inside the printer and 2 locations at the back of the printer. Insert the fasteners securely.
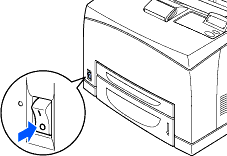
Push the paper trays completely into the printer. Turn the printer switch back on.
Proceed to Step 5 if you are installing only one lower tray.
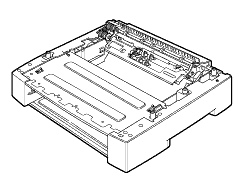
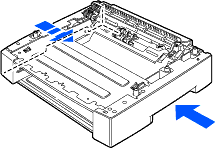
The lower tray must be lowered gently.Otherwise, the interior parts may be damaged.
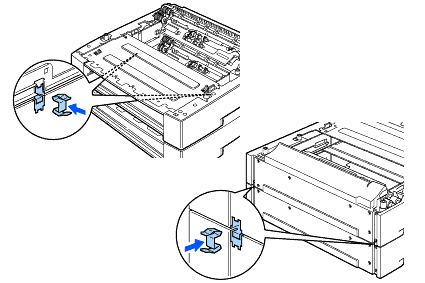
The printer must be lowered gently. Otherwise, the interior parts may be damaged.

HL-8050N
If you need further assistance, please contact Brother customer service:
Content Feedback
Please note this form is used for feedback only.