CM250
FAQs & Troubleshooting |
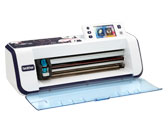
CM250
Date: 08/31/2015 ID: faqh00000725_000
How do I Scan for Cutting (Direct Cut) ?
A printed image or an original hand-drawn illustration can be scanned and its outline can be cut out or drawn.
This is useful for scanning images for paper crafts, then cutting them out.
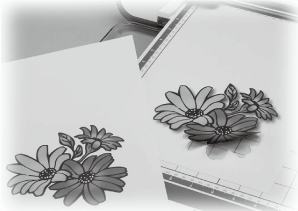
In this tutorial, we will scan an illustration drawn on paper, then cut around it.
----- Preparation -----
-
Prepare the original.
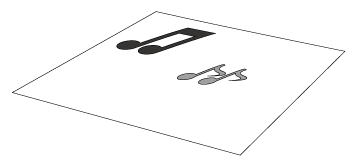
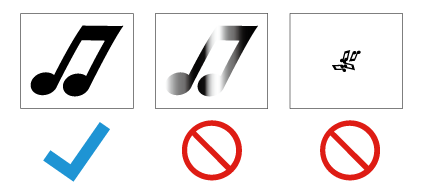
When using the “Direct Cut” mode, use originals like those described below.
- Patterns that are clearly drawn, with no gradation, fading or blurriness
- Patterns that are at least a 5 mm square
- Not using an extremely intricate design
-
Press
 to turn on the machine.
 - Install the cutting blade holder into the carriage of the machine.
----- Scanning -----
-
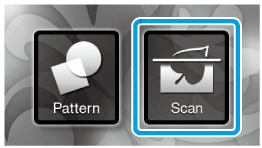
Touch the “Scan” key in the home screen to select the scanning mode.
-
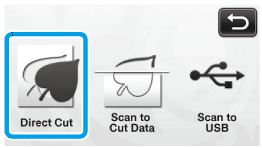
Select “Direct Cut” in the scanning mode selection screen.
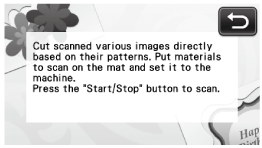
>> A message appears.
-
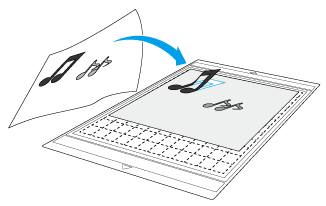
Attach the original that will be scanned to the mat.
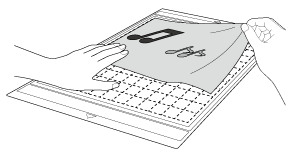
- In “Direct Cut” mode, the optional 12" × 24" (305 mm × 610 mm) mat and scanning mat cannot be used.
- Before attaching the material to the mat, use a corner of the adhesive side of the mat to test attaching it.
-
While holding the mat level and lightly inserting it under the feed rollers on the left and right sides of the feed slot, press
 in the operation panel.
Lightly insert the mat so that it aligns with the guides on the left and right sides of the feed slot and is tucked under the feed rollers.
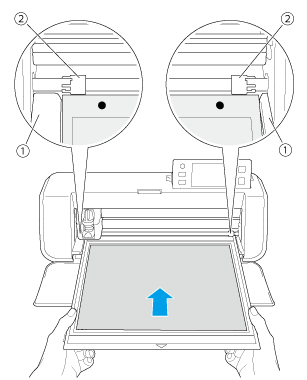
(1) Guides
(2) Feed rollers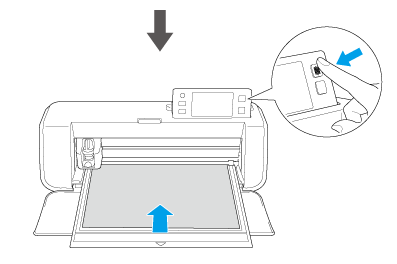
>> The “Start/Stop” button in the operation panel lights up. -
Press the “Start/Stop” button to start scanning.
>> When scanning is finished, the scanned image appears in the screen.
-
Check the scanned image, and then touch the “OK” key.
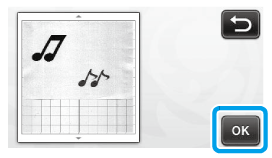
----- Editing Cutting Lines -----
-
In the image trim screen, use the touch
 pen to touch and drag it around the screen to trim the image.
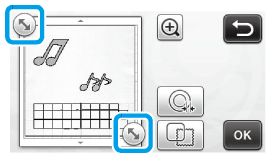
-
To cut around the image for the pattern, touch the “OK” key.
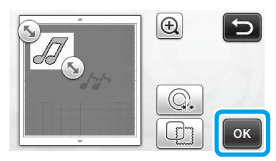
Touch
 to cut any of a variety of shapes as a frame around the scanned image.
----- Cutting -----
-
Touch the “Cut” key.
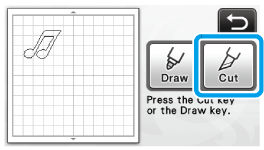
>> The “Cut” key is highlighted, and the “Start/Stop” button in the operation panel lights up.
-
Press the “Start/Stop” button to start cutting.
-
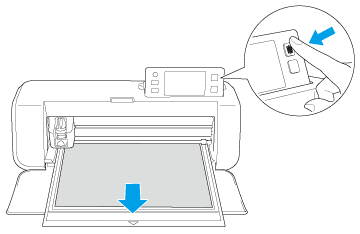
Press
 in the operation panel to feed out the mat.
-
Peel off the material from an area that is easily removable, such as a corner, and then slowly peel while maintaining an even pressure.
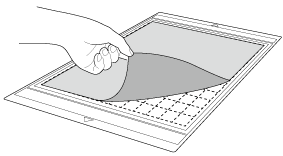
-
Holding the mat with your hand, use the included spatula to carefully peel off the cutout patterns.
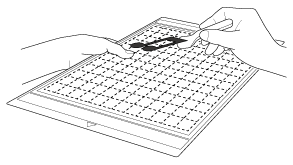
For instructions on how to peel off the material, see “Attaching & Peeling off the material”.
Related FAQs
CM100DM, CM250, CM550DX/ CM550
If you need further assistance, please contact Brother customer service:
Content Feedback
Please note this form is used for feedback only.
Please do not enter contact information or any other personal information here.
(We will not respond to any Feedback you send us.)