SDX325
FAQs & Troubleshooting |
SDX325
Date: 10/07/2019 ID: faqh00100178_003
How do I Cut Around Drawings?
In this example, we will specify a seam allowance for a built-in pattern and draw the pattern, then cut an outline around it.
Specifying the Seam Allowance
-
Select the pattern to be drawn, and then touch the Set key.
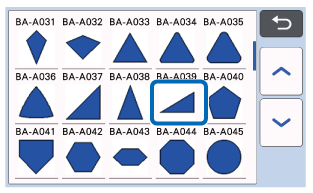
The mat layout screen appears.
-
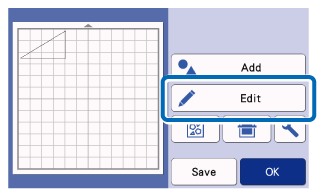
Touch the Edit key.
-
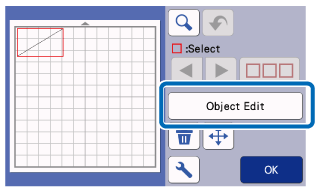
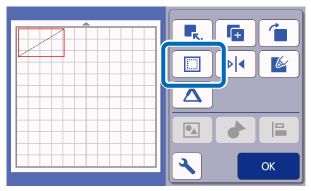
Touch the Object Edit key in the object editing screen.
-
Touch
 .
.
The Seam Allowance screen appears. If appears in gray, the seam allowance cannot be applied.
Depending on the pattern, the seam allowance may be applied as a default.
Since the pattern edited with CanvasWorkspace has already been converted to cut data, a seam allowance cannot be added from the operation panel on the cutting machine itself.
Transfer the data to the cutting machine after adding the seam allowance to the pattern on CanvasWorkspace.
It can be added from the [Create Offset Line] of the [Edit] menu on the CanvasWorkspace.
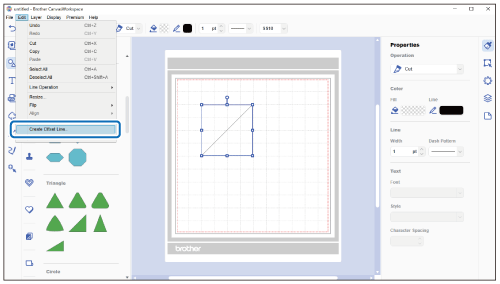
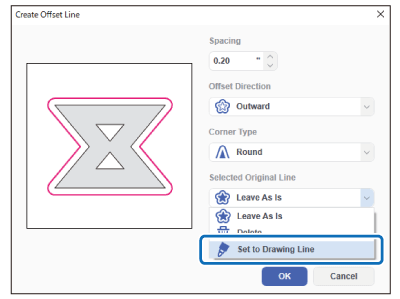
By selecting [Set to Drawing Line] from [Selected Original Line] in [Create Offset Line], the original object can be converted to drawing line and the allowance can be cutting line.
The created line can also be changed from the layer panel.
The pattern in the preview appears with a drawing line (blue) and a cutting line (black).
-
Specify the seam allowance settings.
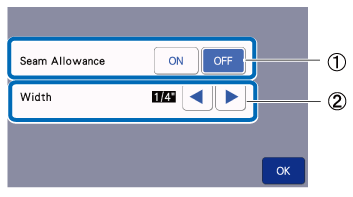
(1) Select whether or not to add a seam allowance. (2) Specify the width (distance between the outline and cutting line) of the seam allowance. Touch  or
or  to change setting.
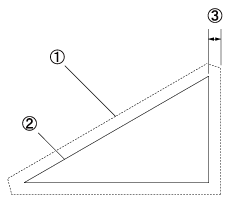
(1) Seam allowance line
(2) Pattern outline (stitching line)(3) Seam allowance
Touch the OK key to finish specifying the setting and return to the mat editing screen.
-
Touch the OK key in the object editing screen, and then touch the OK key.
-
Touch the OK key to finish editing the pattern.
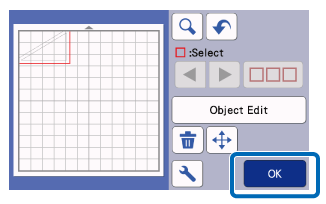
To draw the seam allowance on the wrong side of the fabric, flip the pattern.
Image of Pattern Piece to be Created
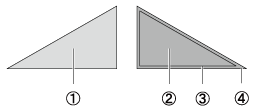
(1) Right side of fabric
(2) Wrong side of fabric
(3) Drawing line (stitching line)(4) Seam allowance line
After attaching to the mat the fabric with the wrong side facing up, load the mat into the machine, flip the pattern, and then draw it and cut it out.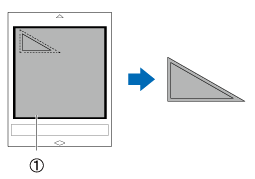
(1) Wrong side of fabric
-
Check the pattern arrangement, and then touch the OK key.
When using fabric, the patterns may not be cleanly cut if they are arranged near the edge of the fabric. In this case, move patterns so they are at least 10 mm from the fabric edge (the edge of the cutting/drawing area in the screen).
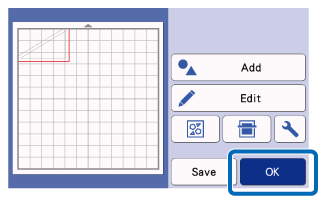
The preview screen appears.
Loading the Material
-
Load the mat with the material for cutting (drawing) attached.
When drawing the seam allowance on the wrong side of the fabric, attach the material to the mat with its wrong side facing up.

(1) Wrong side of the fabric
-
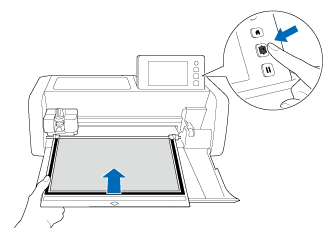
Lightly insert the mat into the feed slot, and press
 in the operation panel.
-
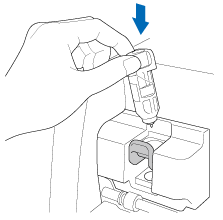
Grasp the holder grip, and then install the pen holder in the carriage with its lid opening button facing against you.
Drawing
-
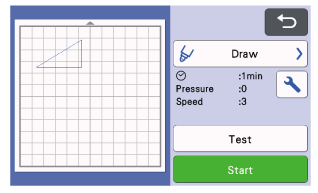
Select Draw in the preview screen.

A preview of the line to be drawn appears.
-
Adjust the drawing speed and pressure.
Before drawing the pattern, adjust the drawing speed and pressure. These adjustments can be made from the settings screen. Touch .
.
Touch
 to change the setting, and touch the OK key.

-
Touch the Start key to start drawing.
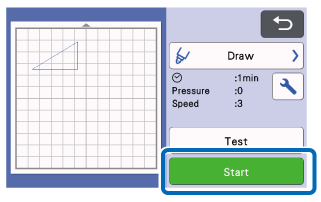
When drawing is finished, the message appears in the screen.
After you touch the OK key, the preview screen appears.
To cut around the drawn patterns, keep the mat inserted into the slot without pressing , and continue with the following cutting procedure in the Cutting section.
To perform test/trial drawing operations to adjust the drawing pressure, touch the Test key. For details, refer to How do I perform trial cutting? (Test Cut) .
Cutting
-
Select Cut in the preview screen.
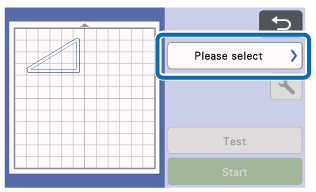
-
Remove the pen holder, and then install the blade holder.
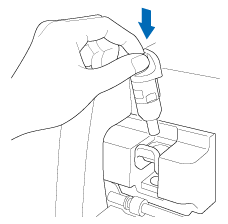
After use, remove the pen from the pen holder, and then attach the cap to the pen before storing it.
 WARNING
This is not a toy and is not intended to be used by children. In order to prevent choking hazards, do not allow infants/children to put the protective caps in their mouths. Please remove protective cap from blade holder before placing it into the machine carriage.
-
Touch the Start key to start cutting.
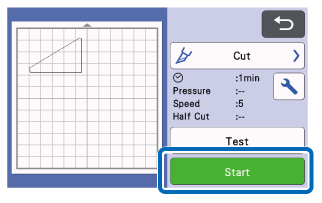
When cutting is finished, the preview screen appears.
-
Press
 in the operation panel to feed out the mat.
-
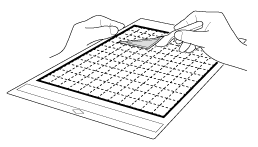
Peel the patterns off the mat.
Related FAQs
SDX125, SDX125e, SDX125e Titanium, SDX125i, SDX125TS, SDX135PRO, SDX225, SDX225F, SDX230D, SDX230Di, SDX230DX, SDX325, SDX330D, SDX85, SDX85C, SDX85M, SDX85S
If you need further assistance, please contact Brother customer service:
Content Feedback
Please note this form is used for feedback only.