SDX1000
FAQs & Troubleshooting |
SDX1000
Date: 03/02/2020 ID: faqh00101475_000
Create the Data for the Calligraphy Starter Kit
Download calligraphy font and patterns from CanvasWorkspace (Web), and transfer the data to the cutting machine for drawing.
This FAQ describes the process from downloading fonts and patterns to transferring the data to the machine.
Before downloading the calligraphy data from CanvasWorkspace (Web), you must activate the calligraphy font and patterns in CanvasWorkspace. Refer to How to Activate the Calligraphy Kit .
-
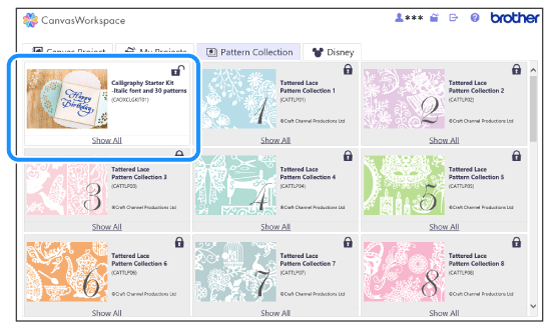
In CanvasWorkspace (Web) <https://canvasworkspace.brother.com>, click Pattern Collection.

-
Select the activated remove [Calligraphy Starter Kit_Italic font and 30 patterns].
-
Select the calligraphy font (1) or the patterns (2).
If you want to draw by entering characters, select the calligraphy font (1).Enter characters on the machine's control panel after transferring the font to the machine.
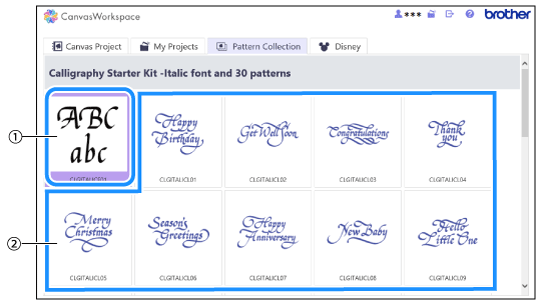
(1) Calligraphy font
(2) Calligraphy patterns
-
Download the calligraphy pattern, and then transfer it.
To download the calligraphy pattern:
Download the pattern, and then select [Download to PC] or [ScanNCut Transfer] in [Select the transfer method] screen.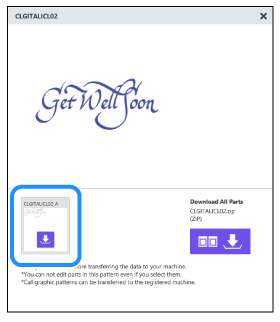

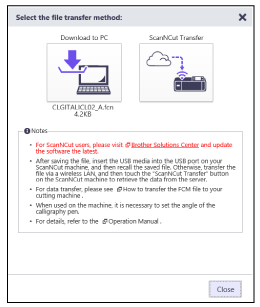
To download the calligraphy font:
Download the calligraphy font, and then select [Download to PC in Select the transfer method] screen.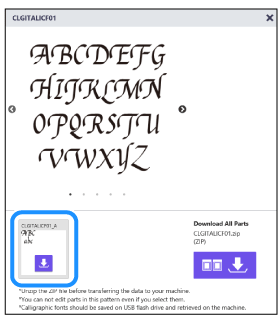


When transferring calligraphy fonts to the cutting machine, select [Download to PC] and transfer the data using a USB flash drive. The calligraphy font cannot be transferred to the cutting machine via a wireless network connection.
-
Retrieve the transferred data on the cutting machine.
To retrieve the calligraphy pattern:
Retrieve the transferred data on the cutting machine.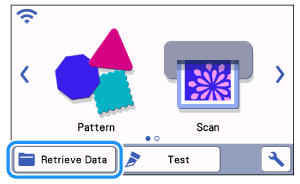

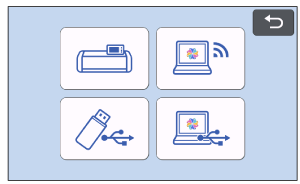
Go to Step 9
To retrieve the calligraphy font:
Insert the USB flash drive saved the calligraphy font into the USB port of the machine.
Go to step 6 to type in the text.
-
Touch [Retrieve Data] on the LCD touch screen display of the cutting machine, and then select
 to retrieve the data from the USB flash drive.


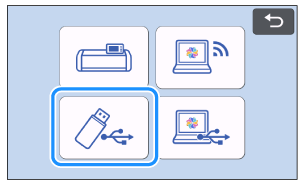
Select the font data
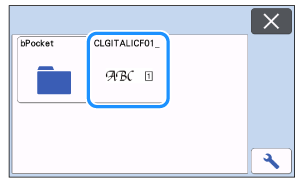
-
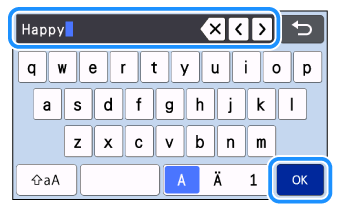
Enter the text on the LCD touch display screen.
When enter the text is finished, press [OK] key.Characters that cannot be entered with the calligraphy font are not available.
-
Adjust text size and spacing, touch [Set] key.
>>Touch [Set] key to close type in the text screen and move to the edit screen.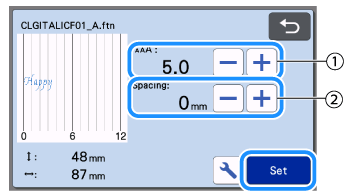
(1) Size
(2) Spacing
-
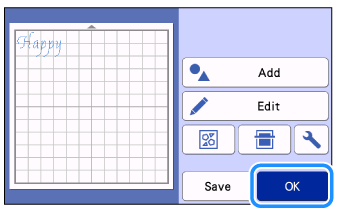
Check the pattern in the mat layout screen, and then touch [OK] key.
-
Select [Draw] in the preview screen.
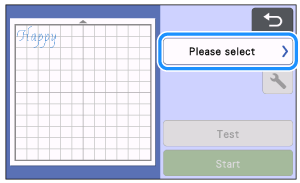

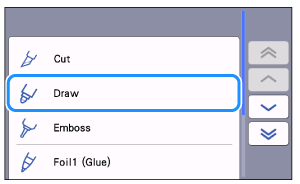
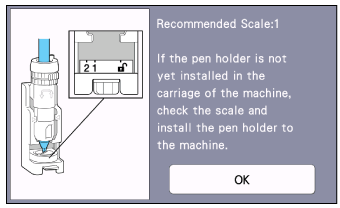
>>When selecting [Draw] in the preview screen, the following screen appears.
Do not touch [OK] key to keep this screen currently. Then, install a calligraphy pen.
Refer to Install the Calligraphy Pen.
Useful function to layout the pattern on the material.
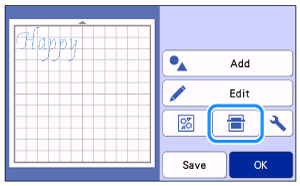
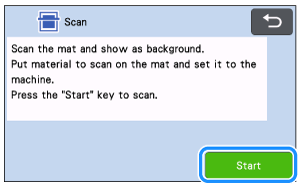
Scanning the background allows you to check the position of the pattern within the material.
-
After finishing editing the pattern, attach the material lightly insert the mat into the feed slot, and then press
 button.
Press to load the mat into the machine, touch to scan the background.
Set the scanner lever (on the left side of the machine) to “2”.

-
Position the pattern so it does not extend from the material, touch [OK] key.
-
Scanning the background allows you to check the position of the pattern within the material.
If the pattern extends out of the material, touch Edit key, and then adjust the position or size of the pattern. The pattern can also be moved by dragging it in the screen.

- The entered text will be edited as a single string of characters. Individual characters cannot be edited separately.
- Editing functions are available for enlarging, reducing and copying.
- Calligraphy data at a different angle cannot be added. For details on the angle of the calligraphy font, refer to About the Indicator of the Pen Adjuster.
-
Scanning the background allows you to check the position of the pattern within the material.
SDX1000, SDX1200, SDX1250, SDX2250D
If you need further assistance, please contact Brother customer service:
Content Feedback
Please note this form is used for feedback only.
Please do not enter contact information or any other personal information here.
(We will not respond to any Feedback you send us.)