PR1050X
FAQs & Troubleshooting |
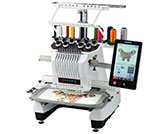
PR1050X
Date: 12/05/2017 ID: faqh00100624_000
Tutorial videos on how to use the machine [Video instructions]
Tutorial videos for basic operations, various functions and maintenance.
Click on the image to play the video instructions.
* The movies are being streamed from YouTube. (Opening new window.)
* The movies are the same as those built into the product.
1. Basic Operation
 |
Installing the bobbin into the machine
|
|---|---|
 |
Selecting an embroidery pattern
|
  |
Note: The key design will vary depending on the display language on the machine.
|
 |
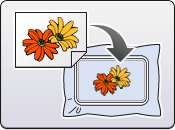
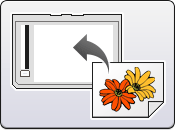
Aligning the embroidering position using the built-in camera and the embroidery positioning sticker
|
 |
Hooping the fabric in the embroidery frame and Attaching the embroidery frame to the machine
|
 |
|
 |
|
 |
|
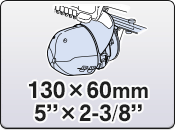 |
Using the Cap Frame (130 × 60 mm / 5 × 2-3/8 inches) Preparing to use the cap frame and Attaching the cap frame. |
 |
Using the Cap Frame (360 × 60 mm / 14 × 2-3/8 inches) Preparing to use the cap frame and Attaching the cap frame. |
2. Embroidery Function
3. Maintenance
 |
|
|---|---|
 |
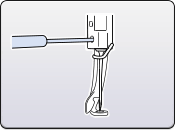
Cleaning the hook and the area around the needle plate
|
4. Settings
 |
Updating the machine's software
|
|---|
5. My Design Center
- To use My Design Center function, update the machine's software to the latest version (version 1.10 or later), and then perform the activation for this function.
- My Design Center will be activated once the scanning frame has been attached.
- The scan frame set may be provided as the optional accessory. That will vary depending on the country.
PR1050X
If you need further assistance, please contact Brother customer service:
Content Feedback
Please note this form is used for feedback only.

