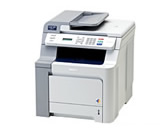
DCP-9042CDN
常見問題&故障排除 |

DCP-9042CDN
日期:23.10.2013 ID:faq00002477_004
How do I improve the color density? (Print Calibration)
Calibration helps you to improve the color density.
- The output density for each color may vary depending on the environment the machine is in such as temperature and humidity.
- After performing the calibration, to make the latest color calibration data effective, be sure to let the printer store and use the latest calibration data.
Follow the instructions below to perform the color calibration and let the printer store and use the latest color calibration data.
- Perform the color calibration by using the control panel.
- Press the Menu button.
- Press the Up or Down arrow key to choose "Printer". Press OK.
- Press the Up or Down arrow key to choose "Calibration". Press OK.
- Press the Up or Down arrow key to choose "Calibrate". Press OK.
- Press 1 key to choose Yes.
- Let the printer store and use the latest color calibration data from your computer.
For Windows Users:
- Open the printers folder.
- Right click on the printer name icon and choose the "Printing Preferences" from the Menu.
- Open the Advanced tab and click the Device Options icon.
- Choose "Color Calibration" in the Printer Function.
- Click "Get device data" in the Color Calibration.
The printer attempts to get the latest color calibration data from your printer. - Make sure that the checkbox for "Use calibration data" is checked. Click OK.
Now the latest color calibration data is effective.
For Macintosh Users:
NOTE:The screens may differ depending on the operating system being used.
- Open the "System Preferences".
- Click the "Print & Fax" or "Print & Scan" or "Printers & Scanners" icon.
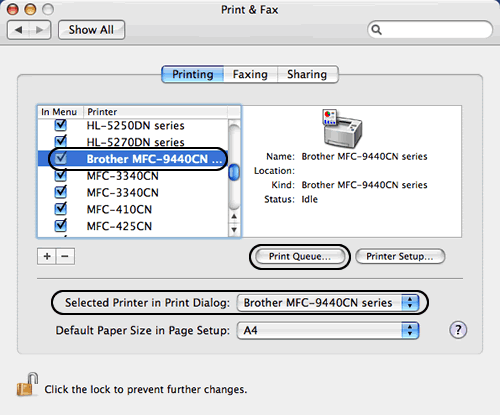
- Choose your printer model name.
Make sure your printer model name is chosen in Selected Printer or Default printer section. - Click the "Print Queue" or "Open Print Queue..." button.

- Click the "Utility" icon in the top menu.
(For Mac OS X 10.6 or later Users: Click Printer Setup or Settings. Choose the Utility tab then click Open Printer Utility. )
Now the status monitor is turned on.
- Go to the menu bar, click "Control" => "Color Calibration" (=> "Get device data").
The printer attempts to get the latest color calibration data from your printer.
After the "Getting status" dialog is closed automatically, the latest color calibration data is effective.
If you want to reset the color calibration parameters back to the setting at the factory, do the following by using the control panel:
- Press the Menu button.
- Press the Up or Down arrow key to choose "Printer". Press OK.
- Press the Up or Down arrow key to choose "Calibration". Press OK.
- Press the Up or Down arrow key to choose "Reset". Press OK.
- Press 1 key to choose Yes.
內容意見回饋
請於下方回饋您的意見以幫助我們提升服務的品質