HL-L8360CDW
常見問題&故障排除 |
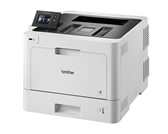
HL-L8360CDW
日期:09.07.2019 ID:faq00000316_500
Replace the Belt Unit
Before starting the replacement procedure, see Related Information: Replace Supplies.
- Make sure the machine is turned on.
- Press the front cover release button and pull open the front cover.
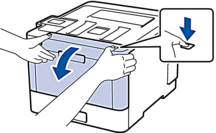
- Hold the drum unit's green handle. Pull the drum unit out of the machine until it stops.

- Turn the green lock lever (1) counterclockwise until it locks in the release position. Holding the green handles of the drum unit, lift the front of the drum unit and remove it from the machine.

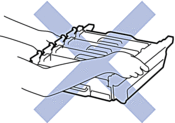
- IMPORTANT
-
Hold the green handles of the drum unit when you carry it. DO NOT hold the sides of the drum unit.
- Hold the green handle of the belt unit with both hands and lift the belt unit up, then pull it out.

- Unpack the new belt unit and install the new belt unit in the machine. Make sure the belt unit is level and fits firmly into place.

- NOTE
- To avoid print quality problems, DO NOT touch the shaded parts shown in the illustrations.

- Make sure the green lock lever (1) is in the release position, as shown in the illustration.
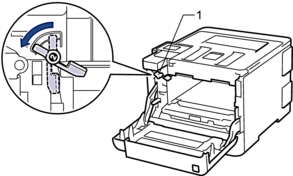
- Gently slide the drum unit into the machine until it stops at the green lock lever.
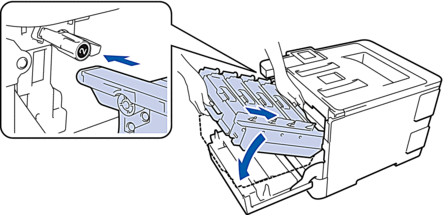
- Turn the green lock lever clockwise to the lock position.

- Using the green handle, push the drum unit back into the machine until it locks in place.

- Close the machine's front cover.
內容意見回饋
請於下方回饋您的意見以幫助我們提升服務的品質