DCP-J925DW
FAQs & Troubleshooting |
DCP-J925DW
Date: 26/04/2023 ID: faq00002854_000
Use the NewSoft CD Labeler software on a Windows computer.
Your Brother machine can print directly onto printable disc media, including CD-R/RW, DVD-R/RW, or Blu-ray Disc.
You can use the NewSoft CD Labeler software to make a disc label on your Windows computer. You can then print the label onto a printable disc.
Only use the Brother-supplied disc-printing software to print onto a CD-R/RW, DVD-R/RW, or Blu-ray Disc. Printing from other applications can stain the inside of your Brother machine..
- To make a label on a Windows computer, click here.
- To print onto a disc from a Windows computer, refer to the solution: Print an image from my Windows computer onto a printable disc.
Making a label
To use the NewSoft CD Labeler software to make a label that you can print onto a printable disc, follow these steps:
If you have already started the NewSoft CD Labeler software, go to STEP 2.
-
Start the NewSoft CD Labeler software by doing one of the following:
- Double-click the NewSoft CD Labler shortcut on your desktop.
- (Windows 8 / Windows 8.1)
-
On the Start screen, click
 . If
. If  is not on the Start screen, right-click somewhere on an empty spot, and then click All Apps from the bar.
 - Click NewSoft CD Labeler.
- (Windows 7 / Windows 10 / Windows 11)
Click Start => (All Programs or All apps =>) NewSoft CD Labeler. -
On the Start screen, click
-
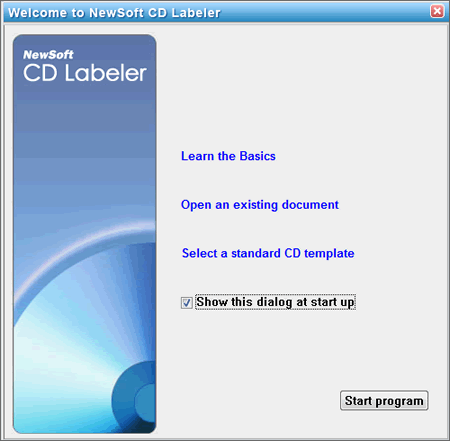
You will see the following screen with several options:
- Learn the Basics: Open the Help menu to learn how to use NewSoft CD Labeler.
- Open an existing document: Open a saved project.
- Select a Standard CD template: Clear the check box to prevent the Home Screen from appearing the next time you open NewSoft CD Labeler.
- Start program: Open the screen with the Standard CD template gallery.
-
Click Start Program.
-
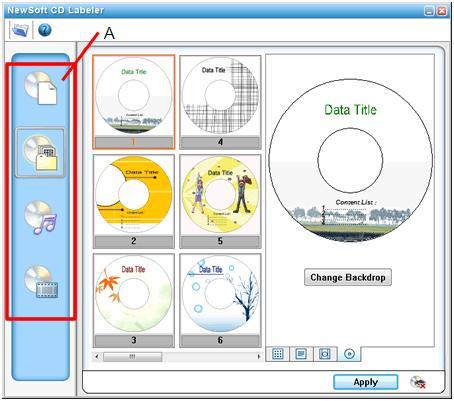
Click a button in the Disc Type Panel(A) to choose a label type.
- You can start with a blank slate
 or choose templates for data discs
  , music discs
  , or video discs
 .
.These instructions will explain how to create a label using the data disc template.
The steps will differ slightly if you use the blank slate, music disc, or video disc template.
-
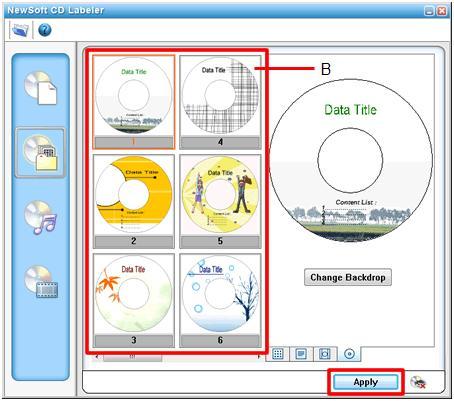
Click a label template in the Template Gallery (B).
- You can click on the bar under the images and slide it left and right to show additional images.
-
Click Apply.
-
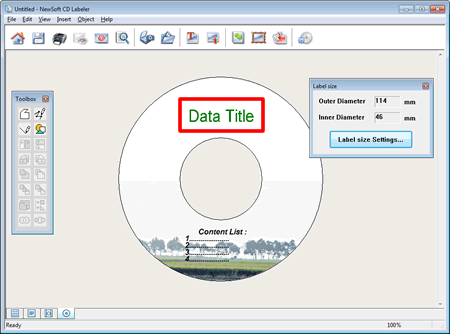
The Editing window will appear.
-
Click Label Size Settings to configure the label size.

-
Configure the Outer Diameter and Inner Diameter.
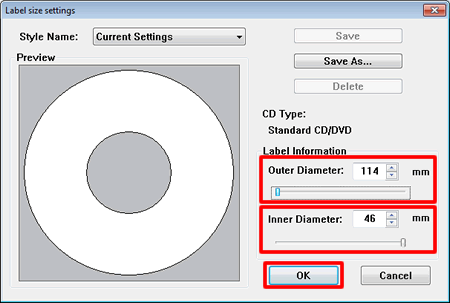
Refer to your printable disc's packaging for the outer and inner diameter measurements.
-
Click OK.
-
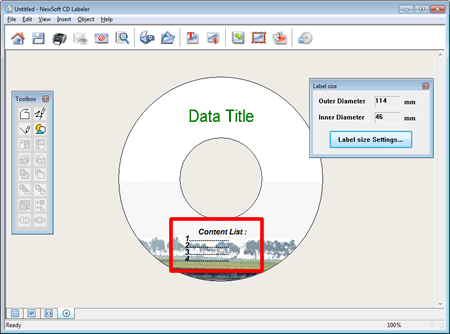
Customise the template by adding or modifying the title, text, and image.
- If you want to modify the title, click here.
- If you want to modify the text, click here.
- If you want to add images, click here.
Modifying the title
-
Double-click the title.
-
Type the title in the Caption dialogue box.
- You can change the style of the text by selecting the options.
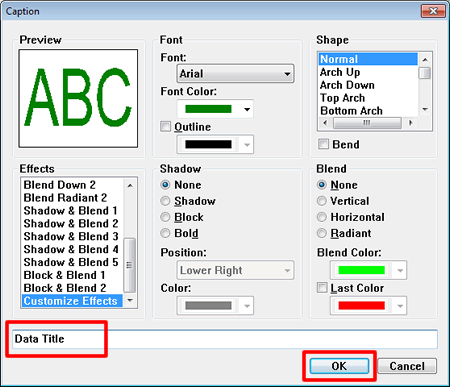
- Click OK.
Modifying the text
-
Double-click the text.
-
Type the text in the Text dialogue box.
- You can change the style of the text by selecting the options.

- Click OK.
If you want to add a title or text box, click Caption
 or Text
  on the toolbar. The dialogue box will open and you can add a title or text.
Adding images to your label
You can add images to your label by clicking Import
 or Acquire
  .
.- Import
 allows you to put an image from your hard drive onto your label.
The Open dialogue box will appear so that you can browse for the image in your files. The imported image will appear in the middle of your label. You can move it or resize it as you see fit.
- Acquire
 allows you to get an image from a scanner or digital camera for your label.
You can select the scanner or digital camera by clicking File => Select Source. The acquired image will appear in the middle of your label. You can move it or resize it as you see fit.
-
Double-click the title.
-
You can now print the completed label by following these steps:
-
Click Print
 on the toolbar.
-
Set the print options.
- Print the label.
- For more information about printing the label onto a printable disc, refer to the solution: Print an image from my Windows computer onto a printable disc.
-
Click Print
DCP-J925DW, MFC-J825DW, MFC-J870DW
If you need further assistance, please contact Brother customer service:
Content Feedback
Please note this form is used for feedback only.