FAQs & Troubleshooting

Close

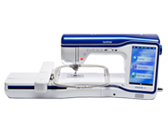
Innov-is XV

FAQs & Troubleshooting

FAQs & Troubleshooting

Innov-is XV

Not your product?

Date: 19/02/2020 ID: faqh00100624_001

Tutorial videos on how to use the machine [Video instructions]

Tutorial videos for basic operations, various functions, accessories and maintenance.

Click on the image to play the video instructions.

* The movies are being streamed from YouTube. (Opening new window.)

* The movies are the same as those built into the product.


1. Basic Operation
Basic Operation 01

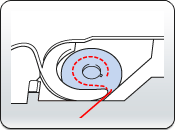
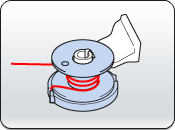
Winding the bobbin thread


Basic Operation 02

Setting the bobbin


Basic Operation 03

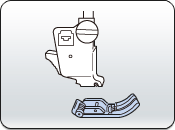
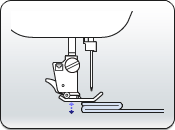
Removing and attaching the presser foot


Basic Operation 04

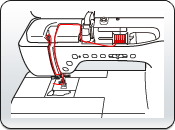
Threading the upper thread


Basic Operation 05

Replacing the needle


2. Sewing Functions

Sewing Functions 01

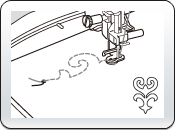
Checking the needle location of the selected stitch with the actual fabric image on the screen


Sewing Functions 02

Edge sewing function


Sewing Functions 03

Pivot function


Sewing Functions 04

Automatic fabric sensor system


Sewing Functions 05

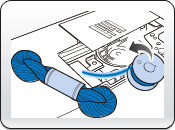
Preparing the bobbin thread for bobbin work (Sewing)


Sewing Functions 06

Creating bobbin work (Sewing)


Sewing Functions 07

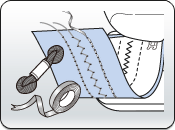
Zigzag couching


3. Embroidery Basic Operation

Embroidery Basic Operation 01

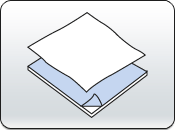
Attaching the iron-on stabilizers (backing) to the fabric


Embroidery Basic Operation 02

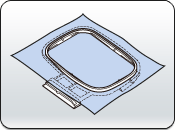
Hooping the fabric in the embroidery frame


Embroidery Basic Operation 03

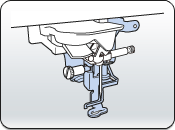
Attaching the embroidery foot


Embroidery Basic Operation 04

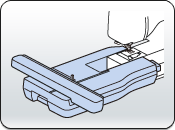
Attaching the embroidery unit


Embroidery Basic Operation 05

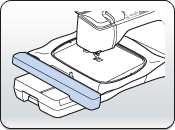
Attaching the embroidery frame


4. Embroidery Function

Embroidery Function 01

Creating bobbin work (Embroidery)


Embroidery Function 02

Aligning the embroidering position in the camera view window


Embroidery Function 03

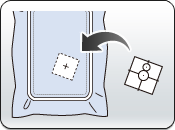
Aligning the embroidering position using the built-in camera and the embroidery positioning sticker


Embroidery Function 04

Aligning the embroidery position while displaying the fabric as a background image for the pattern


Embroidery Function 05

Scanning the fabric and sewing the stippling pattern


Embroidery Function 06

Attaching the scanning frame for My Design Center with scan


Embroidery Function 07

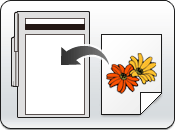
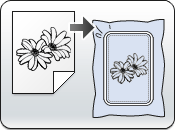
Creating a pattern from the line drawings with Line Scan function


Embroidery Function 08

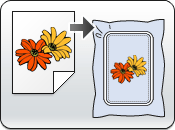
Creating a pattern from the color illustrations with Illustration Scan function


Embroidery Function 09

Creating a stippling design around an embroidery pattern (Simple stippling operation)


Note:

This feature will be added within the Upgrade Kit I,
It will be available after activating the machine's functions with
the Upgrade Kit I.


Embroidery Function 10

Creating a quilt with the stippling pattern around the embroidery pattern


Note:

This feature will be added within the Upgrade Kit I,
It will be available after activating the machine's functions with
the Upgrade Kit I.


5. Settings

Settings 01

Updating the machine's software


Settings 02

Adjusting the guideline marker position and the brightness of the guideline marker


Settings 03

Setting the camera needle position


6. Sensor Pen

Sensor Pen 01

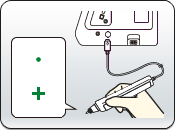
Connecting the sensor pen to the machine and personalizing the sensor pen


Sensor Pen 02

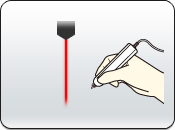
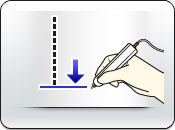
Specifying the guideline marker position with the sensor pen


Sensor Pen 03

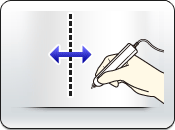
Specifying the needle drop position with the sensor pen


Sensor Pen 04

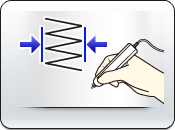
Specifying the stitching width and the stitch position with the sensor pen


Sensor Pen 05

Specifying the sewing end point with the sensor pen


Sensor Pen 06

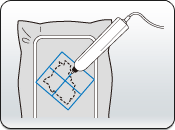
Specifying the embroidering position with the sensor pen


7. Accessory

Accessory 01

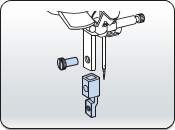
Using the multi-purpose screwdriver


Accessory 02

Storing bobbin clips inside of the accessory case cover


Accessory 03

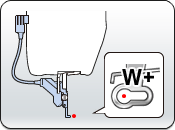
Attaching the embroidery foot "W+" with LED pointer and adjusting the brightness of the LED pointer


Accessory 04

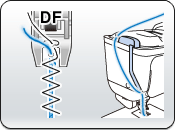
Attaching the dual feed foot


Accessory 05

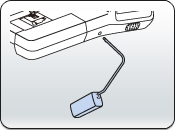
Adjusting the knee lifter handle position and attaching the knee lifter to the machine


Accessory 06

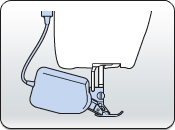
Attaching the presser foot with the included adapter


Accessory 07

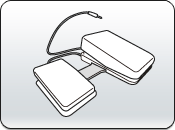
Assembling the multi-function foot controller


8. Maintenance

Maintenance 01

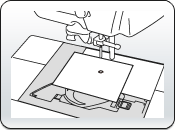
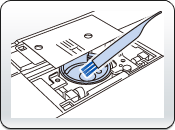
Cleaning the race


Related Models

Innov-is XV, Innov-is XV8500D

If you need further assistance, please contact Brother customer service:

Content Feedback

To help us improve our support, please provide your feedback below.
Step 1: How does the information on this page help you?
Step 2: Are there any comments you would like to add?

Please note this form is used for feedback only.