What should I do if the desired network SSID is not displayed when setting up the wireless network using the Setup Wizard?
If the desired network SSID is not displayed on the screen, check the following points.
- Make sure that the wireless access point/router is powered on.
- Move your machine to an area with no items which obstruct the wireless network signal, such as metal doors or walls, or closer to the wireless access point/router.
- Temporarily place your machine within about 1 m (3.3 feet) from the wireless access point when you are configuring the wireless settings.
- If your wireless access point/router is using MAC address filtering, confirm the MAC address of this machine is allowed in the filter.
If the desired network SSID is not still displayed on the screen, follow the steps below to add the SSID (Network Name), Network Key (Password), Authentication method and Encryption method manually.
Before setting up the wireless network, you must know your wireless network settings of the WLAN access point/router.
Check and record the current wireless network settings below.
| SSID | |
|---|---|
| Network Key (Password) | |
| Authentication method | |
| Encryption method |
If you don't know your wireless settings of your WLAN access point/router, refer to How to find the Network Name (SSID) and Network Key (Password)?
Setting up the wireless network manually
-
With your machine, press
 in the operation panel to display the settings screen.
 -
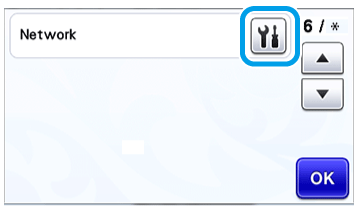
Display page 6, and then touch
 beside [Network].
-
In the network settings screen, touch
 beside [Setup Wizard].
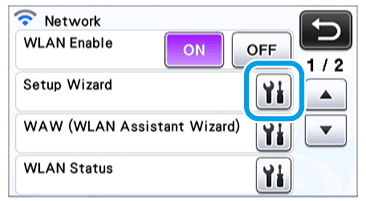
Any available SSIDs are searched for and displayed. -
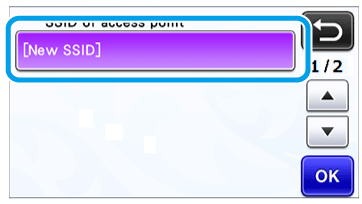
Select [New SSID], and then touch the [OK] key.
* [New SSID] appears at the bottom of the list of detected SSIDs.
-
Type in the desired network SSID, and then touch the [OK] key.
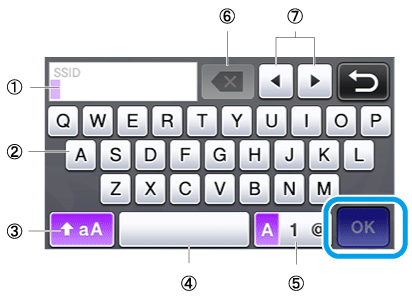
(1)
(2)
(3)
(4)
(5)
(6)
(7)
Character input display Character keys
Uppercase/lowercase selection key
Space key
Letter/number/special character selection key
Backspace key (Deletes the character at the cursor’s position.)Cursor keys (Move the cursor to the left or right.)
-
Follow the instructions that appear in the machine's screen in order to complete the setup.
-
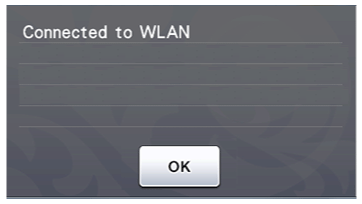
The following screen appears and a connection is established.
Touch the [Next] key, and then continue with the registration with CanvasWorkspace for your machine.
For details, refer to How can I transfer the created/edited data between CanvasWorkspace and my machine via a wireless network? (ScanNCut Online Setting)
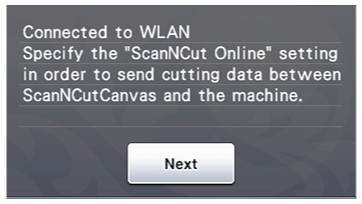
If you have already completed the registration with CanvasWorkspace for your machine, touch the [OK] key to finish the setup.
