MFC-J485DW
FAQs & Troubleshooting |
Load paper in the paper tray
Follow the steps below to load paper in the paper tray:
NOTE: Illustrations shown below are from a representative product and may differ from your Brother machine.
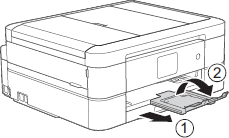
- If the paper support flap is open, close it, and then close the paper support.
-
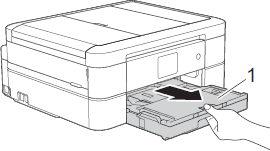
Pull the paper tray completely out of the machine.
-
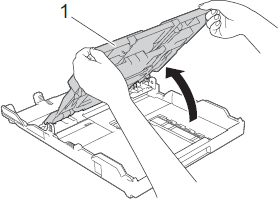
Open the output paper tray cover (1).
-
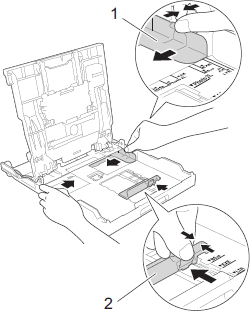
Gently press and slide the paper width guides (1) and then the paper length guide (2) to fit the paper size.
-
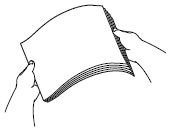
Fan the stack of paper well to avoid paper jams and misfeeds.
NOTE: Always make sure the paper is not curled or wrinkled.
-
Gently load paper in the paper tray with the printing surface face down.
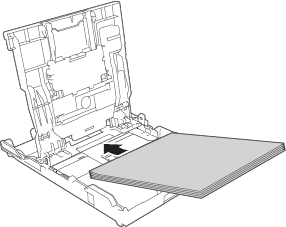
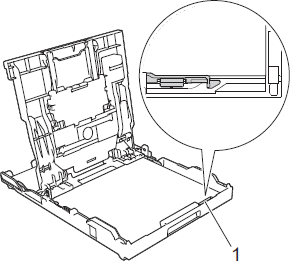
Make sure the paper is flat in the tray and the paper length guide (1) touches the edges of the paper.
-
Gently adjust the paper width guides (1) to fit the paper. Make sure the paper guides touch the edges of the paper.
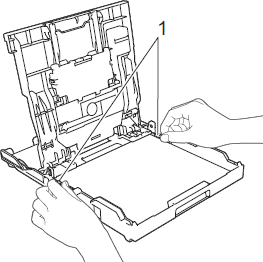
- Close the output paper tray cover.
-
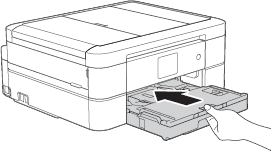
Slowly push the paper tray completely into the machine.
-
While holding the paper tray in the machine, pull out the paper support (1) until it locks into place, and then unfold the paper support flap (2).
