HL-L6300DW
FAQs & Troubleshooting |
Install the Mailbox.
Follow the steps below.
NOTE: Illustrations shown below are from a representative product and operating system, and may differ from your Brother machine and operating system.
-
Update your Brother machine's firmware to the latest version. Click here to download the Firmware Update Tool and see more information in the Downloads section.
-
Unplug the machine from the AC power outlet (electrical socket).
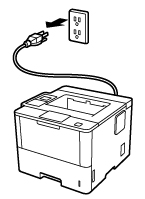
-
Remove the plastic piece that covers the Mailbox mounting.
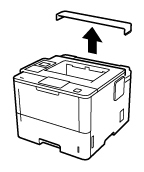
-
Remove the Mailbox from the box.
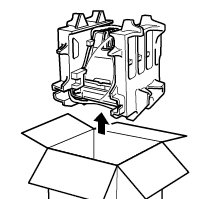
-
Remove the packing materials.
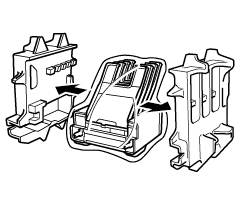
-
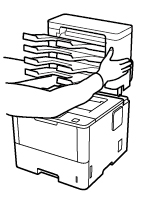
Gently lower the Mailbox onto the Mailbox mounting.
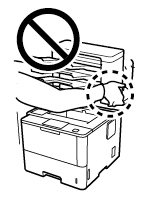
To avoid injury, do not lift the the Mailbox from the bottom.
-
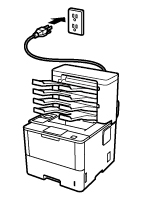
Plug the power cord into a standard AC power outlet (electrical socket) and turn on your Brother machine.
-
Let your machine recognize the Mailbox by following the steps applicable for your Operating System.
(Windows)- Open the Printer Properties. (Click here to see how to open Printer Properties.)
-
Click the Device Settings tab, and then click Auto Detect. When the Mailbox bins have been detected, click Apply.
(Under certain conditions Auto Detect may not be available. If this occurs, manually add the Mailbox bins: Under Available Options, choose MailBox (4 bin) or MailBox (2 bin), click Add, and then click Apply.)
The printer driver is already configured for use with the Mailbox. No additional steps are required.