HL-4000CN
FAQs & Troubleshooting |
How do I replace the fuser unit?
Turn the power switch off, unplug the AC power cord and allow the printer to cool for at least 30 minutes before replace the fuser unit.
Follow the procedure below to replace the fuser unit.
-
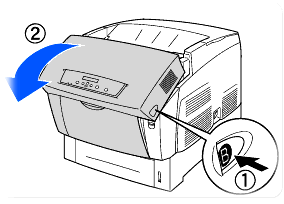
Push up button B (1) and fully open the front cover (2).
-
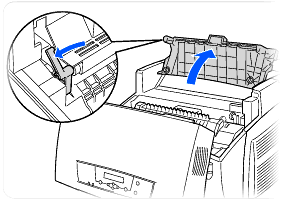
Push the lever on left side of the paper outlet cover and open the paper outlet cover.
-
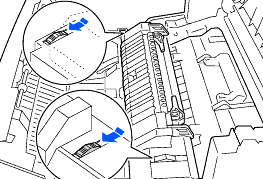
Push and slide forward the switches on both sides of the fuser unit.
-
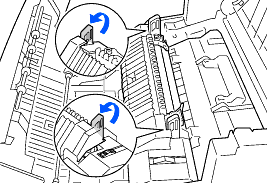
Lift the levers on both sides of the fuser unit.
-
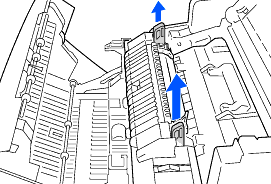
Hold the levers on both sides as you remove the fuser unit from the printer carfully.
-
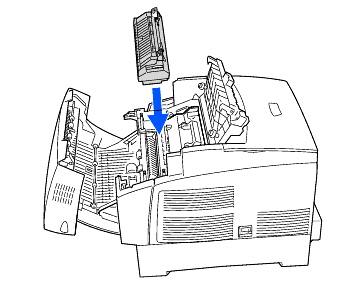
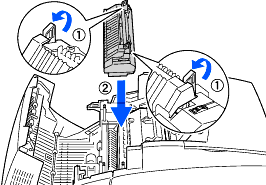
Unpack a new fuser unit and lift the levers on both sides (1). Grip the lever and install the fuser unit into the printer gently placing pin into the guides.
-
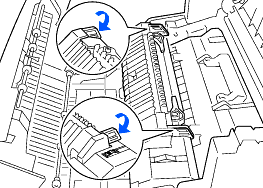
Push down the levers on both sides of the fuser unit.
-
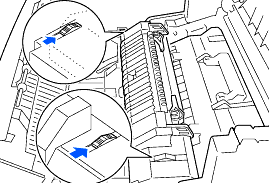
Push and slide backward the switches on both sides of the fuser unit.
-
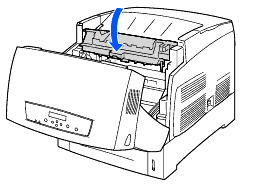
Close the paper outlet cover.
-
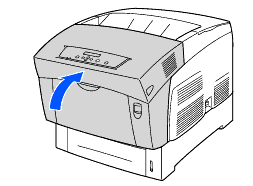
Close the front cover.
