MW-140BT
FAQs & Troubleshooting |
How do I use the Screen Capture tool? (P-touch Editor 5.x for Windows)
There are two ways to import the image of an area on your desktop/screen into a label.
Method 1: Using Snap mode
Method 2: Using Professional mode
-
Method 1: Using Snap mode
-
Click the Snap button on the left bottom corner. The "Description of Snap mode" window appears. Click the [OK] button.
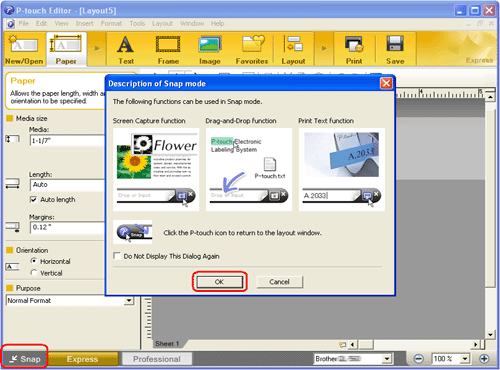
Snap mode starts.

-
Click the "Screen Capture" button
 . Snap mode disappears and the shape of the pointer changes.
 -
Specify the area you want to import by drawing a rectangle around it.
Click the start point of the area you want to select.
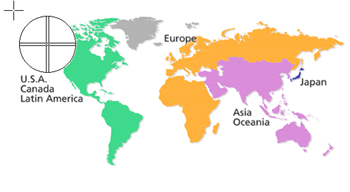
-
Click the end of the area.
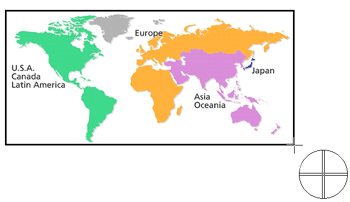
-
The image data of the selected area is imported into the edit screen.
<Using the screen of Express mode as an example>
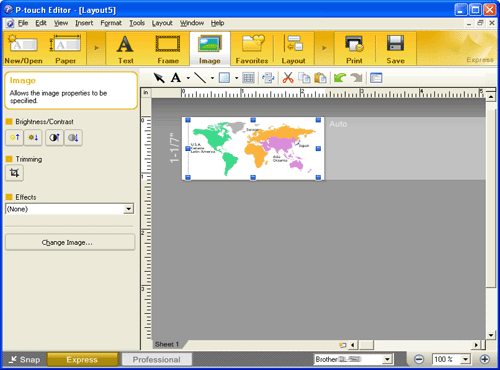
-
Click the Snap button on the left bottom corner. The "Description of Snap mode" window appears. Click the [OK] button.
- You can also specify the area by dragging the mouse from the start point to the end point.
- When you want to cancel Screen Capture mode, click the right mouse button or press the Esc key.
-
Method 2: Using Professional mode
Click the Professional button on the left bottom corner to change to Professional mode.-
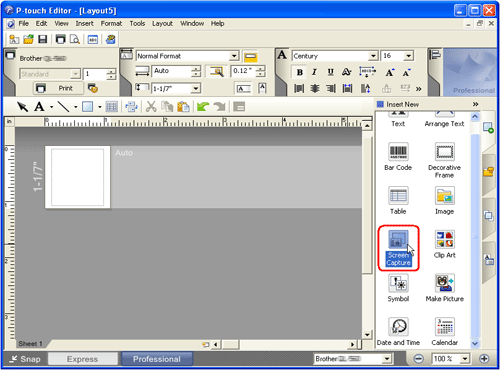
Click the Screen Capture button on the side bar. The current screen disappears and the shape of the pointer changes.
- Take the same steps as Method 1 to import the data.
-
Click the Screen Capture button on the side bar. The current screen disappears and the shape of the pointer changes.