QL-560
FAQs & Troubleshooting |
How do I install/change the label roll?
- Press the ON/OFF button to turn the printer off.
-
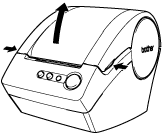
Hold the DK Roll compartment cover at the sides near the front of the printer and firmly lift it up to open.
-
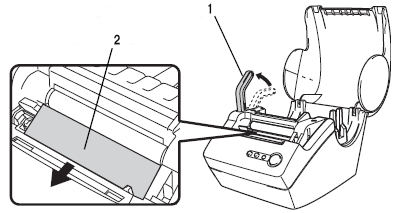
Pull up the roll release lever (1) and remove the protection sheet (2) of printing unit. (QL-500/550 only)
-
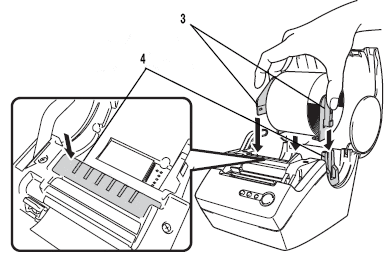
Insert the spool of the DK Roll along the spool guides of the printer.
Make sure that the spool arms (3) are inserted firmly in the spool guides (4) on the left and right sides.
-
Lift up the roll release lever (5) and then thread the end of the DK Roll into the printing unit (6) immediately before the cutter (7).
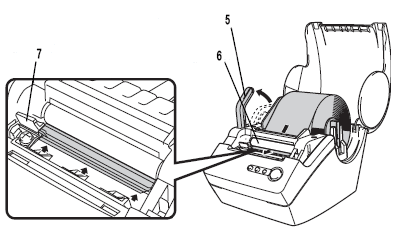
If you are unable to thread the end of the DK Roll into the printing unit, thread it as far as possible, lower the roll release lever and close the cover. Then press the FEED button to set the roll.
-
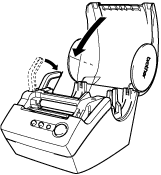
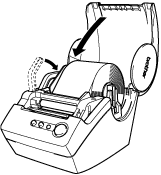
Lower the label lever and then close the DK Roll compartment cover.
- Press the ON/OFF button to turn the printer off.
-
Hold the DK Roll compartment cover at the sides near the front of the printer and firmly lift it up to open.

-
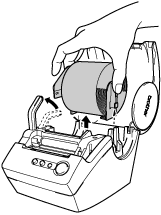
Lift up the label lever.
Hold the label roll by the spool arms and pull the inserted DK Roll up.
-
Lower the label lever and then close the DK Roll compartment cover.
